

Shift At Midnight Ending Walkthrough — Dentist Chase and All Endings
The anonymous message before Night 13 is the ending choice: calling Clyde sacrifices him and pays the pet's surgery for Grave Decision. Refuse the call to keep Clyde alive, survive the same Dentist chase, then pay the $250 vet bill for True Ending; failing or refusing to pay produces Empty Home.
The ending is decided by two separate checks: whether you send Clyde into the anonymous caller's trap, and—if you save him—whether you can pay the pet's $250 surgery bill. The Dentist chase and final encounter still have to be cleared in every route. Make the story choice before the final shift, prepare the fight before the scripted visitor arrives, and do not confuse store revenue with the personal funds shown on the Night 13 result screen.
Choose the ending before Night 13
END-M01 — Read the anonymous surgery offer literally
After Night 12, the message says the pet's surgery will be covered if you call the sheriff and have him visit the store the next day. This is not free help. The two complete routes that accepted the offer later report Clyde's death and award Grave Decision; the route that refused it keeps Clyde alive.
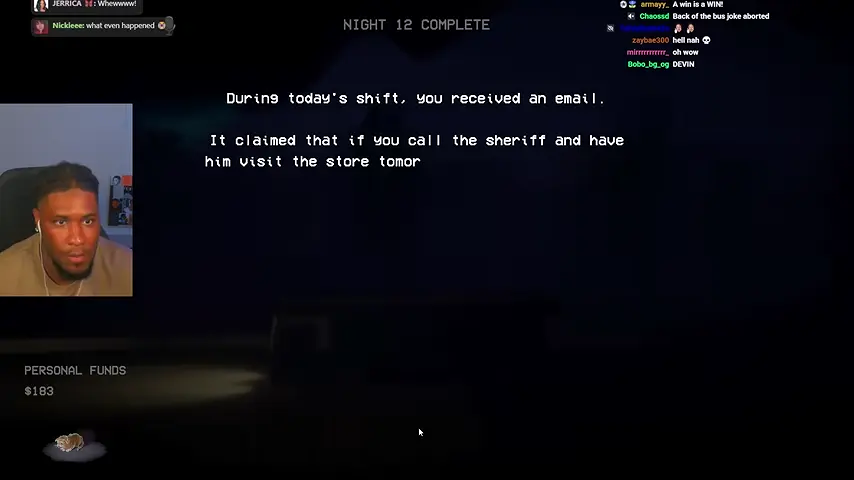
Calling Clyde is the sacrifice branch, not a required step for every ending.
END-M02 — Refuse the call if you want Clyde alive
For True Ending or Empty Home, do not place the Night 13 call. The verified no-call route hangs up and receives the warning that one day remains before the $250 surgery bill is due. From this point, preserve at least $250 in personal funds if you want both Clyde and the pet to survive.
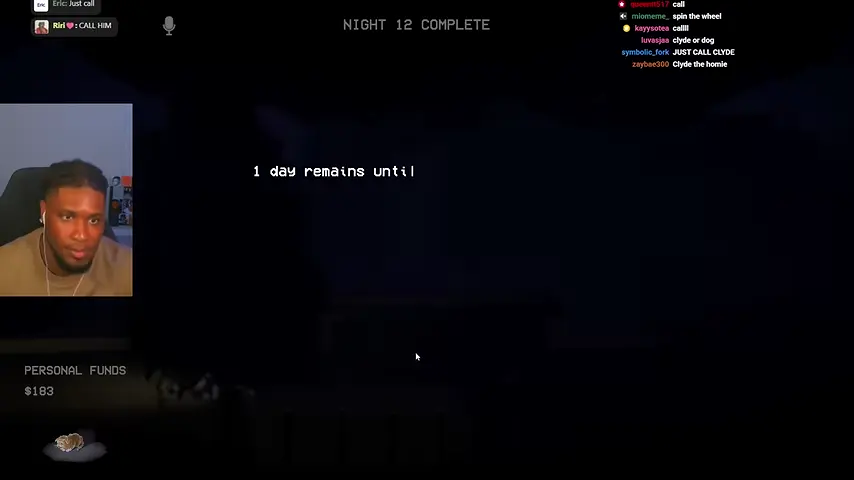
No call + $250 + Pay Bill is the True Ending route. No call without payment is Empty Home.
Trigger the Dentist sequence
END-M03 — Treat the false Clyde as the scripted final visitor
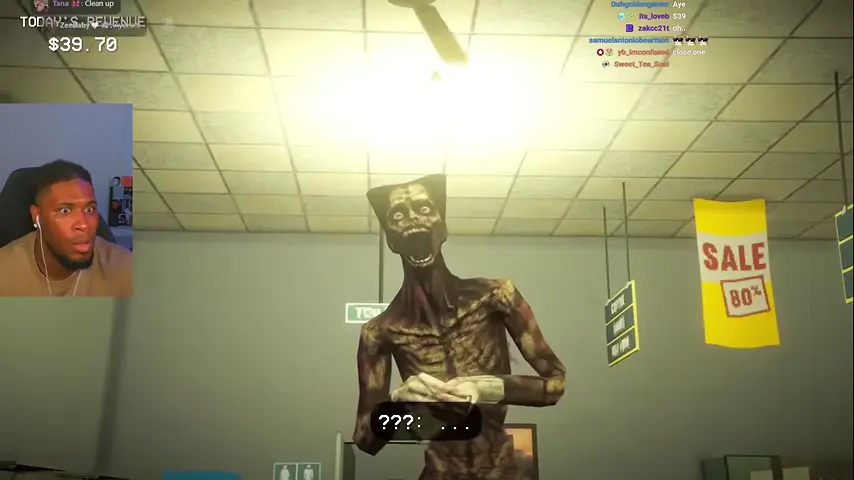
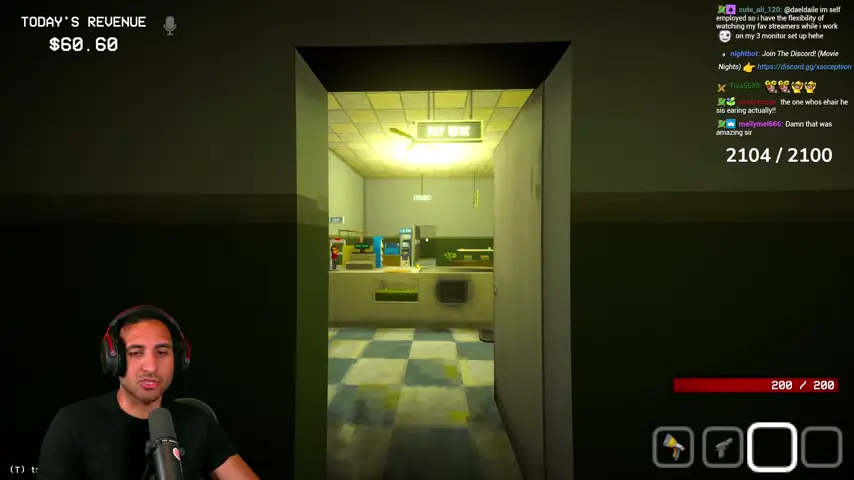
Near the end of Night 13, a gaunt visitor appears at the counter and presents itself as Clyde. In the no-call route this is immediately impossible because Clyde was never invited to the store. In the call route, the scene follows the real sheriff's disappearance or death. Either way, stop treating the figure as an ordinary shopper.
END-M04 — Inspect the Clyde Dawson card once, then prepare
The visitor supplies a Clyde Dawson identification card, but its body and circumstances do not match the real sheriff. Scan and inspect it only long enough to confirm the story trigger. Do not waste the preparation window repeatedly searching the database or trying to complete a normal sale.
END-M05 — Buy and stage combat supplies before the transition
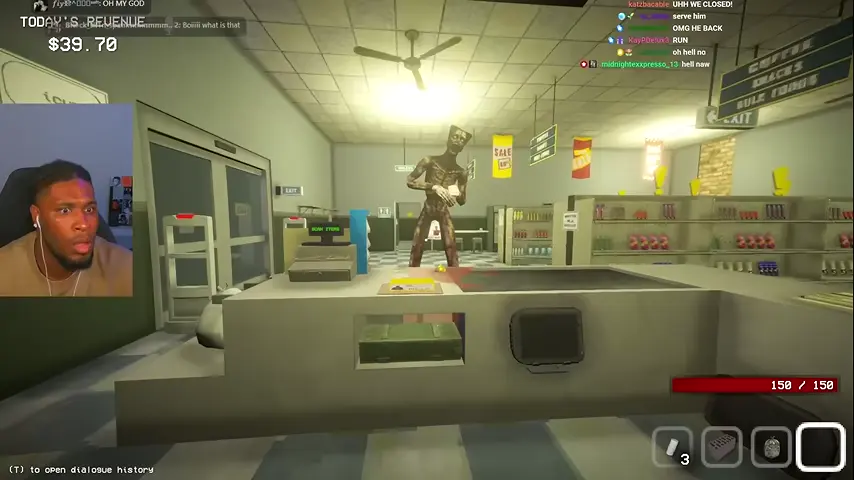
Use the store computer while the visitor remains at the counter. Prioritize a firearm, ammunition, healing, explosives or mines, and a flashlight. Reload before moving close enough to advance the scene. The chase is much easier when the active slot is already useful instead of occupied by trash or store stock.
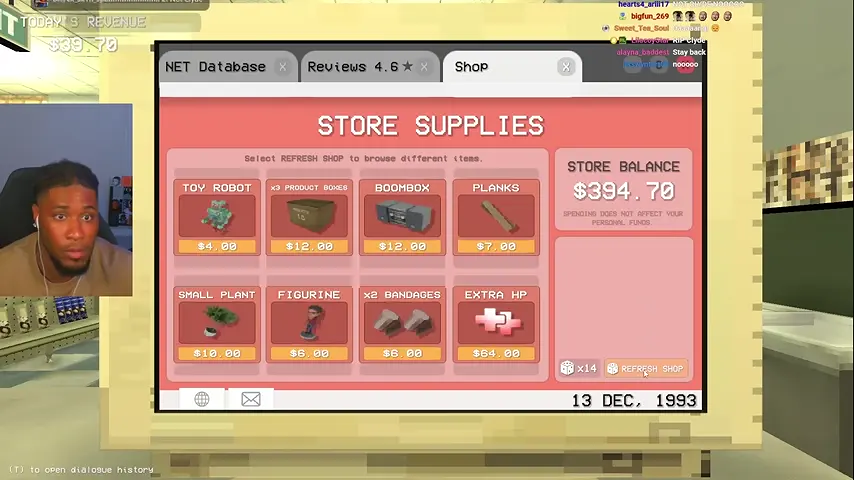
Purchasing late does not pause the scripted danger forever; prepare efficiently.
Escape the Dentist
END-M06 — Move as soon as the fleshy transition closes around you
The store falls away and the player wakes inside a red, organic passage associated with the Dentist. Turn toward the only open, illuminated route and start moving. Waiting to understand the room gives the pursuer time to close the gap.
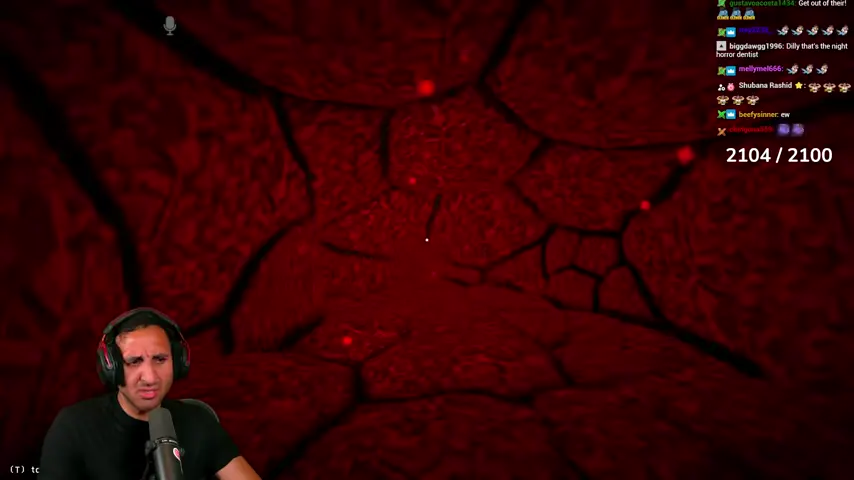
END-M07 — Sprint toward lit doorways and do not backtrack
Follow the warm lights through the first corridor. Doors and turns are the route markers; dark alcoves are not alternate objectives. Sprint through each opening, correct the camera after the corner, and avoid stopping to fight the pursuer in the narrow hall.
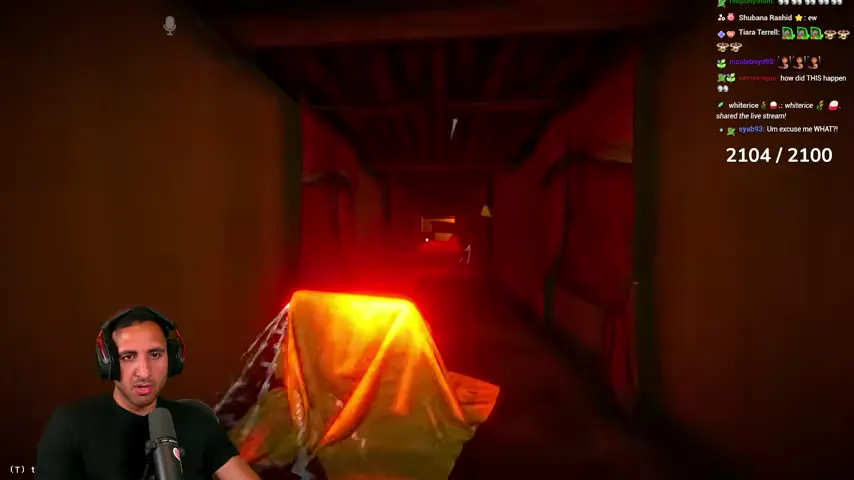
END-M08 — Commit to the raised jumps
The chase includes raised furniture, broken platforms, and stair-like obstacles. Approach each jump straight, jump from the edge, and keep forward movement held through the landing. Falling or hesitating can put the Dentist directly behind you.
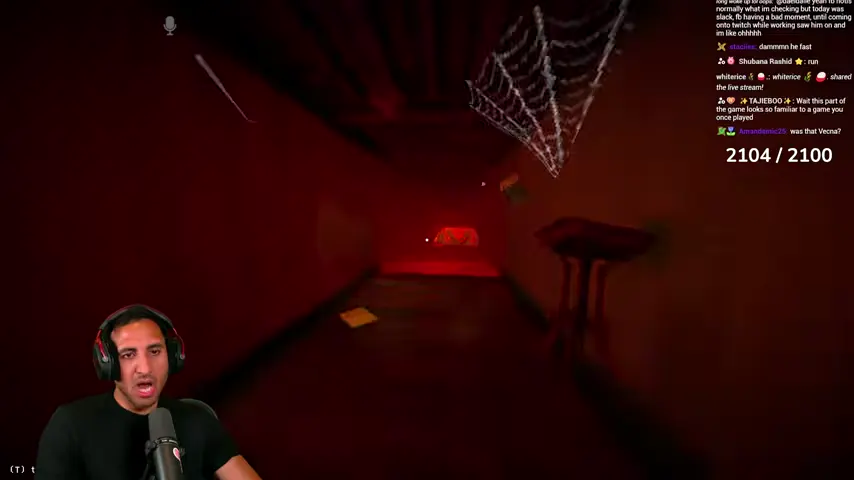
END-M09 — Use the red corridor as the final run marker
After the jump section, continue through the strongly red-lit corridor. Do not turn toward decorative rooms or webs. This hallway leads into the final chamber, where the chase changes from pure escape to a scripted confrontation.
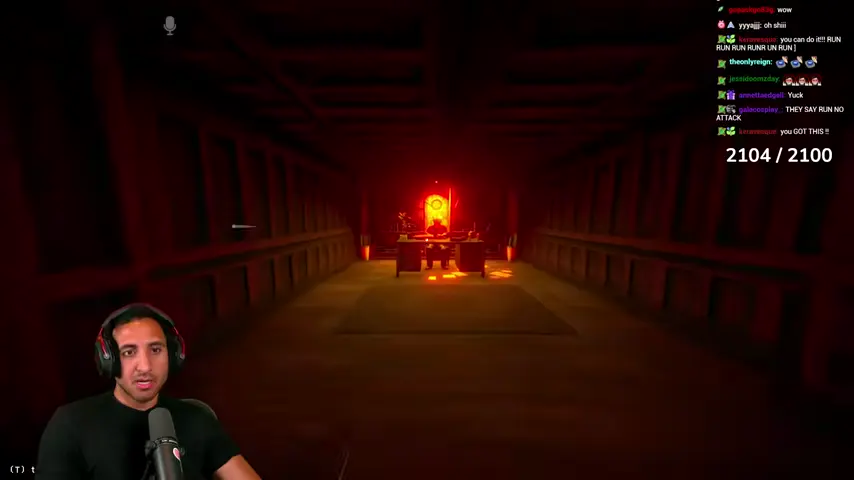
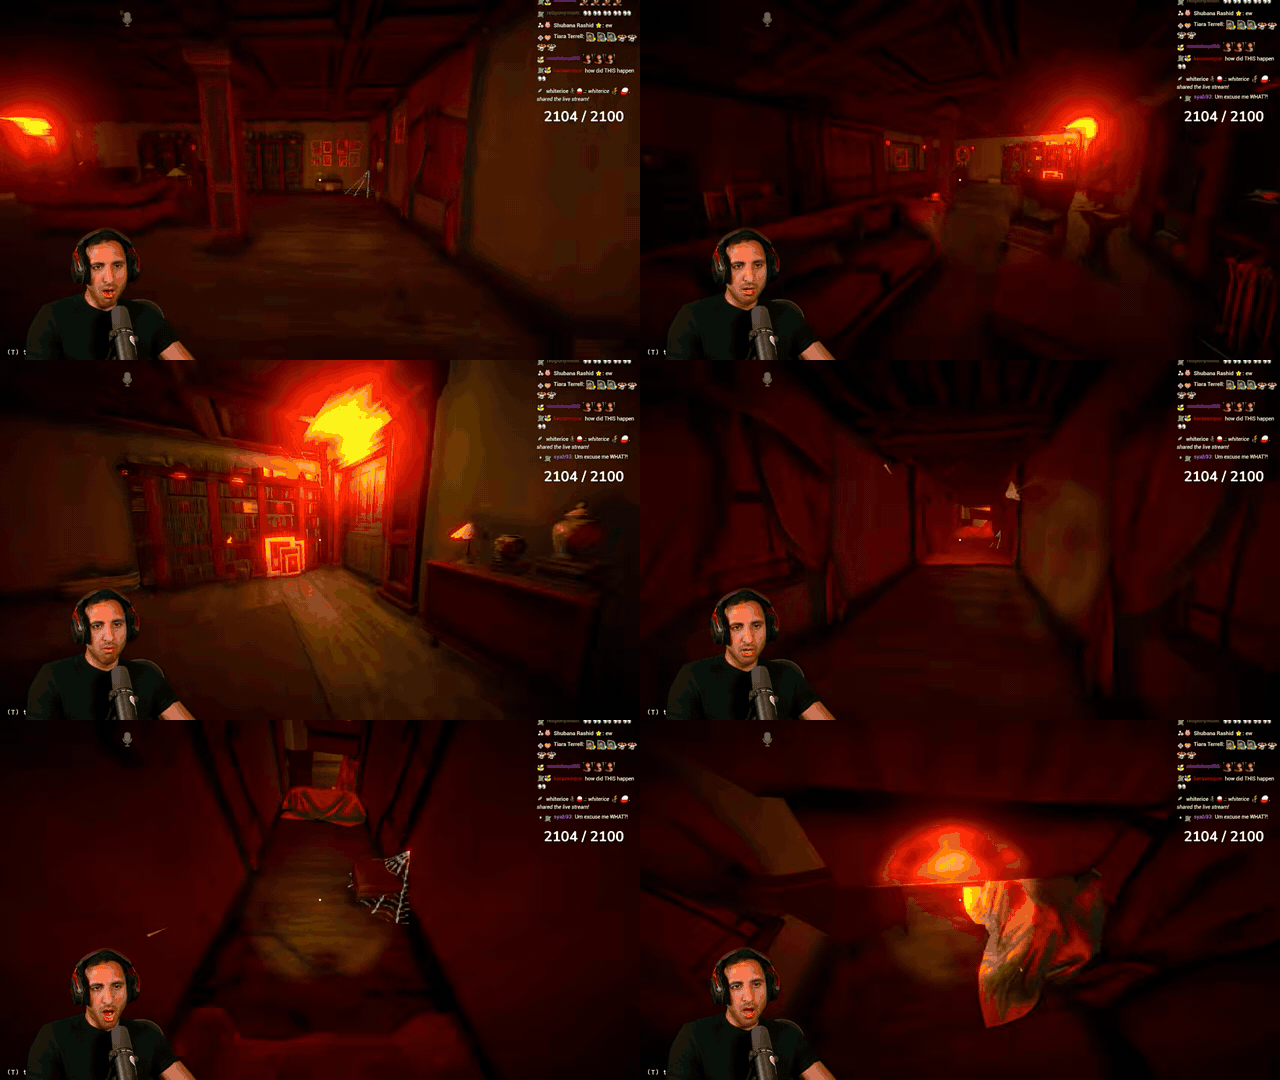
The animation shows the required direction change; it is not evidence for an alternate route.
Finish the final encounter
END-M10 — Keep moving around the final chamber
Enter the larger room and circle around solid obstacles instead of standing in the center. Maintain distance from the Dentist and avoid red hazards while the encounter advances. Fire only when you have a clear lane; survival and movement matter more than chasing damage numbers.
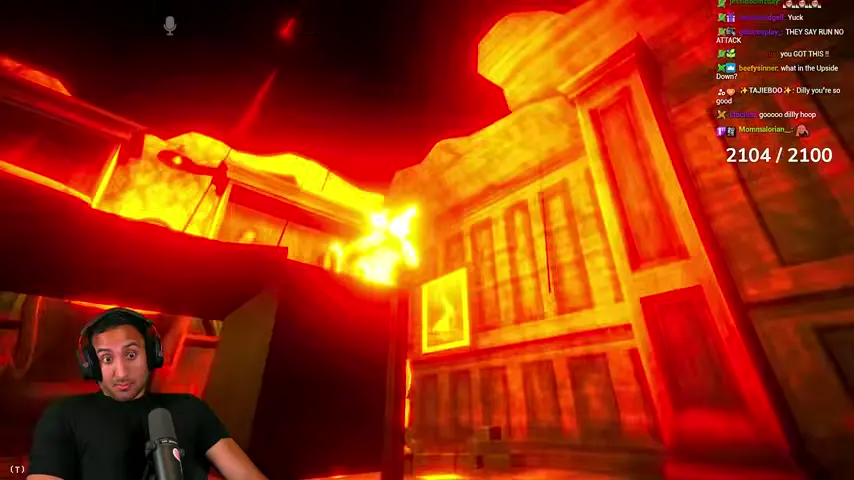
END-M11 — Recognize the Mayor Dawson reveal without stopping
The final imagery connects the Dentist to the Dawson story introduced by the Night 13 newspaper. One playthrough identifies the figure as the mayor while the sequence is active. Treat that as story confirmation, not a prompt to approach: keep moving until the scripted collapse is complete.
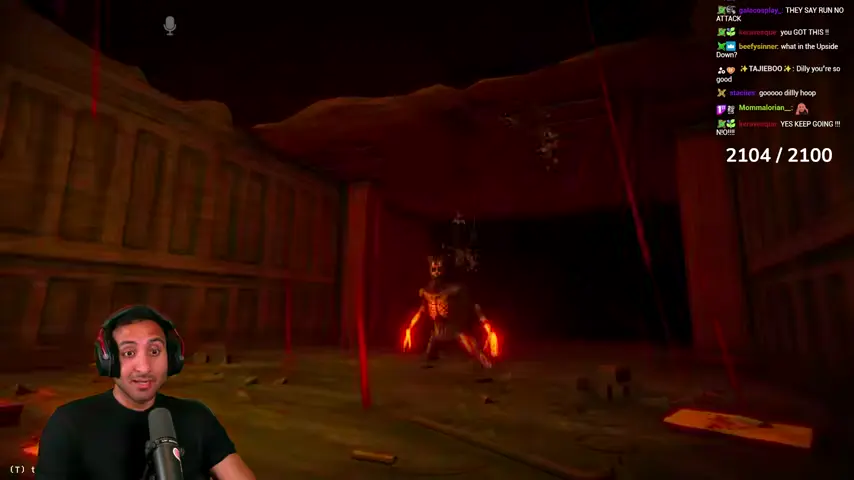
END-M12 — Wait for the boss to fall before leaving
The Dentist ultimately collapses or destroys itself during the final exchange. Stay clear of the body and any remaining fire until the screen transitions back to Midnight Mart. There is no optional item in the arena that is worth risking the completed sequence.
Close Night 13 cleanly
END-M13 — Obey the cleanup objective after returning
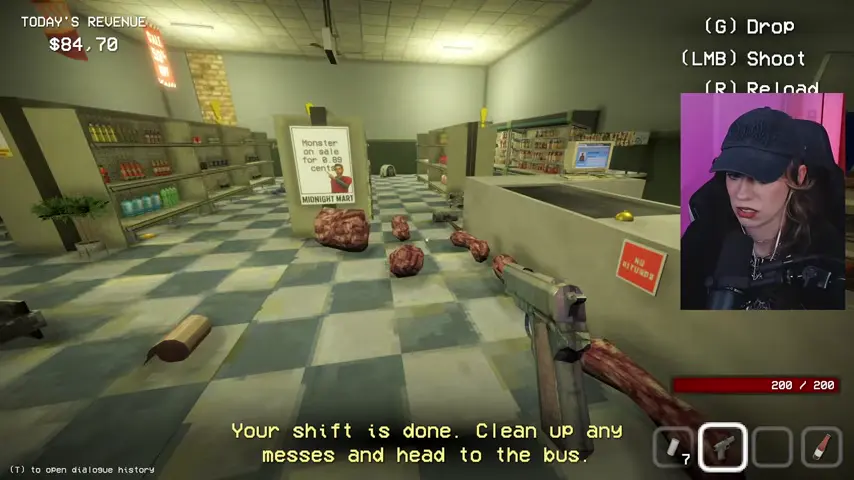
Back in the store, wait for Your shift is done. Clean up any messes and head to the bus. Mop blood, pick up loose stock and debris, and repair breakable fixtures that still block the floor. The final fight is over, but the bus does not replace the remaining closeout tasks.
END-M14 — Confirm Night 13 of 13 and personal funds
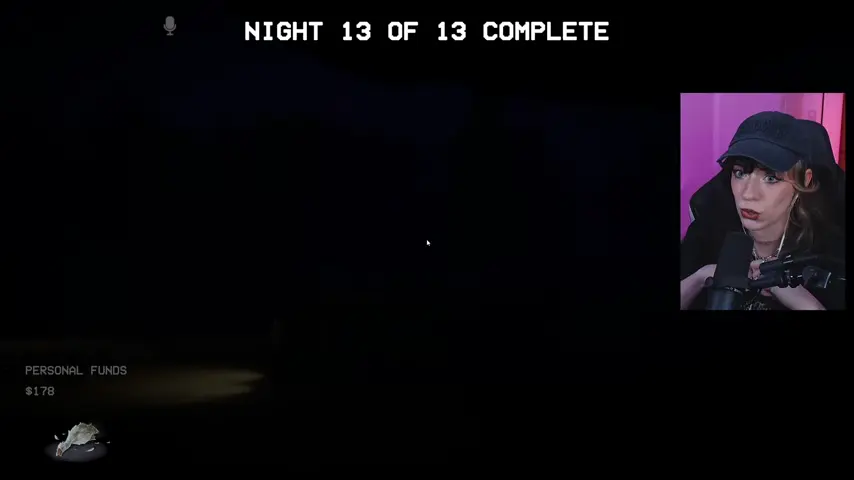
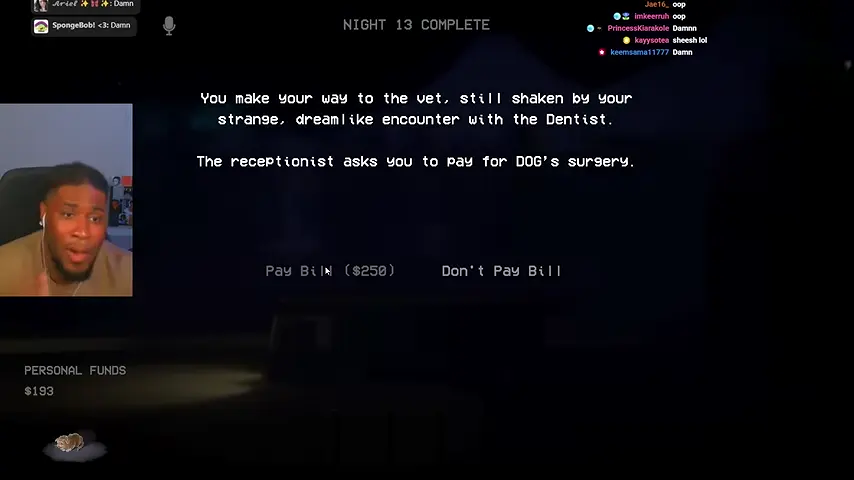
Board the bus and read the completion report. Check quota, human casualties, store revenue, and especially personal funds. On the Clyde-survival route, the next scene requires $250; the verified Empty Home run reached the vet with only $193 and could not pay.
Resolve the three endings
END-M15 — Grave Decision: accept the anonymous payment
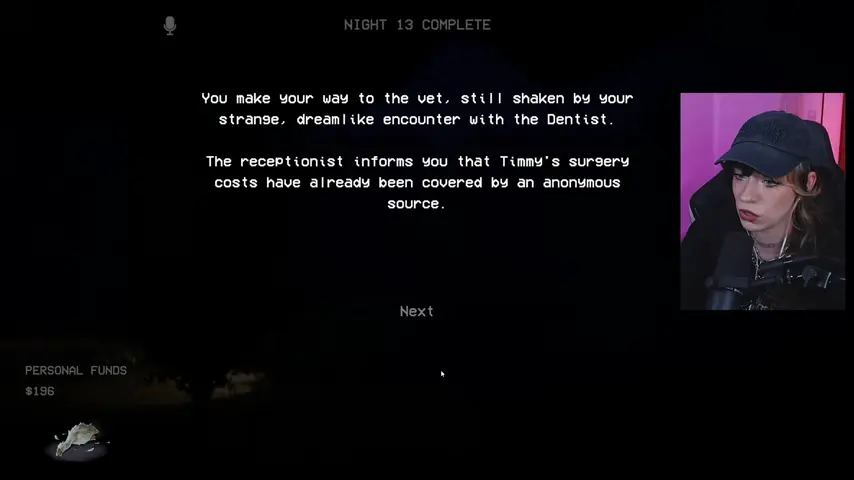
If you called Clyde, the vet receptionist says the surgery has already been covered by an anonymous source. No payment choice appears. The result confirms the price of the bargain: the pet survives, but Clyde died because he was brought into the trap.
END-M16 — Read the Grave Decision result
The ending card states that the pet was saved and the surgery was paid in full as promised. Clyde receives a funeral, and only the player knows what was traded for the pet's life. This is the verified Grave Decision Ending and its associated achievement condition.
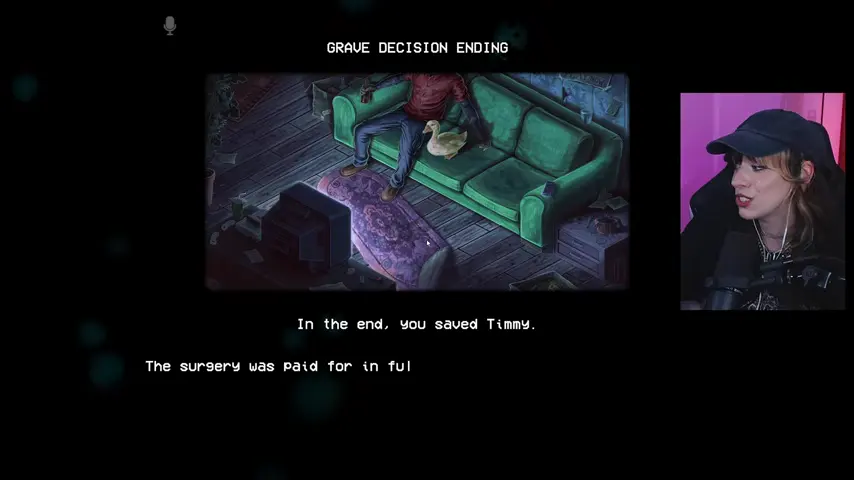
END-M17 — Continue into the Grave Decision post-story state
The save changes to Post-Story Mode, allowing endless future shifts. In this branch, the rescued pet explicitly joins future shifts. Continuing is optional; the story ending is already recorded on the save.
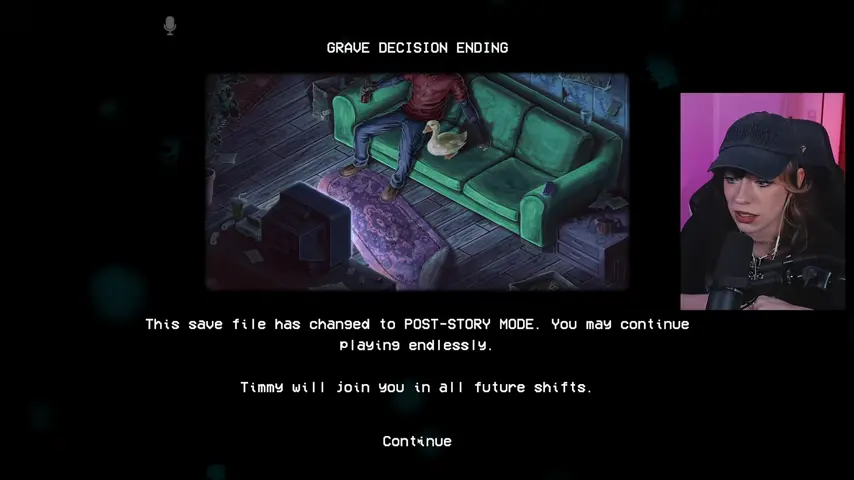
END-M18 — Clyde-survival route: choose whether to pay $250
If you refused to call Clyde, the receptionist asks for the surgery payment. Select Pay Bill ($250) only when the displayed personal funds cover it. Choosing Don't Pay Bill, or arriving without enough funds to complete payment, leads away from True Ending.
END-M19 — Empty Home: leave the surgery unpaid
Without payment, the Empty Home Ending says the surgery cost more than the player had and the pet could not be saved by morning. Clyde remains alive and still visits with cheap beer and old stories, but the pet is absent from the post-story home.
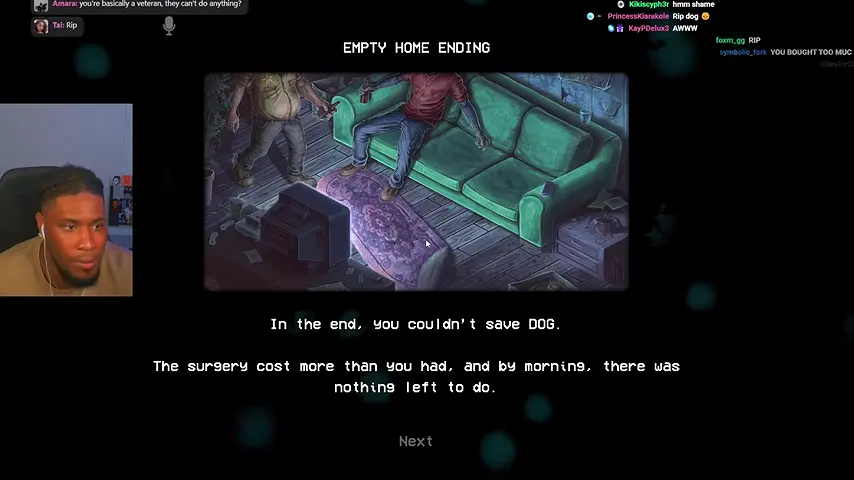
END-M20 — Verify Clyde survived in Post-Story Mode
The no-call route's ending text and later store state both keep Clyde alive. Use this to distinguish Empty Home from Grave Decision: both may enter endless play, but only Grave Decision contains Clyde's funeral.
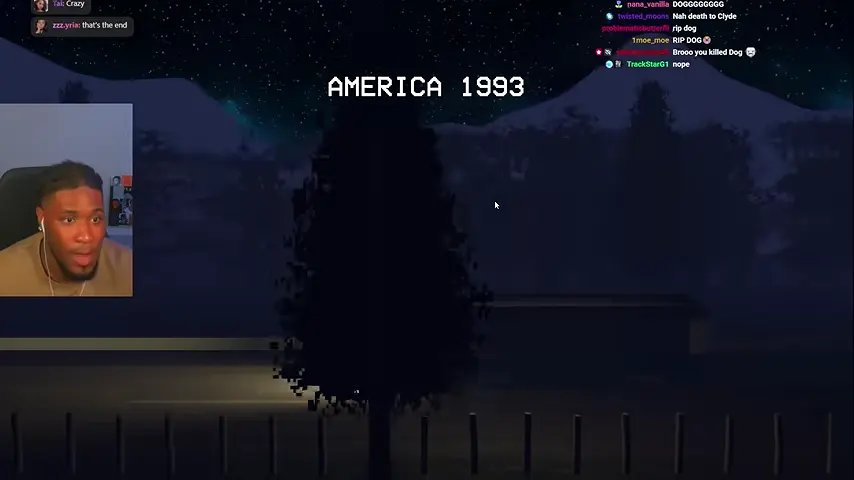
END-M21 — True Ending: save Clyde and pay the bill
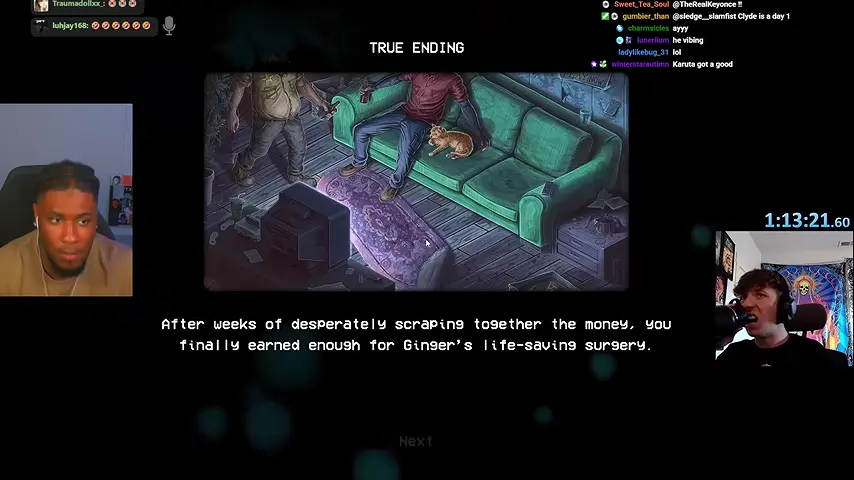
To obtain True Ending, refuse the anonymous offer, finish Night 13 with at least $250 personal funds, and choose Pay Bill. The ending states that the player scraped together enough for the life-saving surgery, the operation succeeded, and Clyde continues to visit. This is the only verified branch in which both Clyde and the pet survive.
Ending decision table
| Night 13 choice | Vet result | Ending | Clyde | Pet |
|---|---|---|---|---|
| Call Clyde and accept the anonymous arrangement | Surgery already paid | Grave Decision | Dies | Survives |
| Do not call Clyde; cannot or does not pay $250 | Bill remains unpaid | Empty Home | Survives | Dies |
| Do not call Clyde; pay $250 personal funds | Surgery succeeds | True Ending | Survives | Survives |
Ending failure recovery
- Clyde died when you wanted True Ending: restart from a save before the Night 13 phone decision and do not call him. The choice is made before the Dentist chase, not at the vet.
- The vet will not accept payment: the verified bill is $250 in personal funds. Re-enter from an earlier shift and preserve enough earnings; store balance and products do not substitute for the bill.
- You are caught in the red passage: sprint toward lit doorways, commit to the raised jumps, and use the corridor GIF as the direction reference. Fighting in the narrow opening is less reliable than escaping.
- The final chamber seems endless: keep circling cover and avoid the boss and red hazards until the scripted collapse. Do not return down the chase corridor.
- The bus does not finish the night: clear the displayed cleanup objective first—blood, debris, loose products, or damaged fixtures can still be pending.
- Post-Story Mode began but the ending looked wrong: endless mode follows multiple results. Check the ending title and who survived; the mode name alone does not prove True Ending.
The core ending rule is simple even though the finale is not: Clyde's life replaces the $250 bill only on Grave Decision. Save him and the bill returns to you; pay it to save everyone.
Chapter navigation