

Shift At Midnight Night 9 Walkthrough — Anomaly Lens and Music Box
Read both hardware notices, compare every customer through the Anomaly Lens after the normal identity checks, rewind the music box as soon as its melody leads you to it, and never let the song finish three times.
Night 9 adds two checks that punish tunnel vision. The Anomaly Lens can expose a body that looks ordinary to the naked eye, while the Jack-in-the-Box music box creates a separate timed threat. Neither replaces the old method: establish a direct visual baseline, verify the record and dialogue, scan through the lens, then decide.
Learn the two Night 9 rules
N9-M01 — Read the Anomaly Lens instruction before serving anyone
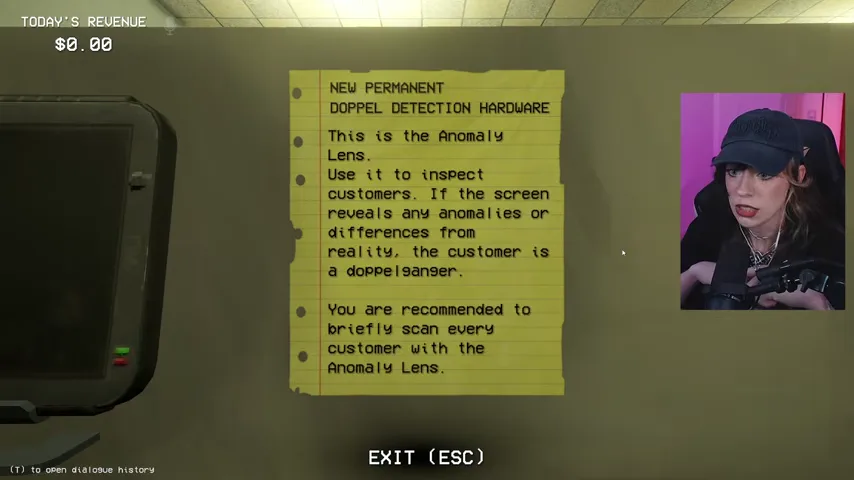
The yellow hardware note says that the lens reveals differences from reality and recommends briefly scanning every customer. Keep the device in a quick inventory slot. It is a comparison tool, so looking only through the screen is not enough—you need to know what the same customer looked like without it.
N9-M02 — Memorize the music-box three-song limit
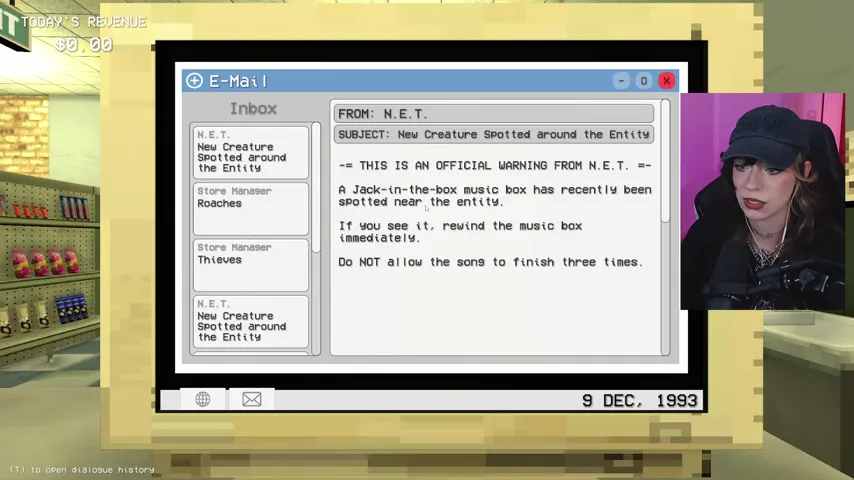
Read the NET warning in full. A Jack-in-the-Box music box may appear near the entity. If you see it, rewind it immediately, and do not allow its song to finish three times. Treat the melody as an urgent positional cue rather than background music.
Use direct sight and the Lens as a pair
N9-M03 — Establish Aria Romero's normal-view baseline
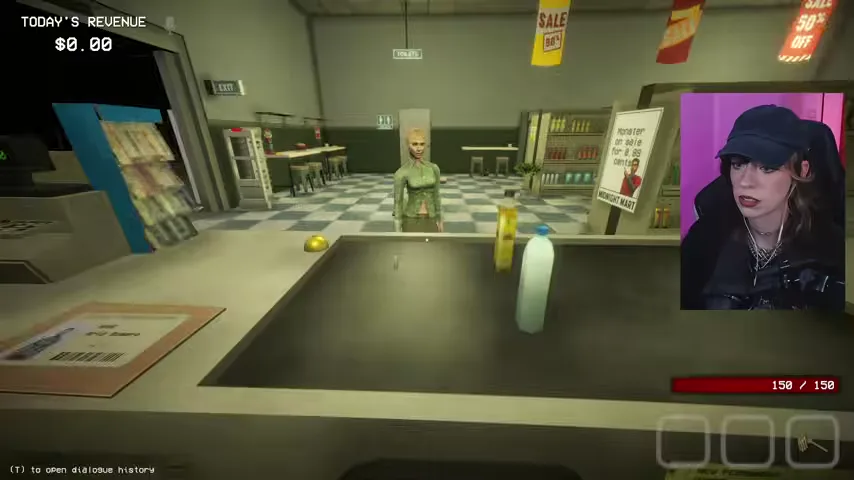
Aria Romero arrives first. Check the ID, search the database, compare the glasses and face, and listen to the occupation answer. Before raising the lens, look directly at her whole body and the space around her. That ordinary view is the baseline for the next test.
N9-M04 — Reject Aria when the Lens changes her body
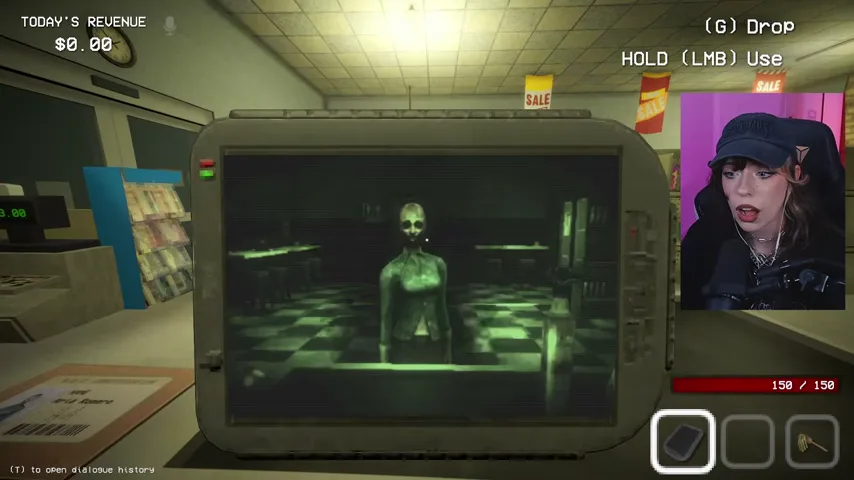
Raise the Anomaly Lens while keeping Aria centered. The screen shows a visibly altered, inhuman figure instead of the customer seen with the naked eye. This is exactly the reality mismatch described by the instruction note, so reject her even if the ID and spoken answers sound plausible.
N9-M05 — Reject the Clyde who treats you like a stranger
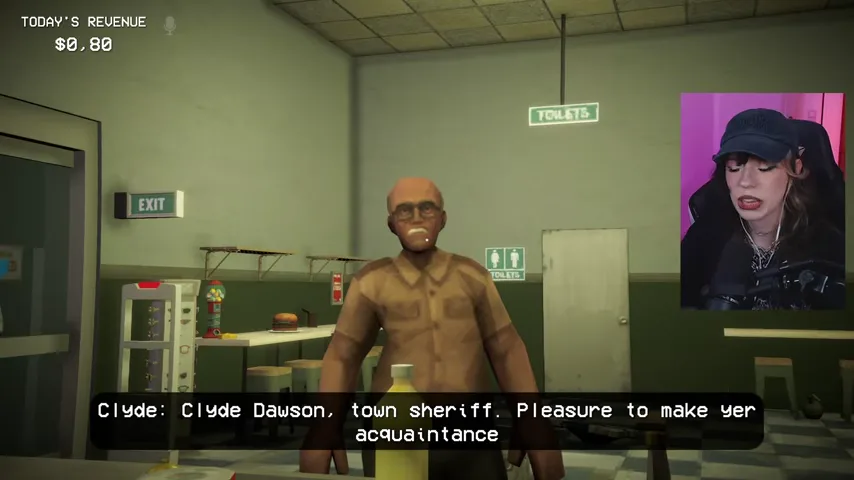
Clyde Dawson introduces himself as the town sheriff and says it is nice to meet you. By Night 9, the real tutorial sheriff already knows the player. Search his record and scan him, but do not dismiss the continuity contradiction as harmless memory loss. The final report confirms that this first-meeting behavior belongs to a doppelganger.
Complete the roach bonus without losing the queue
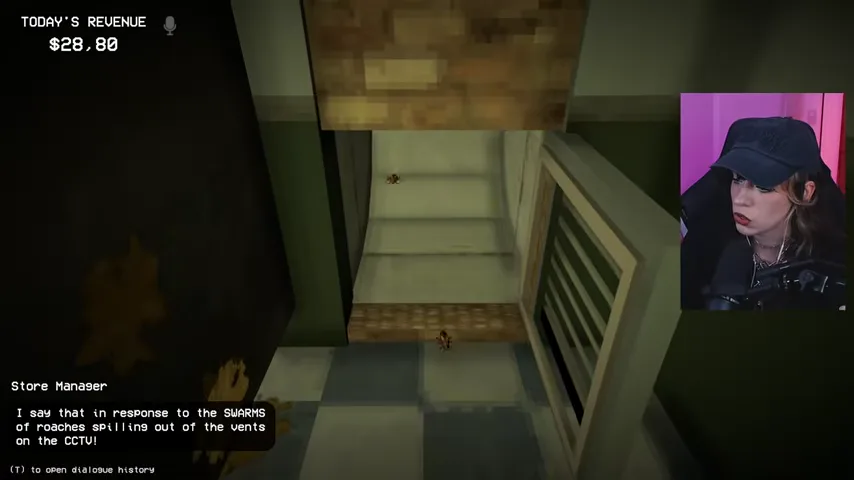
N9-M06 — Answer the manager's roach call immediately
The manager reports a swarm coming through the vents and offers a bonus for clearing it in time. Finish the active customer decision, grab the mop, and move to the vent area. Do not leave an unverified customer mid-transaction just to chase the bonus.
N9-M07 — Mop every marked roach before the timer expires
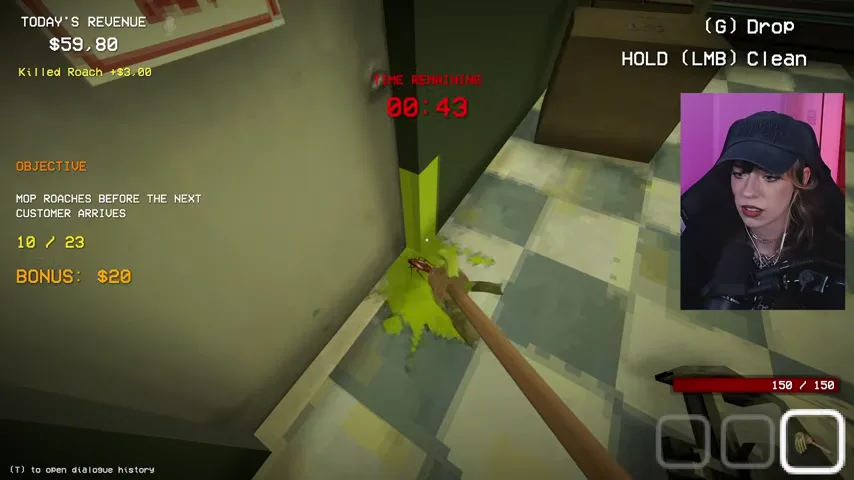
Follow the objective counter rather than stopping when the floor looks clear. Sweep the vent, stairwell, and nearby corners until the remaining count reaches zero. Completing the objective produces a $20 check after the shift; missing one roach forfeits the bonus.
Separate strange people from proven anomalies
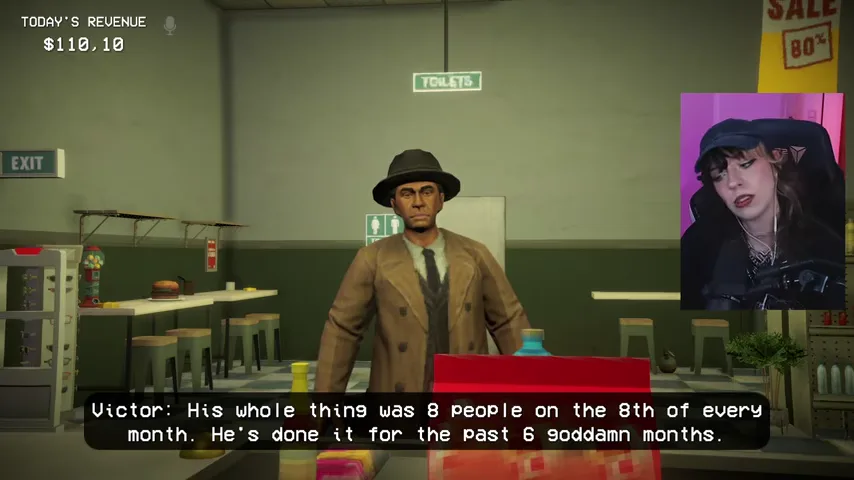
N9-M08 — Let Victor Hale's investigation dialogue remain just dialogue
Victor Hale wonders why the Calendar Killer did not strike on the expected date. He has appeared before, and his private-investigator role fits the conversation. Re-run the available identity fields and lens scan rather than approving him only from memory. With no new contradiction, he is human in the verified report.
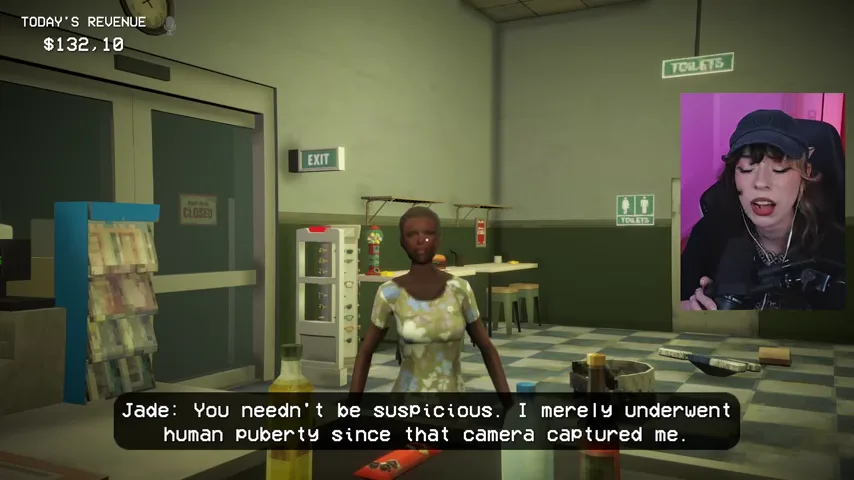
N9-M09 — Reject Jade Sinclair for the portrait mismatch
Jade claims that her changed appearance is merely “human puberty” since the ID camera captured her. Puberty does not explain a face and body that look completely different from the stored portrait. Compare the live customer, ID image, and database portrait side by side, then reject her. The result report confirms the visual mismatch.
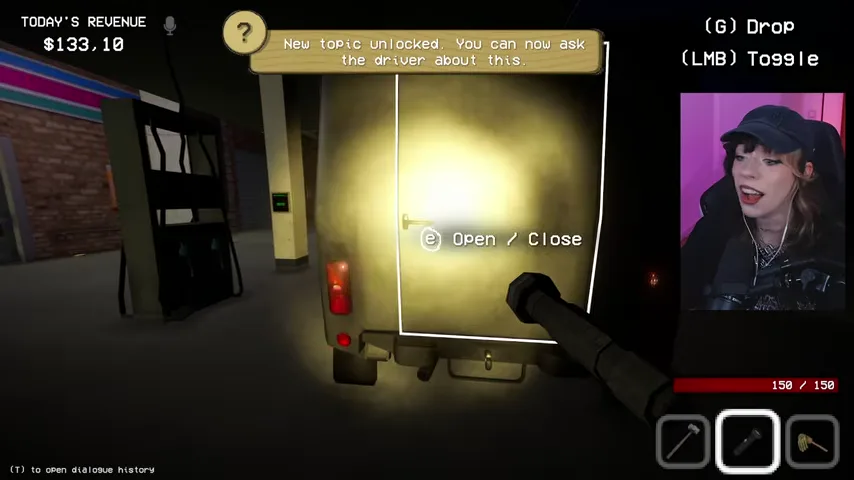
N9-M10 — Inspect the driver's locked rear compartment
The fuel customer has removed the license plate and locked the vehicle's rear compartment. Break the padlock, recover the plate, and compare PL98 with the vehicle database before pumping gas. A hidden plate is suspicious, but it is still a clue to investigate rather than automatic supernatural proof.
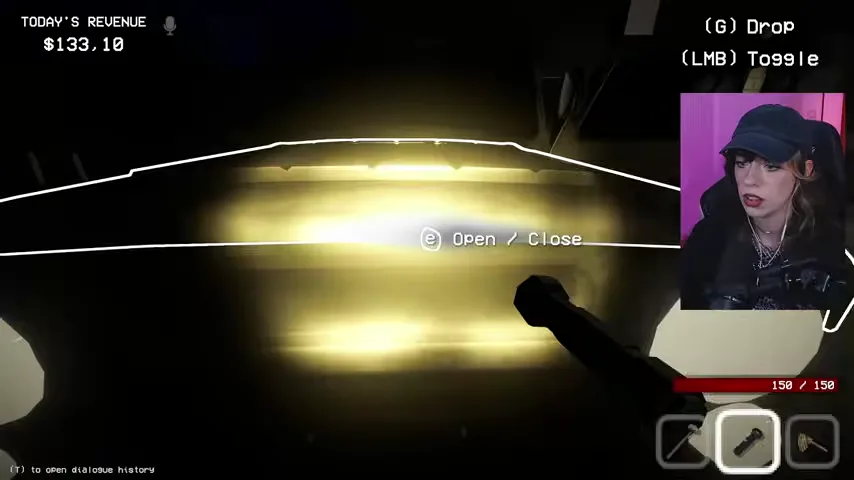
N9-M11 — Do not turn ordinary criminal evidence into doppelganger evidence
The compartment contains tools and cash, and the driver reacts defensively to the search. Question the plate, vehicle description, tools, and money, then complete the normal identity checks and lens scan. The verified report marks this driver as human: theft or suspicious possessions can be real-world crime without being a reality anomaly.
Prepare for the music-box emergency before it starts
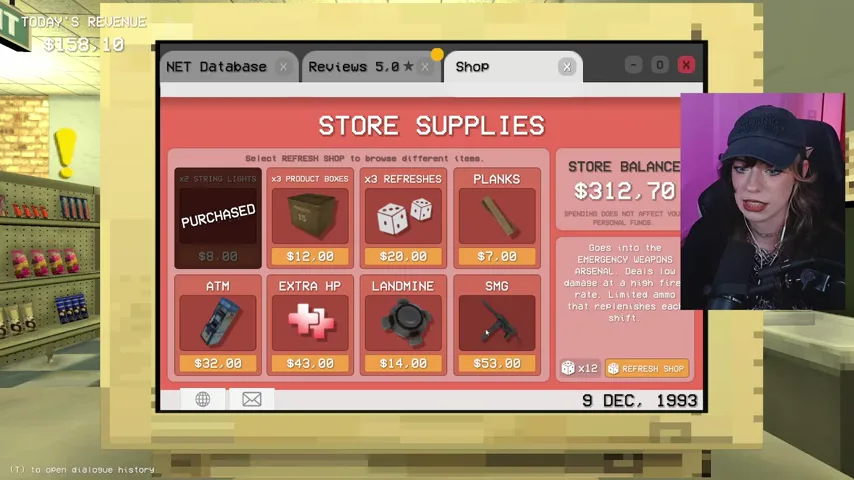
N9-O01 — Buy survival capacity instead of decorations
Open the shop while the floor is calm. Prioritize backpack space, maximum health, planks, traps, ammunition, a loaded firearm, and a backup weapon. An SMG or flamethrower can shorten the raid, but only if it is already loaded and reachable. Leave enough funds for the post-shift medicine choice.
N9-M12 — Scan Vanessa McCree after checking her directly
Vanessa identifies herself as a sergeant and appears shaken. Compare the person at the counter with her record first, then sweep the whole body through the lens. The lens view does not reveal a reality change. Her tension and bulky uniform are not enough to reject her.
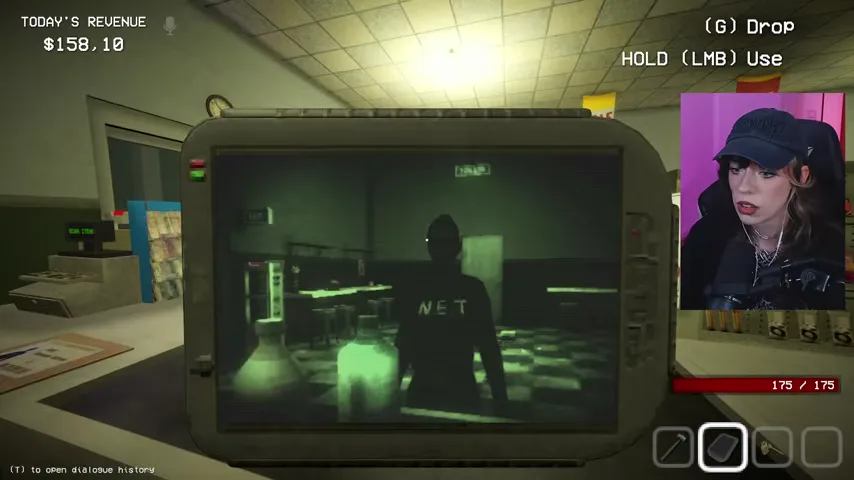
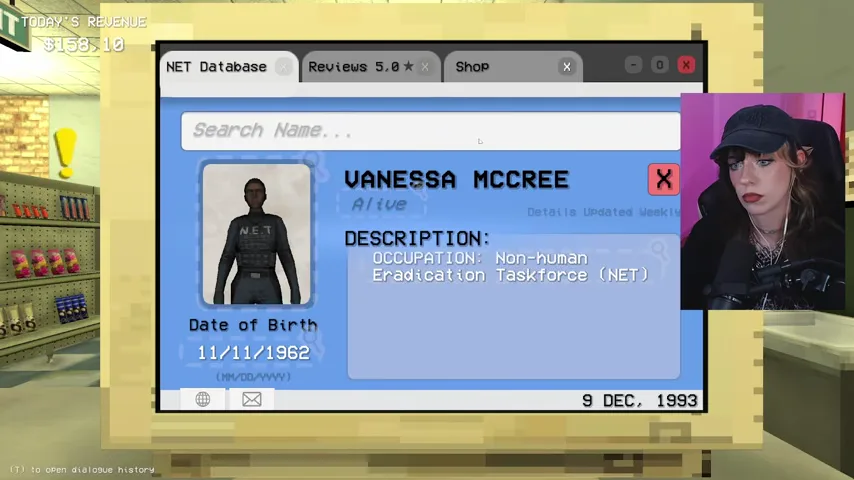
N9-M13 — Approve Vanessa when the record, dialogue, and Lens agree
The database lists Vanessa McCree as a sergeant born on November 11, 1962. Her role, uniform explanation, and appearance remain consistent with that record, and the result report classifies her as human. Do not mistake a dark transition, sudden noise, or nervous presentation for evidence against the customer.
Catch the relationship contradiction
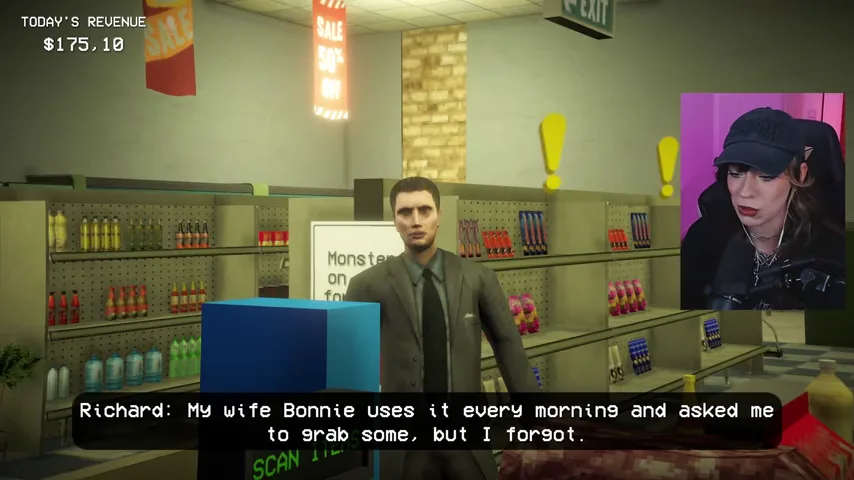
N9-M14 — Record Richard McCree's exact shopping story
Richard says his wife Bonnie uses leave-in conditioner every morning and asked him to buy the purple bottle. Do not reduce this to “buying something for his wife.” The product and the reason matter because the family database lets you test both details.
N9-M15 — Search Bonnie McCree before accepting the explanation
Look up Bonnie rather than only checking Richard. Her record describes her as bald. That makes a daily leave-in-conditioner routine impossible and directly contradicts Richard's story. Relationship searches are valuable precisely because the decisive fact may live in another person's file.
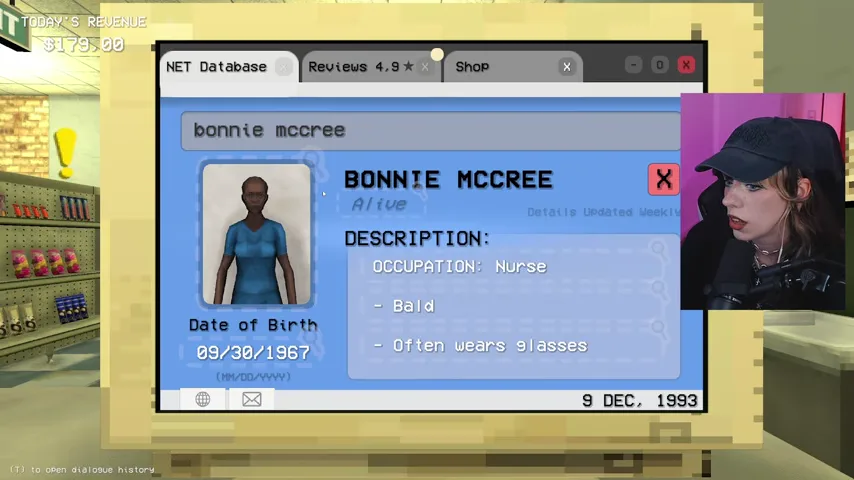
N9-M16 — Reject Richard when he repeats the hair-product claim
Question Richard again. He repeats “leave-in conditioner,” briefly tries to change the story to chocolates, then returns to the original claim. The contradiction is not a verbal slip after the second confirmation. Reject him; the report identifies the bald-wife mismatch as his doppelganger clue.
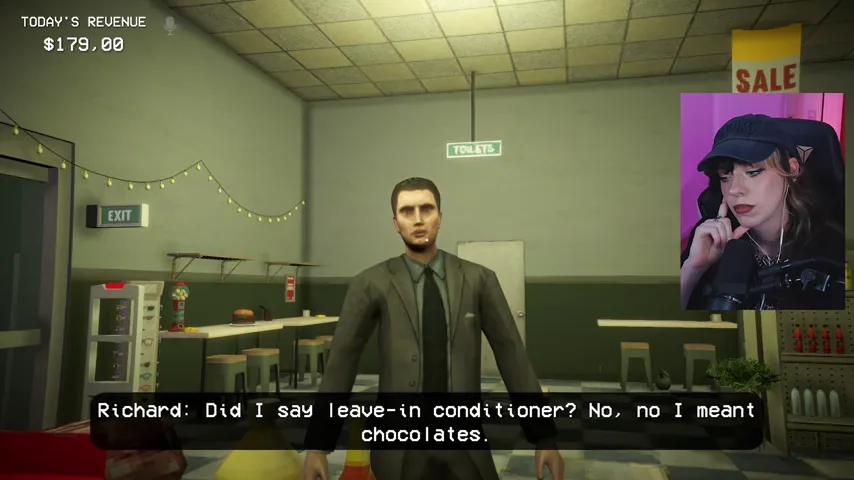
Survive the raid and stop the music box
N9-M17 — Stop all store work when the red alert appears
If a doppelganger completed a transaction earlier, the game announces the mistake and starts a hostile event. Abandon restocking, decoration, and cleanup. Grab the staged survival kit and begin the defense sequence immediately.
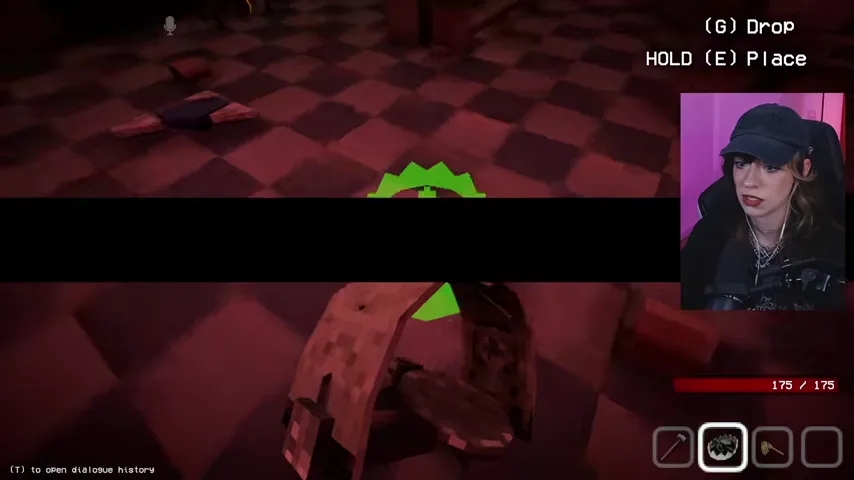
N9-M18 — Barricade, trap, and arm during the countdown
Board the main exterior routes, lay traps along entry lanes, and take a loaded gun plus backup damage. Keep healing and ammunition near cover. The countdown continues while you place items, so finish the essential doors and lanes first instead of trying to perfect the entire store.
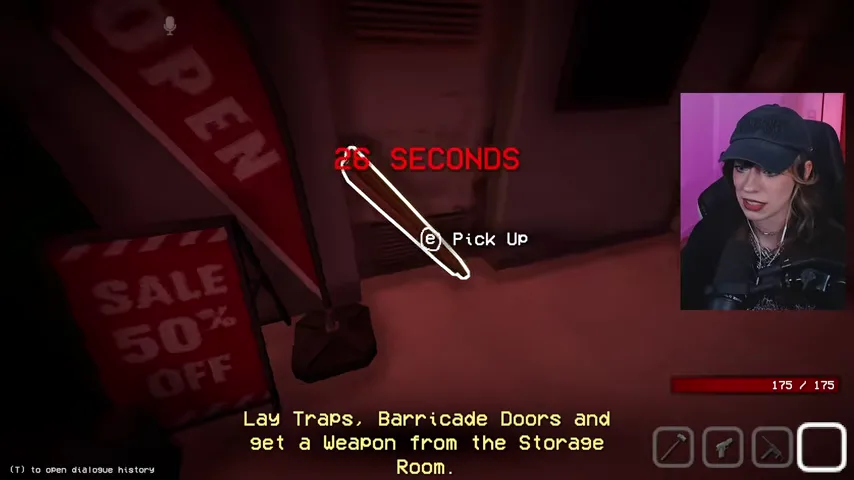
N9-M19 — Follow the melody and search both sides of the threshold
When the music starts, listen for direction and sweep the shop floor, counters, bins, doorway, and immediate exterior. The box can be difficult to see amid attackers and screen distortion. The sequence below shows why wandering without a search pattern wastes the available song cycles.
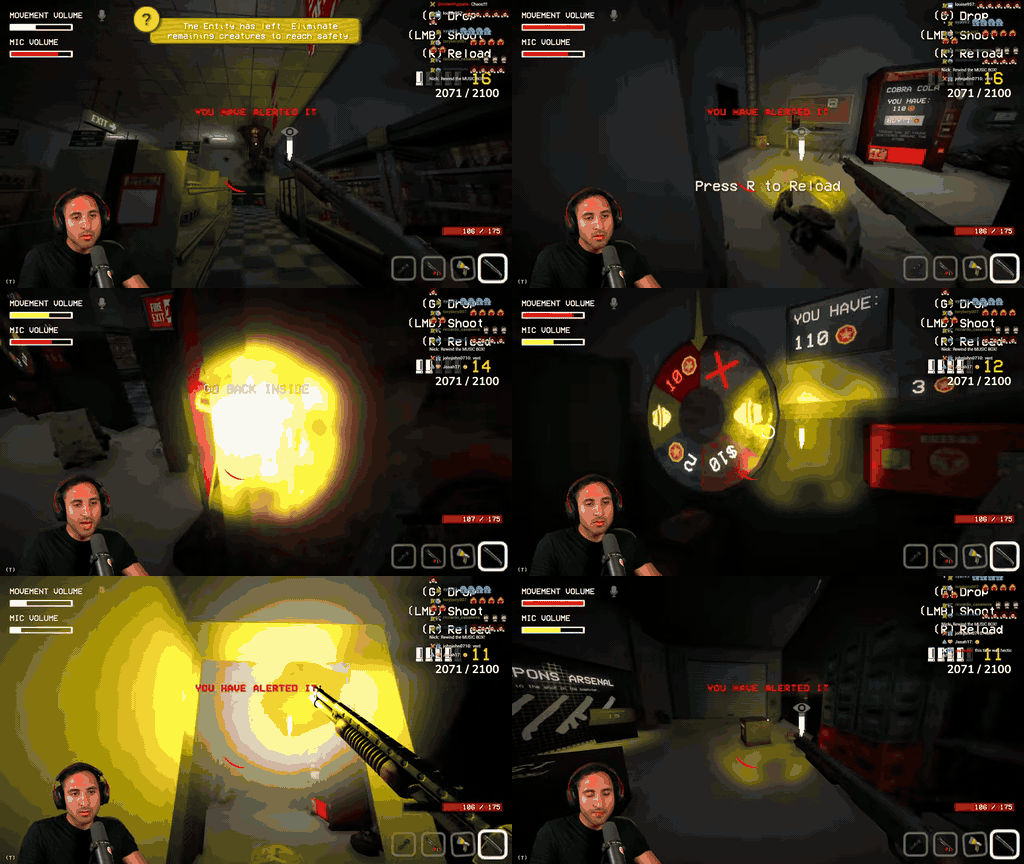
N9-M20 — Rewind on sight; the third completed song is the hard limit
The bright Jack-in-the-Box manifestation is the music-box threat, not ordinary loot. Approach only far enough to trigger the interaction and rewind it immediately. Do not wait for the current melody to end and do not spend two cycles “testing” the rule. If another hostile event is already active, abandon the rewind attempt only long enough to avoid lethal damage, then return to the threat as soon as a trap creates space.
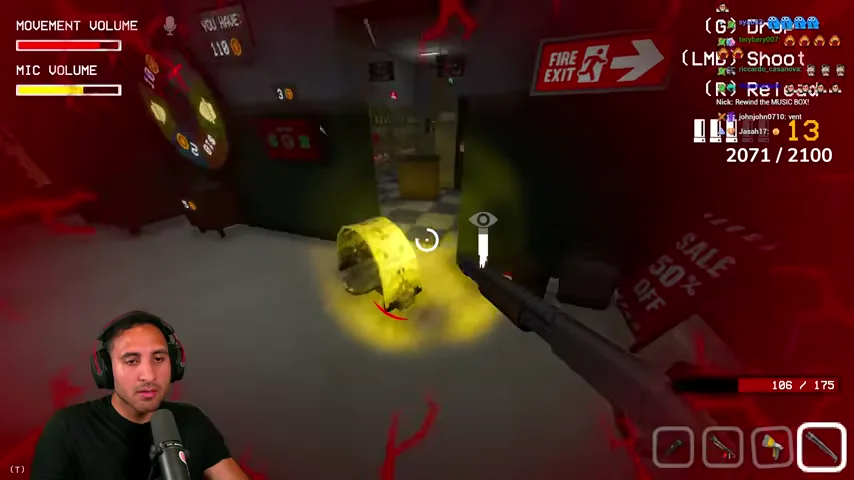
N9-M21 — Fight from prepared trap lanes, not the open floor
Draw entities across mines, deal damage while they are controlled, then reload behind a shelf or barricade. Swap to the backup weapon instead of standing still with an empty magazine. The box's visual and audio effects can obscure attackers, so keep moving between known cover points rather than chasing a marker blindly.
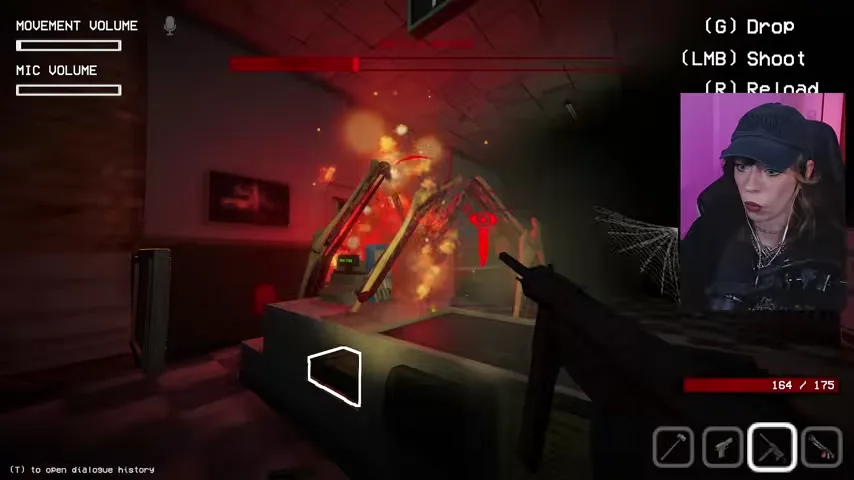
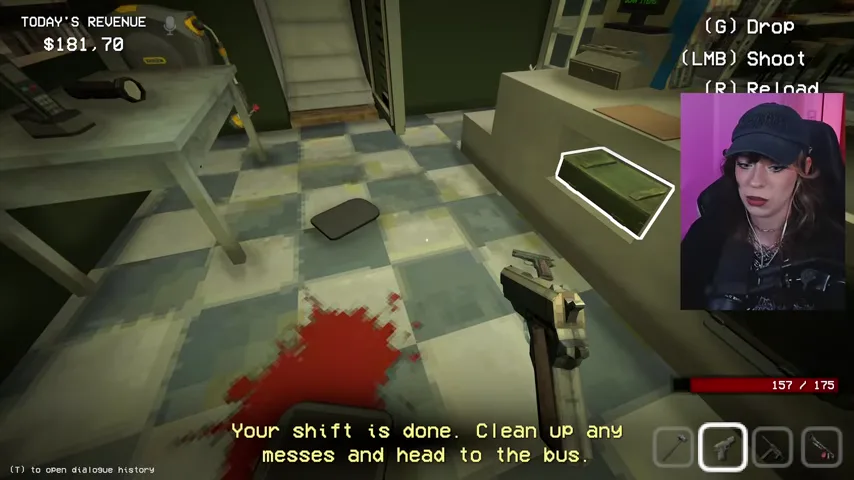
N9-M22 — Wait for the shift objective before cleaning
Do not assume that silence means the danger is over. Resume normal work only after the hostile objective clears. Then clean blood and debris, recover reusable equipment, restock the required products, and head to the bus.
Close the night and use the report
N9-M23 — Confirm Night 9 completion and the new skill
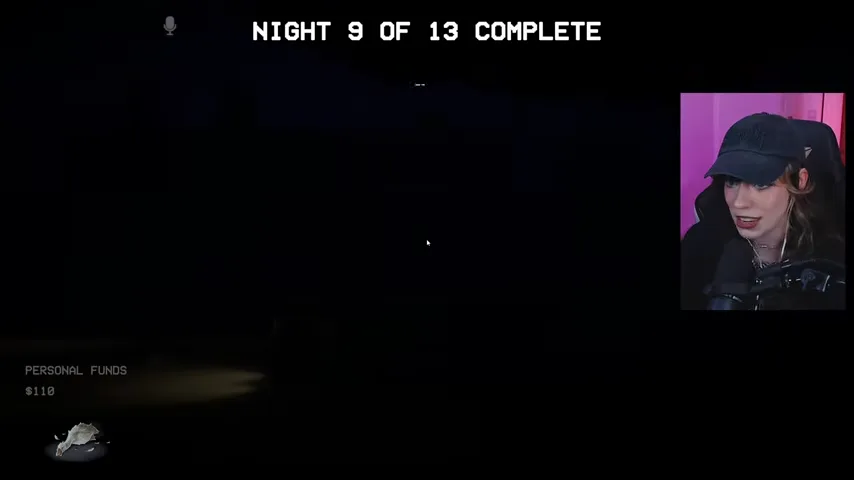
The result screen should read Night 9 of 13 Complete. Check quota, store revenue, human casualties, and the newly earned human skill. Surviving the raid does not erase customer mistakes, so continue into the detailed report.
N9-M24 — Pay for medicine and note tomorrow's veterinary visit
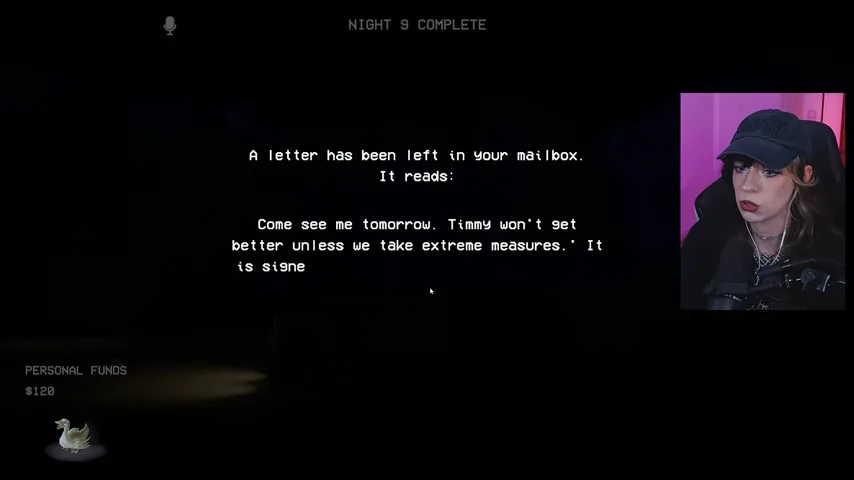
The $20 roach bonus arrives on the porch if the timed cleanup succeeded. Pay the next medicine bill so Timmy can join the next shift. A separate veterinary-clinic letter says that Timmy will not improve without extreme measures and asks you to visit tomorrow; this sets up the next story choice.
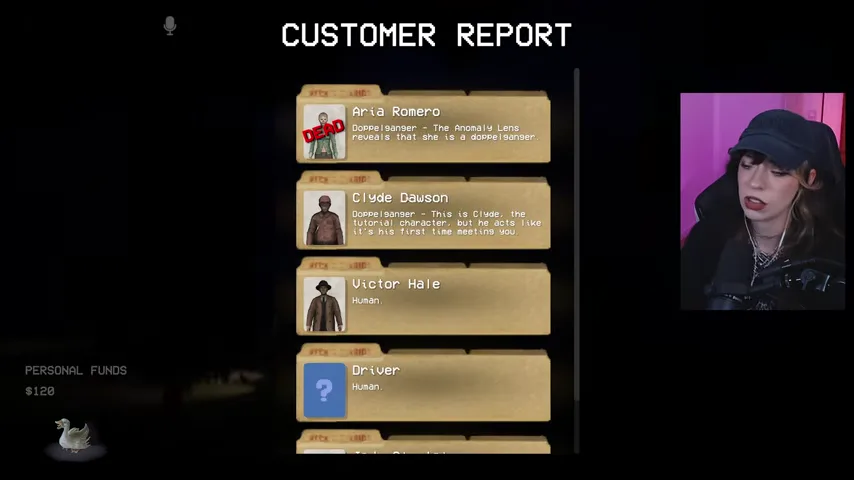
N9-M25 — Verify Aria, Clyde, Victor, and the driver in the report
The first half of the customer report confirms the reusable rules: Aria was exposed by the Lens; Clyde was false because he acted as if this was the first meeting; Victor Hale was human; and the suspicious driver was human. Correct the evidence rule that produced the decision rather than memorizing only the names.
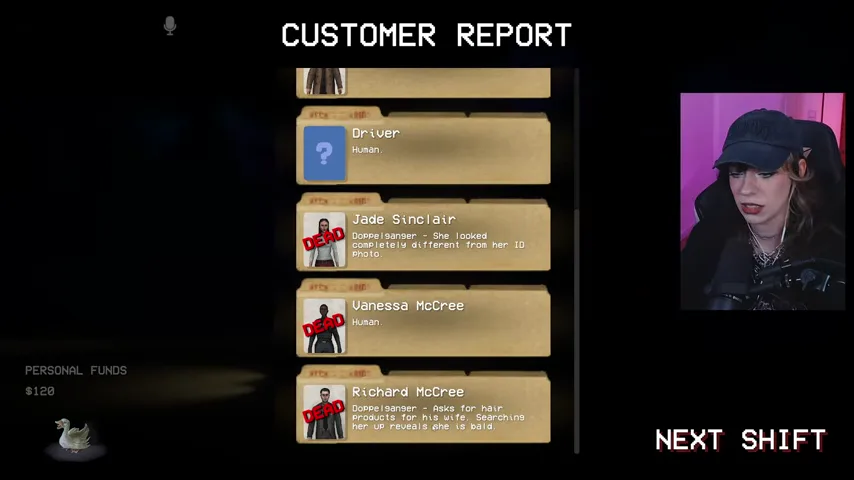
N9-M26 — Verify Jade, Vanessa, and Richard before Night 10
The second half confirms that Jade looked completely different from her ID photo, Vanessa was human, and Richard was false because his supposedly hair-product-using wife is bald. These three results reinforce Night 9's central lesson: compare specific evidence channels, and never let a confident story override a physical or relational contradiction.
Night 9 failure recovery
- The Lens showed nothing: lower it, look at the customer directly, and scan again from head to toe. A comparison without a direct-view baseline is easy to misread.
- You accepted Clyde: continuity is evidence. The real tutorial sheriff already knows you; a first-meeting introduction is the contradiction.
- You killed the driver or Vanessa: separate ordinary crime, anxiety, and unusual presentation from impossible evidence. Their verified Night 9 outcomes are human.
- You accepted Richard: search the named relative. Bonnie's bald record makes the leave-in-conditioner story impossible.
- The music-box song finished: follow the melody immediately and rewind on sight. Never budget all three completions; the third is the failure threshold.
- The raid overwhelmed you: buy and stage planks, traps, loaded weapons, ammunition, and healing before the final customers, then fight from trap lanes and cover.
Chapter navigation