

Shift At Midnight Night 11 Walkthrough — Blackout and Troublemakers
Memorize the East District blackout, drive off troublemakers with toilet paper only, verify every customer normally, and prepare for a raid only if a doppelganger completes a transaction.
Night 11 deliberately mixes ordinary disorder with supernatural evidence. A rude, disruptive, or violent-looking person may still be human, while a calm customer can expose themself through one impossible detail. Keep the two problems separate: use non-lethal control on the marked troublemakers, and reserve lethal force for customers whose records, appearance, vehicle evidence, or story prove they are doppelgangers.
Read the two Night 11 rules
N11-M01 — Memorize the East District blackout
Read The Midnight News before opening the store. A blackout hit the East District shortly after midnight last night, and crews expect power to return in two days. Preserve all three parts—location, timing, and restoration window—because a later customer claims that an East District business was running late.
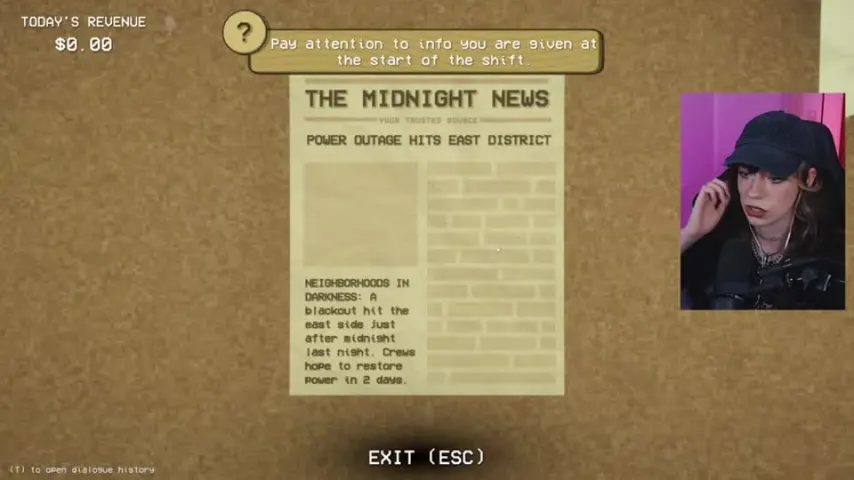
The useful clue is not simply “a blackout happened”: it affected the East District after midnight and remains unresolved.
N11-M02 — Read the troublemaker message in full
Open the new NET message before serving the queue. Troublemakers are humans who enter the store to annoy other customers. They lower the store rating and carry a distinctive icon above their head, but their behavior is not doppelganger evidence. The instruction explicitly limits you to non-lethal damage.
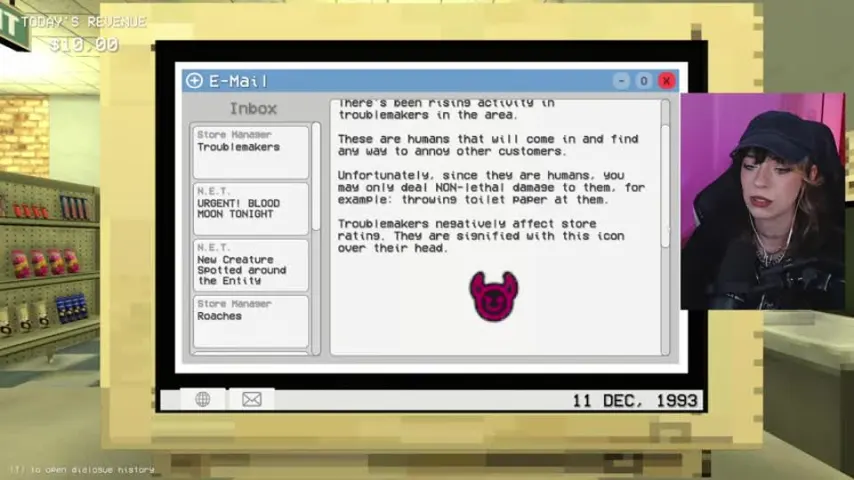
Treat the icon as a service-disruption marker, not a monster marker.
N11-M03 — Throw toilet paper until the troublemaker leaves
Keep several toilet-paper rolls in a quick slot. When the troublemaker icon appears, aim at the marked person and throw rolls until they stop harassing customers and run out of the store. Do not use the sledgehammer, firearm, traps, or any other lethal option. A troublemaker can look hostile and still count as a human casualty if killed.
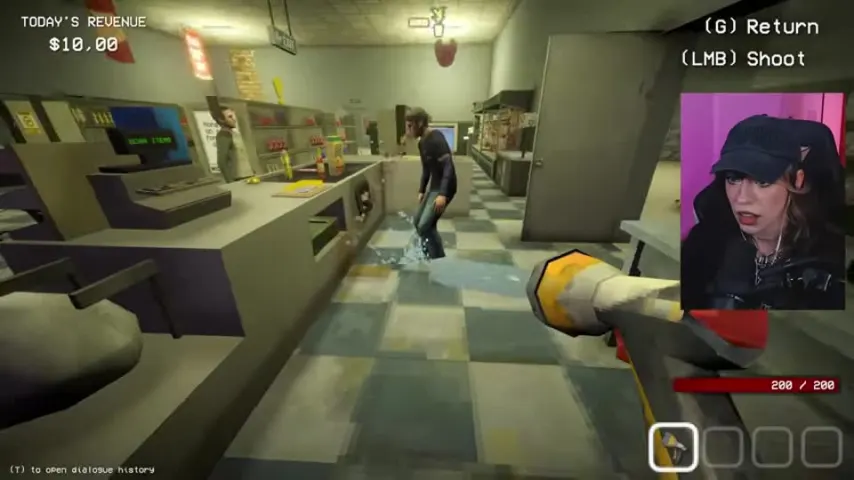
Handle the disruption quickly so waiting customers do not abandon their purchases and reduce the rating further.
Verify the customers without confusing behavior and evidence
N11-M04 — Establish Beth Callahan's verified identity
Scan Beth Callahan's ID and open her database record before judging her attitude. Confirm the portrait, name, and expected appearance. Her unemployment answer may sound defensive, but it does not conflict with the record and is not evidence by itself.
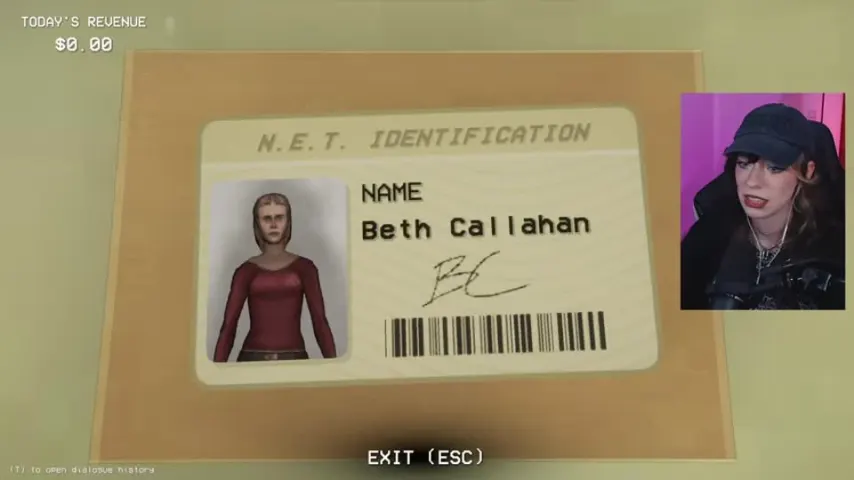
Start with the ID and record even when troublemakers are creating pressure elsewhere in the shop.
N11-M05 — Confirm Beth's left-cheek scar and approve her
Compare Beth's face with the listed scar on the left cheek. Remember that the customer's left appears on your right while facing her. Once the scar, portrait, record, answers, and any available tool scan agree, complete the transaction. The Night 11 report confirms that Beth is human.
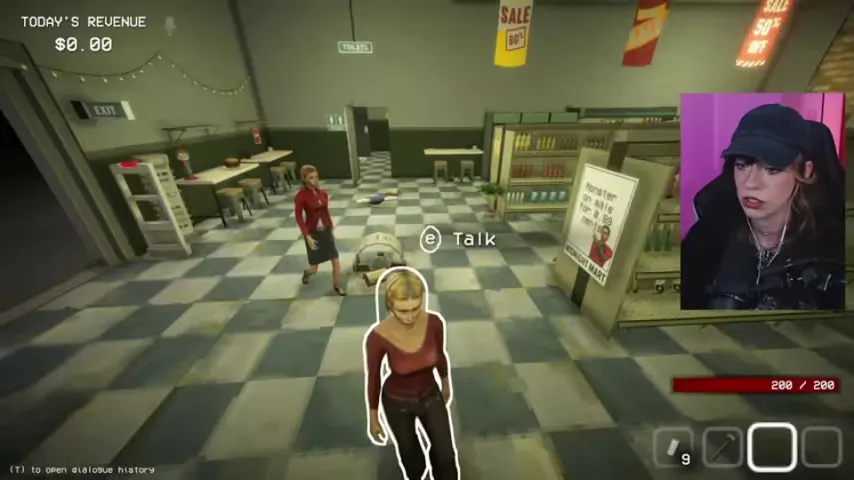
Do not turn impatience or a terse answer into supernatural proof; the physical evidence is consistent.
N11-M06 — Inspect the fuel customer's vehicle before pumping gas
For a fuel request, leave the counter and inspect the vehicle before finalizing the sale. Check the plate, vehicle description, visible passengers, luggage, and framed photographs. Do not approve solely because the spoken family story sounds detailed.
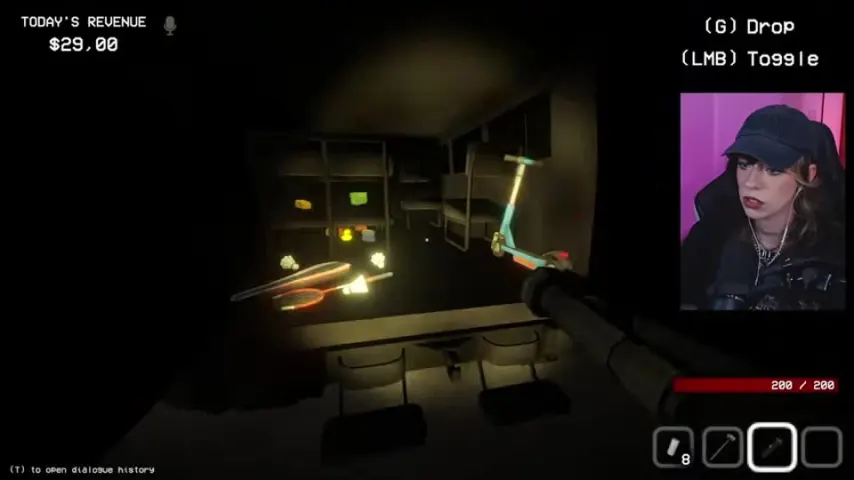
Vehicle inspection is part of the identity check, not an optional detour after the fuel transaction.
N11-M07 — Reject the driver when the family photo shows someone else
The driver says the person in the framed photograph is him with his adopted children. Compare the face in that image with the man sitting in the vehicle: they are clearly different people. Reject the transaction. The result report confirms that this hidden portrait mismatch identifies a doppelganger.
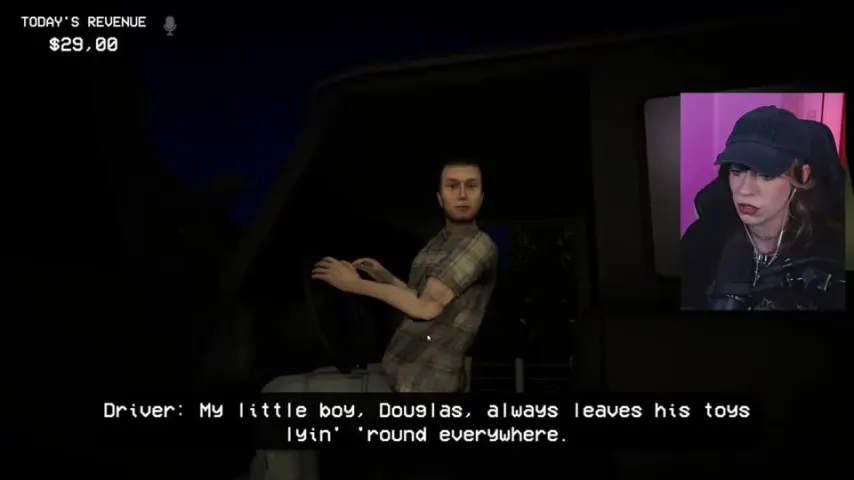
A claimed relationship does not repair a direct portrait mismatch.
N11-M08 — Catch Natasha Linn's work-hours contradiction
Natasha Linn's record lists her as a bartender and notes that she is often in makeup. Her claim that she has been working since the morning conflicts with the fact that her bar only opens at night. Verify the record and dialogue, then reject her. The end-of-night report confirms that this timing contradiction belongs to a doppelganger.
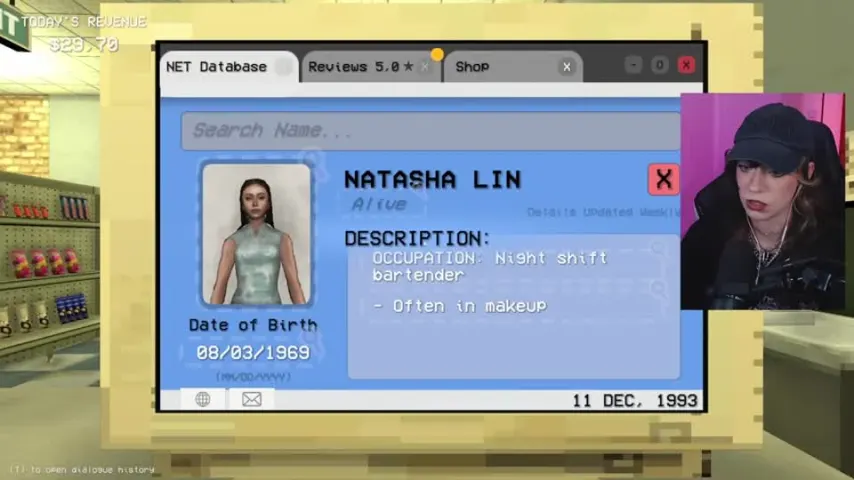
Occupations are not filler text: compare the customer's claimed schedule with the workplace facts.
N11-M09 — Record Ethan Voss's East District laundromat claim
Ethan Voss says that his laundromat is the only one on the east side of town and that business has kept him running late. Do not decide while listening to only one sentence. Keep him at the counter, verify his identity fields, and compare the claim with the nightly news.
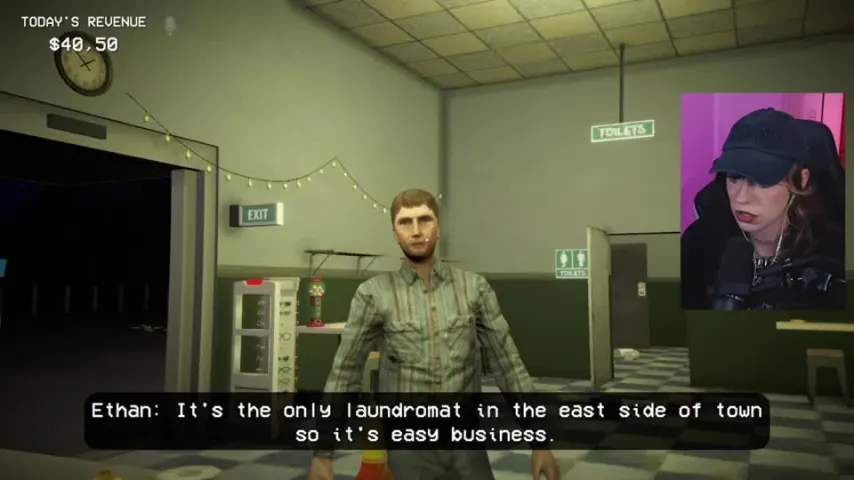
The location statement ties Ethan directly to the blackout clue.
N11-M10 — Reject Ethan because the blackout makes the late shift impossible
Reopen the newspaper if necessary. The unresolved East District outage began just after midnight, so Ethan could not have kept that East District laundromat operating late under normal power. Reject him. The customer report confirms the power-outage contradiction.
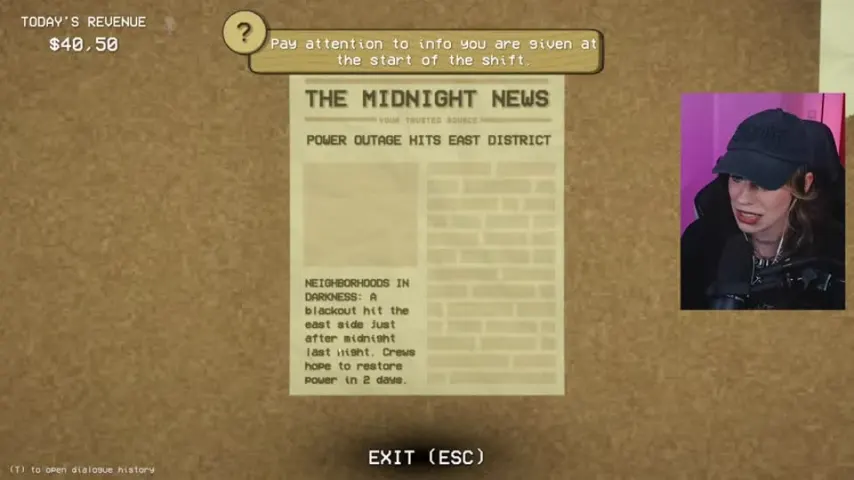
This is the night's central cross-document test: customer statement versus time-stamped local news.
N11-M11 — Treat Herbert the talking bear as impossible evidence
Herbert arrives as a bear, speaks like a customer, and presents an unusable leaf-like identity card. Do not let the polite dialogue override what is plainly impossible. Search what information you can, run the available scan, and reject him as a doppelganger.
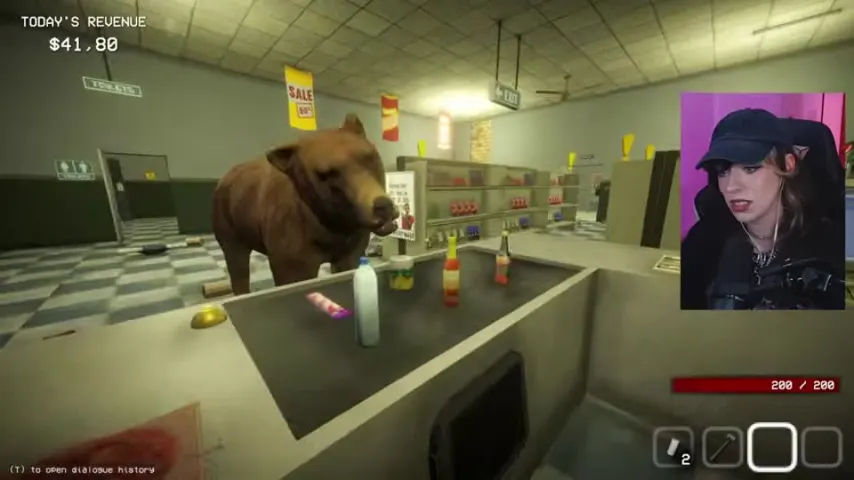
The Night 11 report states the decisive clue directly: Herbert is a talking bear.
N11-M12 — Reject Rudnick Wex after the contorted entrance
Watch the entrance instead of staring only at the computer. Rudnick Wex enters while his body is twisted into an impossible shape, leaving an immediate visual contradiction before the normal interview begins. Keep a safe distance and move into the evidence check.
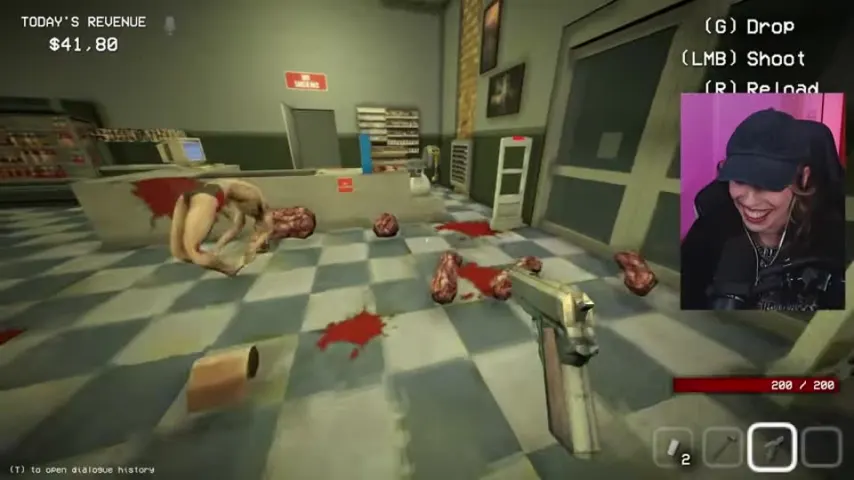
Impossible movement is stronger evidence than unusual posture or nervous body language.
N11-M13 — Use the database to confirm Rudnick's identity failure
Search Rudnick's name manually and compare the result with the person at the counter. The end report adds that the real resident is deceased, while the observed customer entered in an impossible pose. Reject him; both the database status and the physical entrance point to the same conclusion.
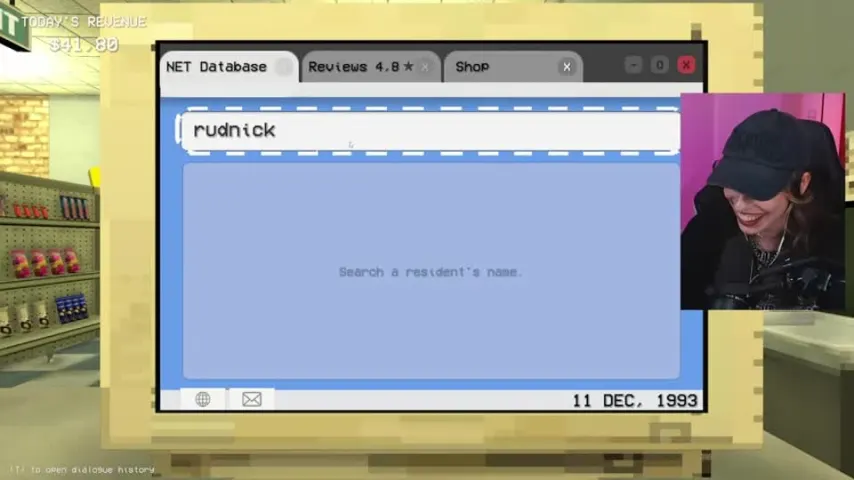
When visual and database evidence agree, do not continue serving the customer in hopes of a more ordinary explanation.
N11-M14 — Finish Judith Calhoun's check and keep the shop moving
Judith Calhoun is picking up a few items for herself. Verify her English-teacher record, her comments about her late husband Harold, the stated purchase amount, visible traits, and the scan result. When those channels remain consistent, approve her and complete the sale. The final report marks Judith as human.
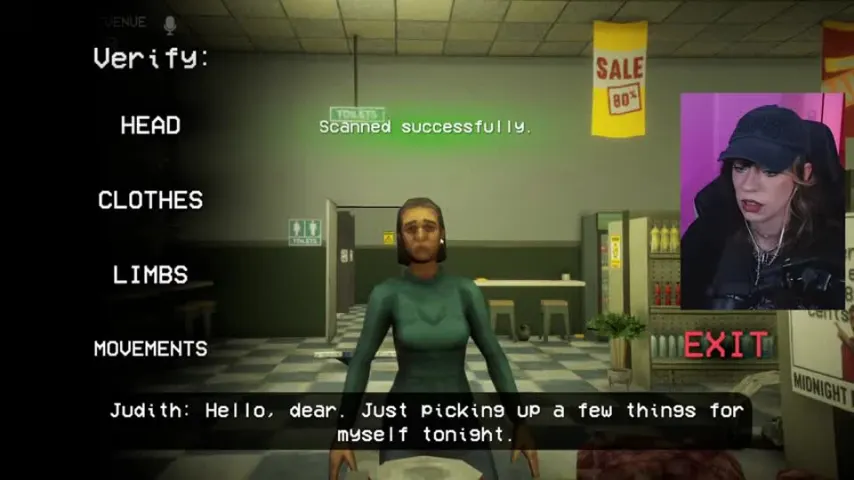
Keep restocking between customers, recover stolen items, and clean hazards when the counter is clear; service pressure never cancels the identity workflow.
Survive the conditional Night 11 raid
N11-M15 — Stop all store work when the red alert appears
A mistake-free run can proceed directly to closing. If a doppelganger completed a transaction, however, the red alert starts a hostile phase. Stop checking shelves, chasing thieves, decorating, and cleaning. Retrieve the defense kit immediately.
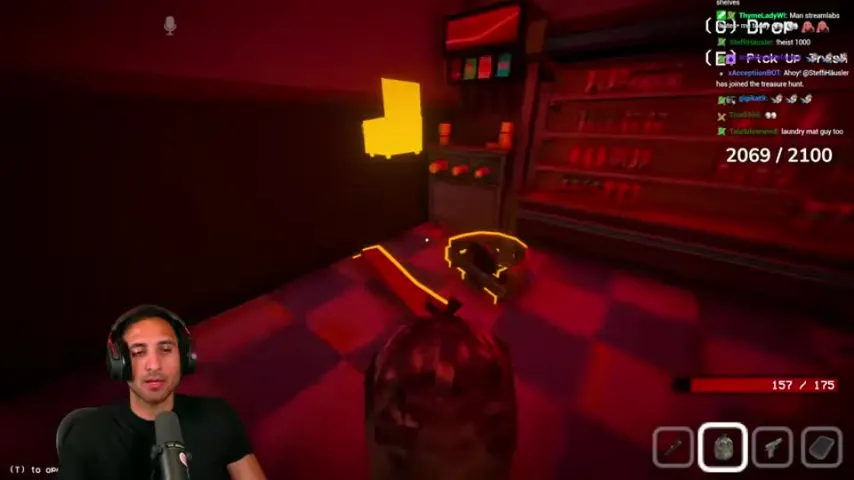
The alert changes the objective from retail work to survival; do not finish one more errand first.
N11-M16 — Use the countdown for traps, barricades, and weapons
During the countdown, barricade the main entrances, place traps along approach lanes, and collect a loaded primary weapon, backup weapon, ammunition, and healing. Keep a route back to the store interior. Covering essential entrances matters more than spending the timer on perfect placement.
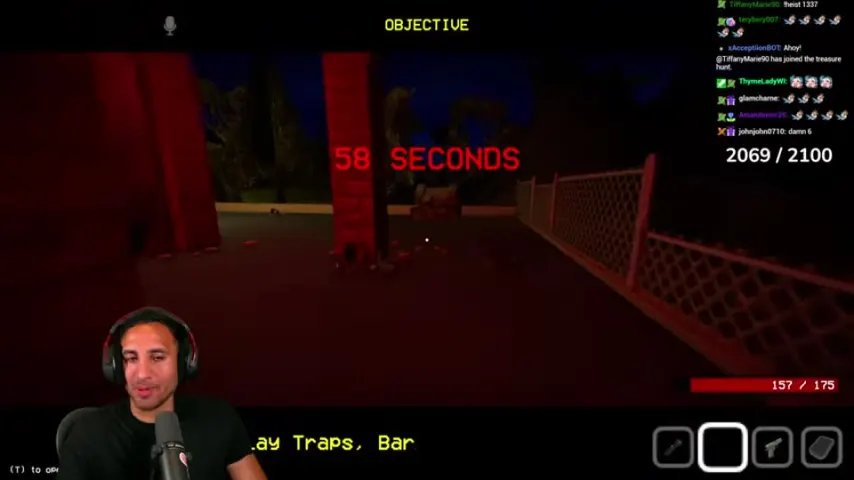
Preparation should already be purchased and staged before the last customer whenever the shift has gone badly.
N11-M17 — Begin the defense from a controlled lane
Take a position that lets the first attacker cross traps or a barricaded choke point. Fire in short, controlled bursts and keep the fallback route clear. If the music-box threat is active from an earlier unlock, listen for its melody while defending and rewind it before the warning limit.
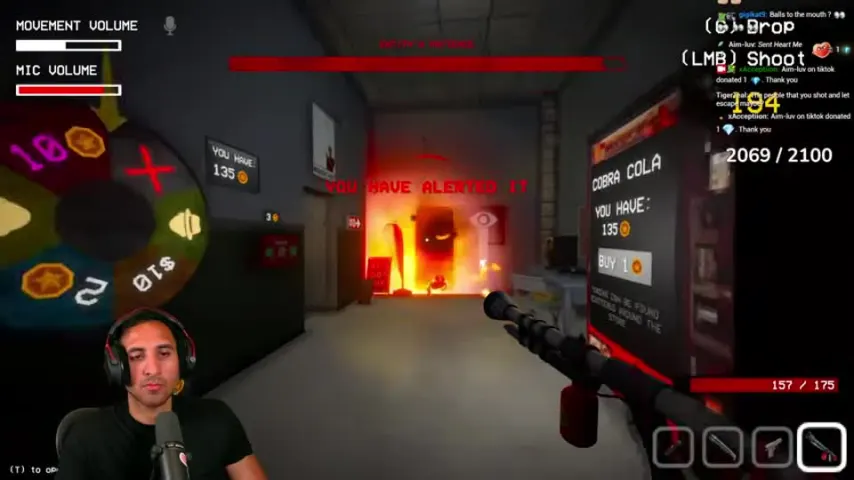
Do not stand in the open doorway with every weapon unloaded.
N11-M18 — Heal, reload, and rotate instead of trading damage
When an entity closes the distance, retreat through the prepared lane, reload behind cover, and use healing before re-engaging. Swap weapons rather than remaining stationary through a long reload. Bright effects and movement alerts can hide a second attacker, so keep scanning both the doorway and interior.
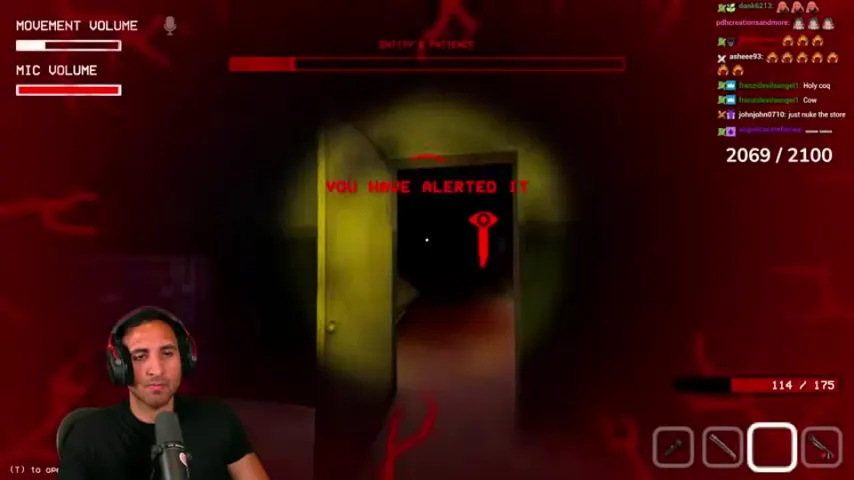
Survival is the goal; there is no reward for absorbing damage to finish an enemy a second faster.
N11-M19 — Wait for the raid objective to clear
Do not assume the phase is complete merely because the room becomes quiet. Check the objective and movement indicators, sweep the store, and stay armed until no enemies remain and the game restores the cleanup instruction.
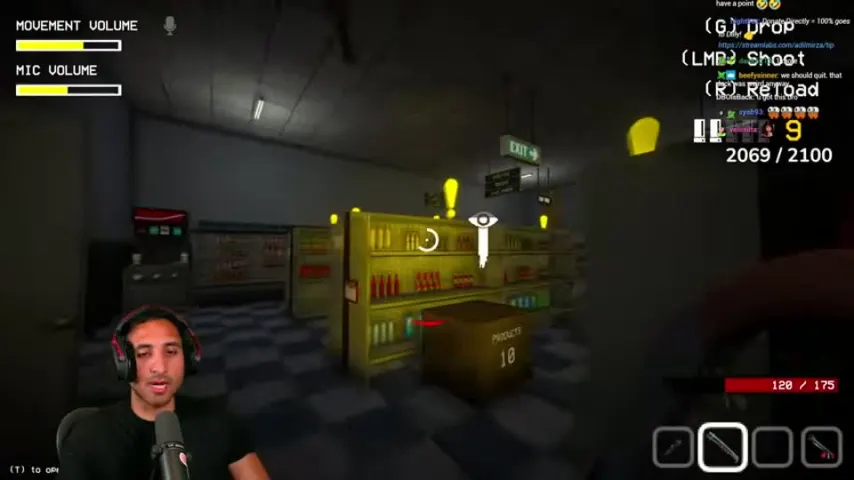
A premature cleanup attempt can leave you holding a mop when another entity reaches the aisle.
Clean, close, and learn from the report
N11-M20 — Clean every mess and head to the bus
Once the objective explicitly says the shift is done, mop blood and debris, remove remaining bodies or trash, recover reusable equipment, and refill obvious shelf gaps. Follow the instruction to leave for the bus only after the cleanup counter is satisfied.
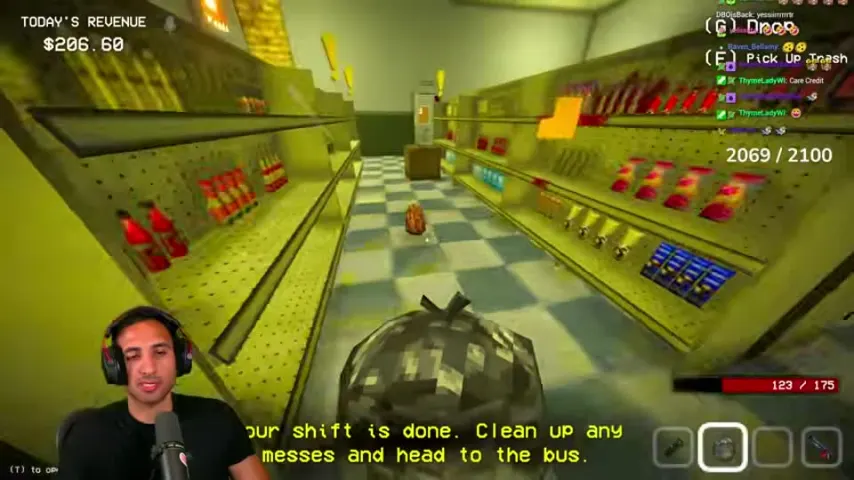
Post-raid cleanup is still part of the shift and protects the store's rating and readiness.
N11-M21 — Confirm Night 11 completion and the quota result
The closing screen should read Night 11 of 13 Complete. Check quota progress, revenue, personal funds, human casualties, and any earned skill before opening the customer report. A successful fight does not erase an incorrect customer decision.

Use the completion screen to verify that the game recorded the night before continuing.
N11-M22 — Verify the driver, Beth, Natasha, and Ethan
Read the first half of the customer report. It confirms that the driver was false because the hidden family portrait showed a different adult, Beth was human, Natasha's morning-work claim conflicted with a night-only bar, and Ethan's late East District laundromat story conflicted with the blackout.
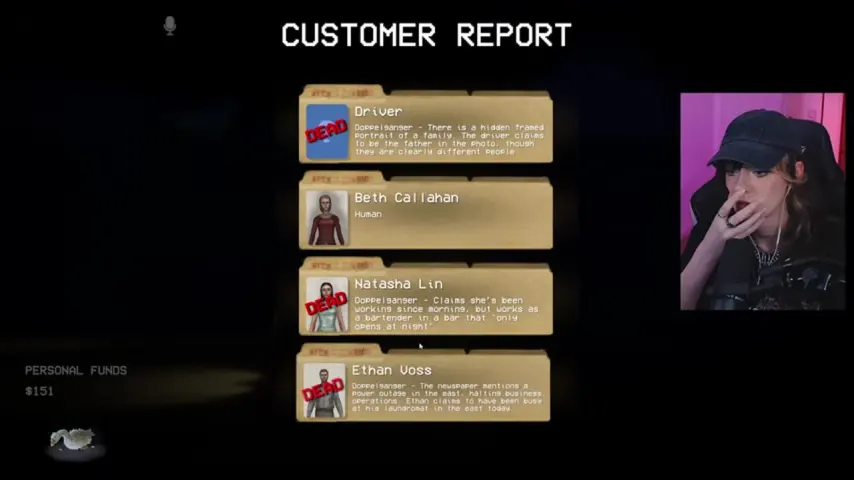
Correct the evidence rule behind a mistake rather than merely memorizing a name for another randomized run.
N11-M23 — Verify Herbert, Rudnick, and Judith before Night 12
The second half confirms Herbert as a doppelganger because he is a talking bear, Rudnick as a doppelganger because of his impossible movement and deceased real identity, and Judith as human. Carry the distinction into Night 12: ordinary crime or disruption needs proportionate handling, while impossible physical, record, time, and relationship contradictions prove the supernatural threat.
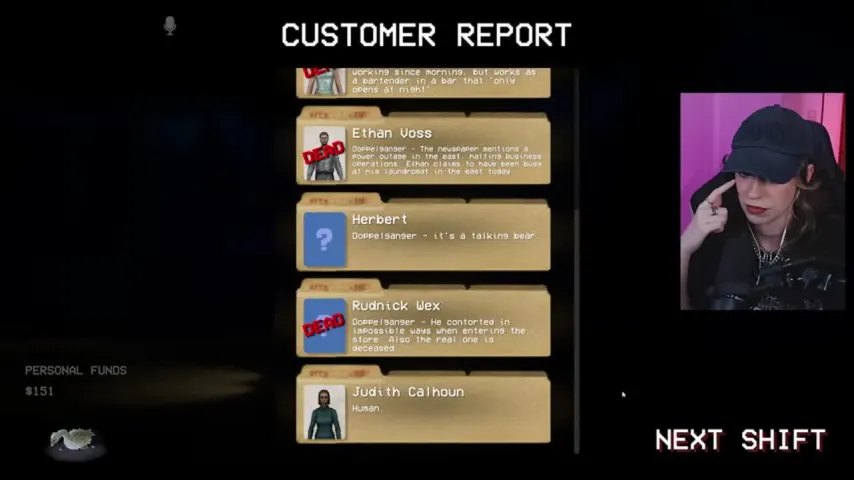
Night 11's lesson is precision under pressure: strange behavior is not enough, but a verified impossibility is.
Night 11 failure recovery
- You killed a troublemaker: restart or accept the human casualty, then use only thrown toilet paper on the marked disruptors. Never use the sledgehammer or gun on them.
- Customers keep leaving: remove troublemakers promptly, return stolen products, finish the current transaction, and restock during gaps instead of abandoning the queue for long chores.
- You accepted Ethan: compare every location-and-time claim with the newspaper. An East District laundromat could not be running late during the unresolved blackout.
- You accepted the driver: inspect every framed photo in the vehicle and compare faces, not just the family story.
- You rejected Beth or Judith: repeat the full record, appearance, dialogue, and tool checks. Attitude, grief, unemployment, or unusual phrasing are not contradictions on their own.
- The raid overwhelmed you: buy and stage barricades, traps, loaded weapons, ammunition, and healing before the final customers, then rotate through prepared lanes instead of fighting in the doorway.
Chapter navigation