

Shift At Midnight Night 12 Walkthrough — Walter, the Music Box, and Clyde's Call
Read the missing-person notice and anonymous email first. Reject Yasmin when her gold jewelry vanishes through the Anomaly Lens, reject Maya because she claims a date with missing Walter, and reject Cara because the real 23-year-old claims she is turning 30. Stage traps and weapons before the countdown, unwind the Jack-in-the-Box immediately, finish every entity, clean the store, then decide whether to call Clyde for Night 13.
Night 12 ties three systems together: the missing-person story, the hardest customer evidence checks so far, and a late combat phase that punishes poor preparation. The customer order can vary, but the contradictions and the end-of-night decision remain stable.
Read the opening evidence before serving anyone
N12-M01 — Memorize the third-week missing-person notice
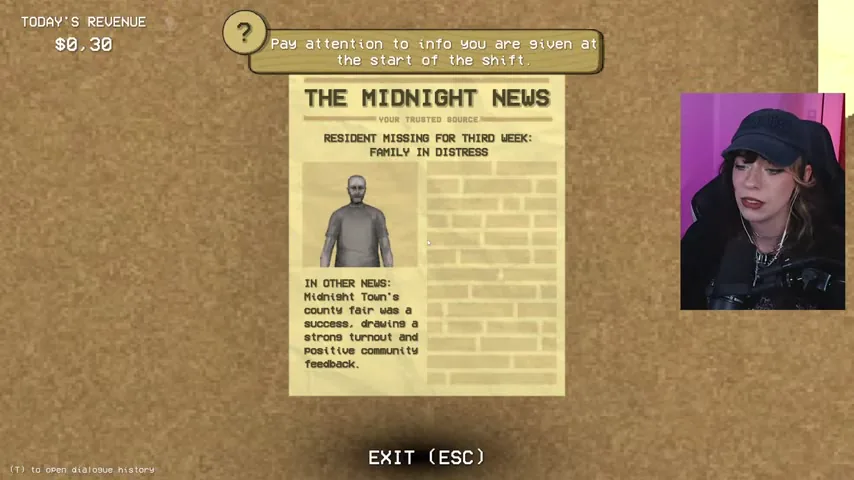
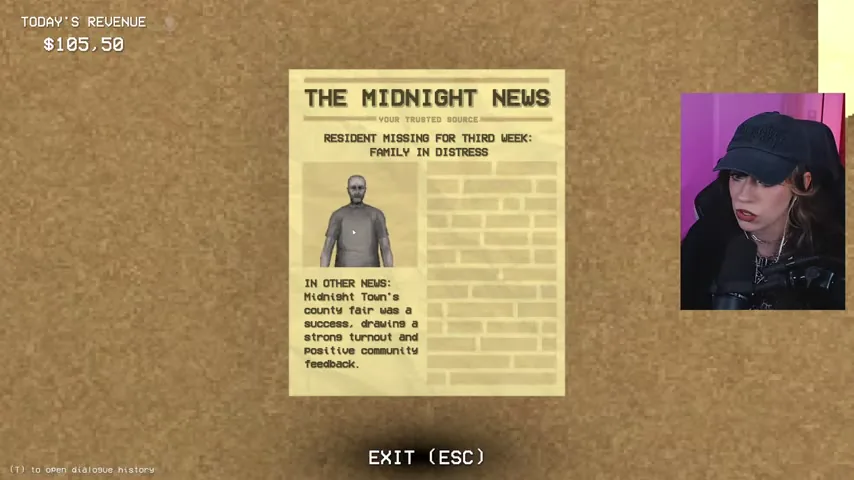
Read the newspaper on the notice board before opening the store. It reports that a male resident has been missing for a third week and that his family is in distress. Focus on the portrait. The county-fair item below it is background news; the face is the evidence you will need when a later customer mentions her husband.
N12-M02 — Read the anonymous surgery offer, but do not answer it yet
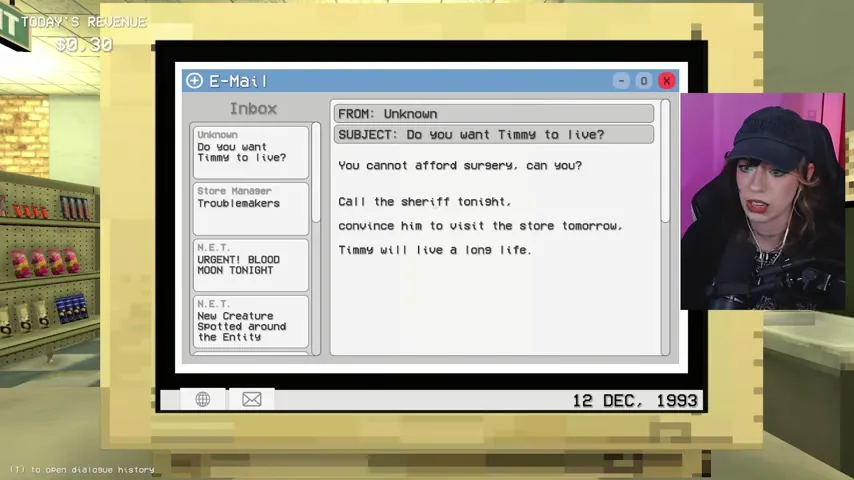
Open the email titled Do you want Timmy to live? The unknown sender says you cannot afford surgery and instructs you to call the sheriff tonight, persuade him to visit the store tomorrow, and receive a long life for Timmy in return. This is a Night 13 branch setup, not a counter objective. Record the offer and continue the shift; the actual call decision comes after the result screen.
Clear the first customers and buy the defense kit
N12-M03 — Approve Mark Ellison after the ordinary record check
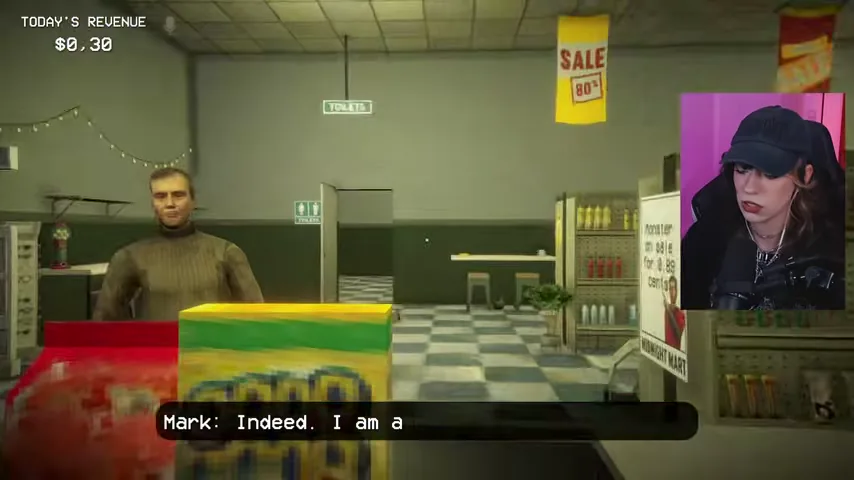
Mark Ellison identifies himself as a maintenance supervisor. Compare the live face, ID, signature, and database entry, then scan the normal verification categories. Nothing contradicts the record in the verified route, and the final report marks Mark as human. Do not confuse his resemblance to the newspaper portrait with proof; the named missing resident is established later as someone else.
N12-O01 — Buy planks, traps, and ranged damage while the shop is quiet
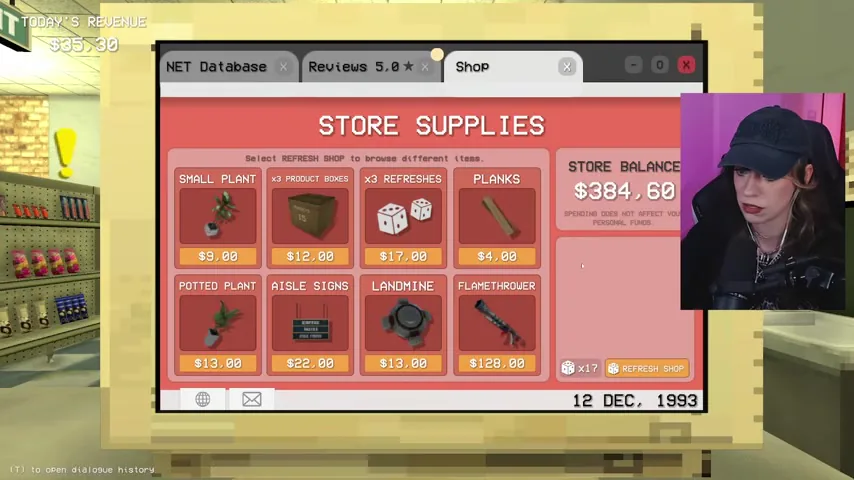
Use the store-supplies tab before the queue becomes hectic. Buy planks or barricade materials, at least two traps, a loaded firearm, spare ammunition, healing, and a high-damage option such as the flamethrower if funds allow. Keep one inventory slot free. Night 12 gives little time to improvise once the red countdown begins.
Expose Yasmin with the Anomaly Lens
N12-M04 — Establish Yasmin Carvalho's normal appearance
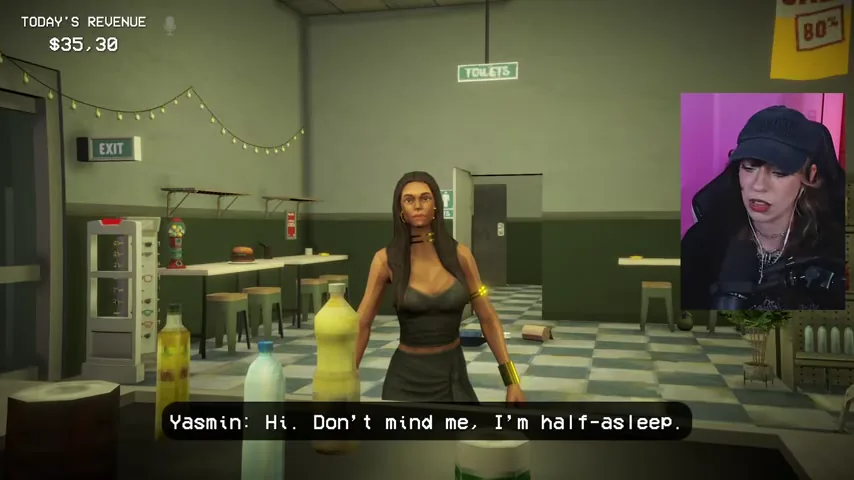
Yasmin Carvalho says she makes jewelry for the local flea market. Look at her directly and compare her ID portrait before raising the Anomaly Lens. Count the visible gold pieces on her neck, arms, and legs. The person, clothing, and jewelry create the baseline for the special-tool comparison.
N12-M05 — Reject Yasmin when the gold vanishes through the Lens
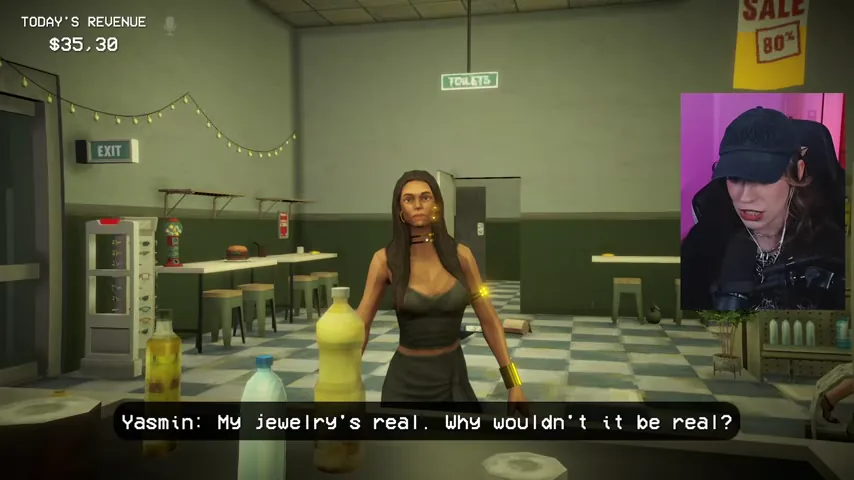
Yasmin insists that her jewelry is real. Hold the Anomaly Lens over the same view without changing position. The jewelry visible to the naked eye is missing through the Lens, which is an impossible material contradiction. Reject and eliminate her. The customer report explicitly confirms that Yasmin is a doppelganger because her gold jewelry disappears through the Anomaly Lens.
Separate Travis's unusual traits from an actual anomaly
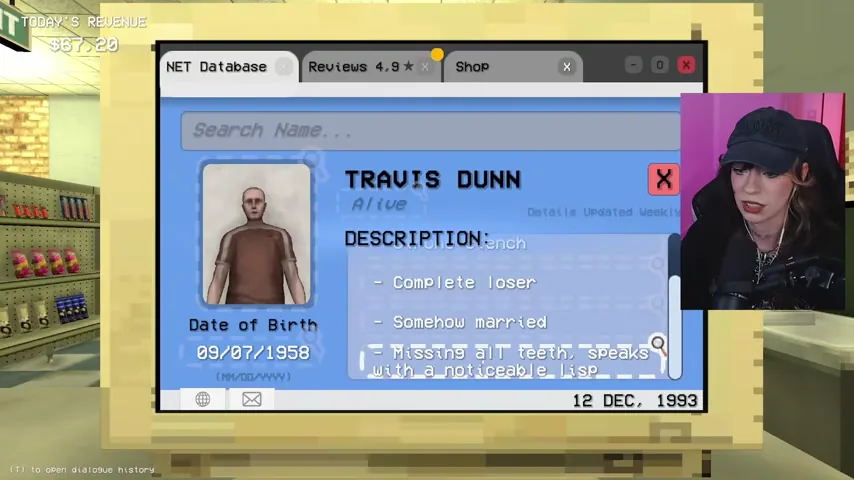
N12-M06 — Approve Travis Dunn when the teeth and lisp agree
Travis Dunn's database record describes him as missing all his teeth and speaking with a noticeable lisp. He may also claim that a brother-in-law works with the NET database while a spouse is hard to locate. Check the physical evidence first: the mouth and speech match the stable record. The final report marks Travis as human, so do not kill him merely because his relationship story is odd or incomplete.
Complete the vehicle inspection
N12-M07 — Ask the driver about Mayor Dawson's old newspaper
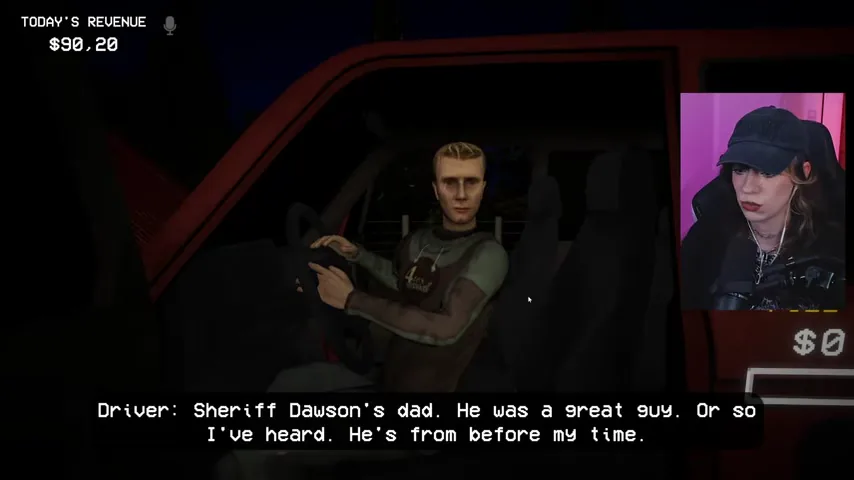
Search the vehicle before pumping fuel. One item is an old article praising Mayor Dawson for rescuing families during a flood. Ask about it. The driver explains that this was Sheriff Dawson's father and that the story predates him. The answer is consistent with an old clipping and is not a missing-person contradiction.
N12-M08 — Match plate 52F2 to the red SUV and approve the driver
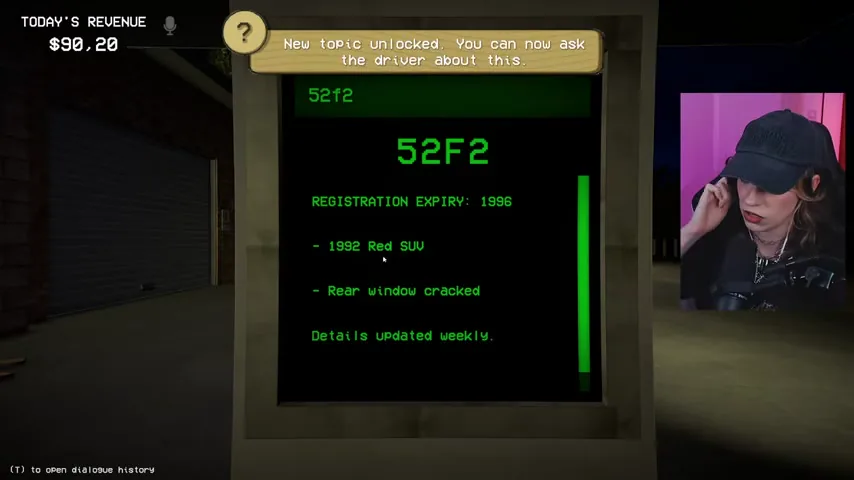
Enter 52F2 at the roadside terminal. The verified record returns a 1992 red SUV with a cracked rear window and registration valid through 1996. Compare those details to the vehicle, finish the compartment search, then approve the driver. The result report marks this customer as human.
Solve the missing-husband case
N12-M09 — Preserve Maya Davila's exact date claim
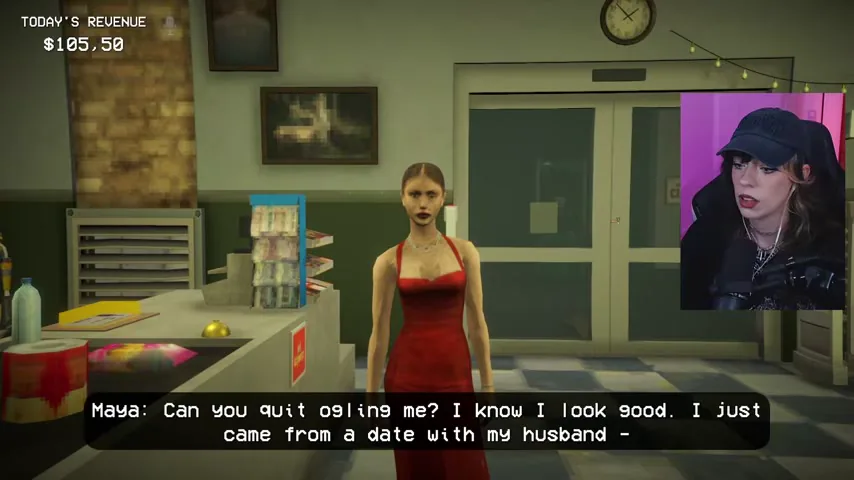
Maya Davila arrives in a red dress and says she has just returned from a date with her husband, Walter, who has always liked that dress. Her appearance, occupation, smaller left eye, and mole can all look plausible. Do not approve her yet: the named companion is the testable part of the story.
N12-M10 — Search Walter Davila and match his face to the notice
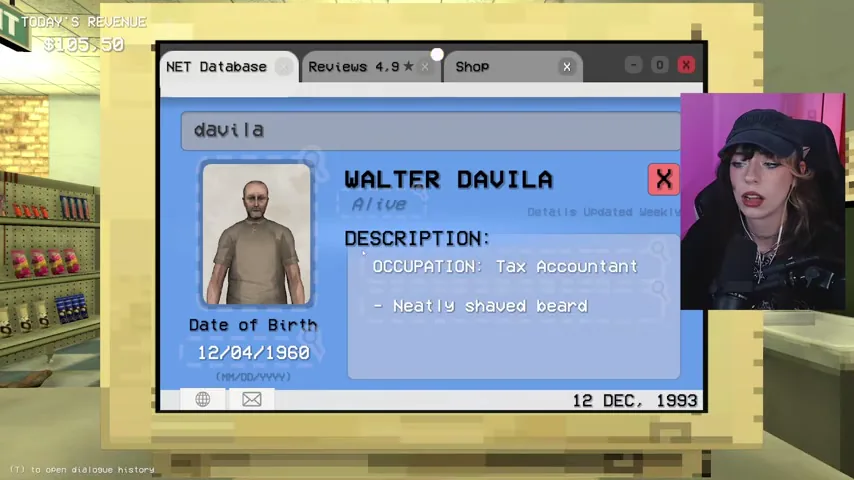
Open Walter Davila's database record. Compare his portrait with the man in the opening newspaper rather than relying on surname alone. The face matches the missing resident. This connection turns the newspaper from background text into direct counter evidence.
N12-M11 — Reject Maya because a current date with missing Walter is impossible
Reopen the notice if necessary and compare both faces one last time. Walter has been missing for three weeks, while Maya claims she has just been with him. Reject and eliminate Maya. The result report confirms she is a doppelganger because the newspaper contradicts her date story.
Approve Marjorie after a complete body check
N12-M12 — Verify Marjorie Cole's cane, bun, and manner
Marjorie Cole is a former librarian who walks with a cane, wears her hair in a bun, and curses frequently. She may be wearing glasses that invite an extra question, but an accessory change is not automatically supernatural. Compare the cane, hair, live face, and database description before deciding.
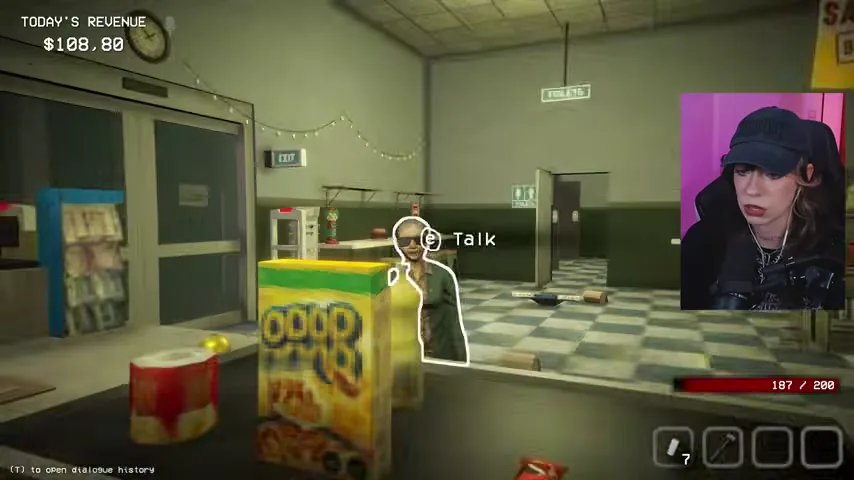
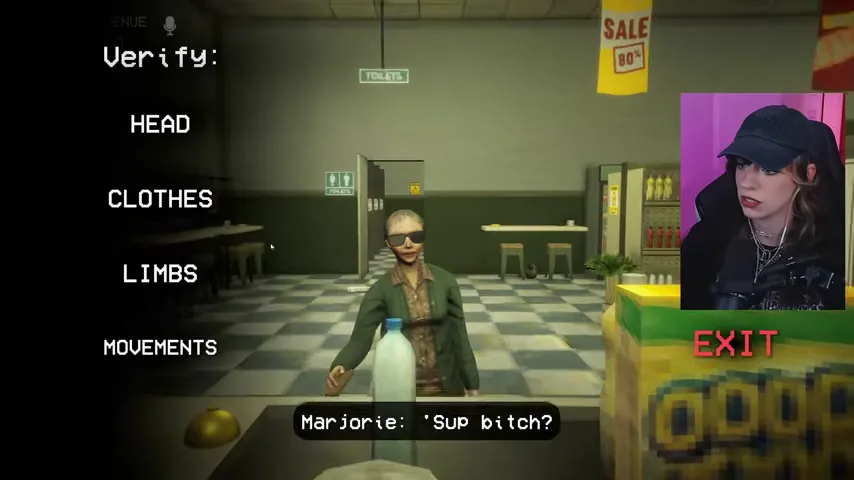
N12-M13 — Finish the head, clothes, limbs, and movement scan, then approve her
Run every verification category instead of stopping at her confrontational dialogue. The scan does not reveal an impossible head, clothing, limb, or movement discrepancy. Approve Marjorie; the final report marks her as human.
Catch Cara's impossible birthday
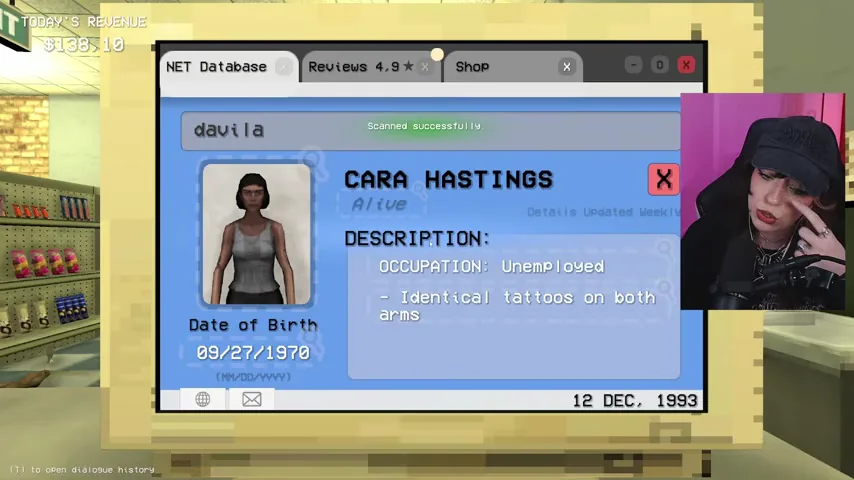
N12-M14 — Read Cara Hastings's real birth date before questioning her
Cara Hastings's database record lists a birth date of September 27, 1970. Because the terminal date is December 12, 1993, the real person is 23. Keep that number beside her statement; the tattoos and unemployment details are not the decisive evidence.
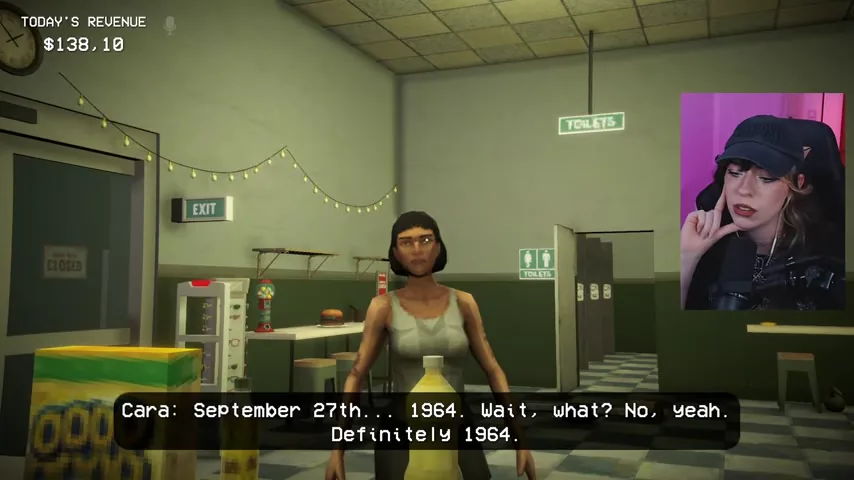
N12-M15 — Reject Cara when she says she is turning 30
Cara says she is gathering supplies for her 30th birthday and, when pressed, changes the year to 1964. Neither claim matches the 1970 database date. Reject her. The report identifies Cara as a doppelganger because the real person is 23 while this customer claims to be 30.
Finish the final human check
N12-M16 — Approve Elena Park when the computer-engineer story matches
Elena Park says she has spent the day staring at a monitor, consistent with her computer-engineer occupation. This matters because an earlier impersonator may have described automotive work that contradicted the same occupation. Check her acne, ID, record, and scan; the verified Night 12 report marks Elena as human.
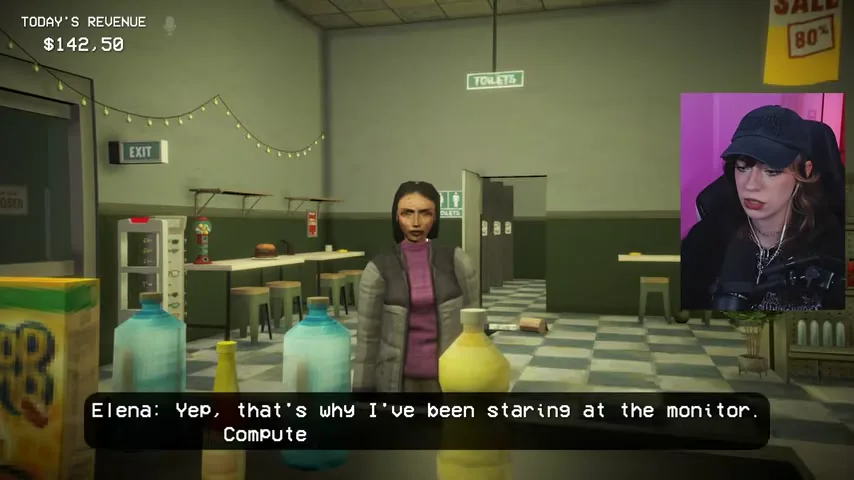
Prepare before the entity countdown expires
N12-M17 — Barricade the exposed doors immediately
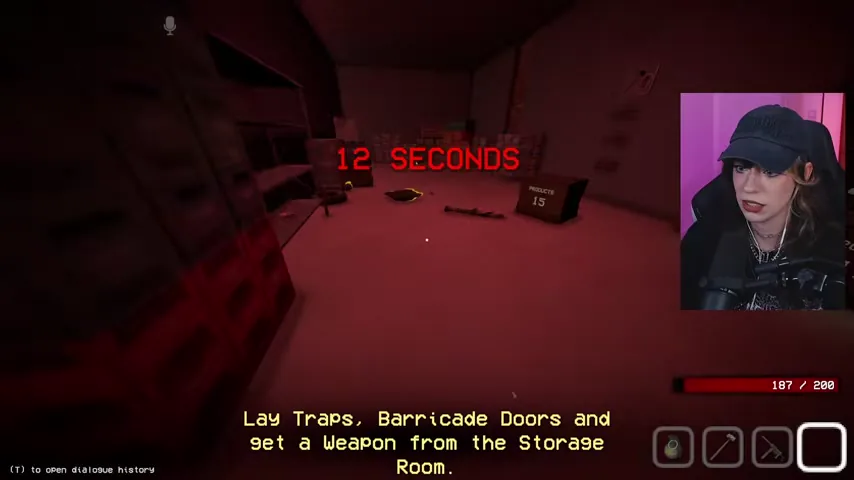
When the red countdown appears, stop stocking and cleaning. The objective explicitly tells you to lay traps, barricade doors, and collect a weapon from the storage room. Board the most exposed entrance first and keep one route between the shop floor and storage usable.
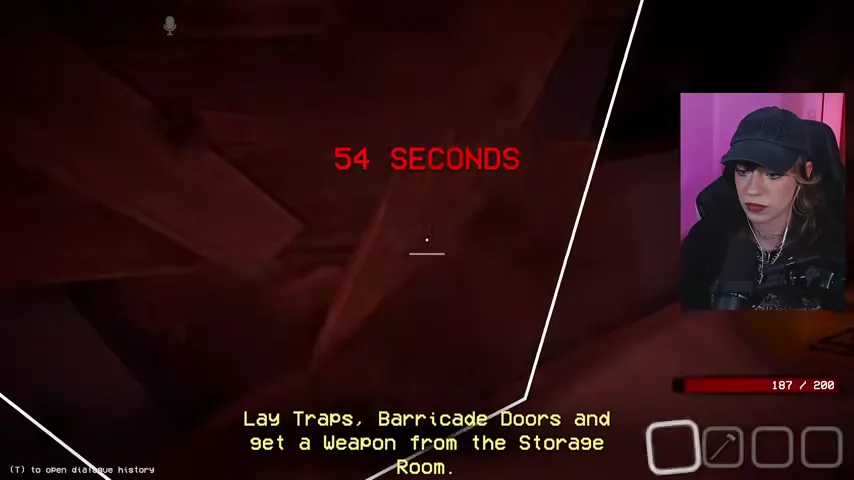
N12-M18 — Put bear traps on forced approach lanes
Place traps where enemies must cross: just inside the entrance, along the counter lane, and near the route into the back room. Do not put them directly under your own starting position. A separate verified run failed because the special attacker could not be finished without reaching a trap safely.
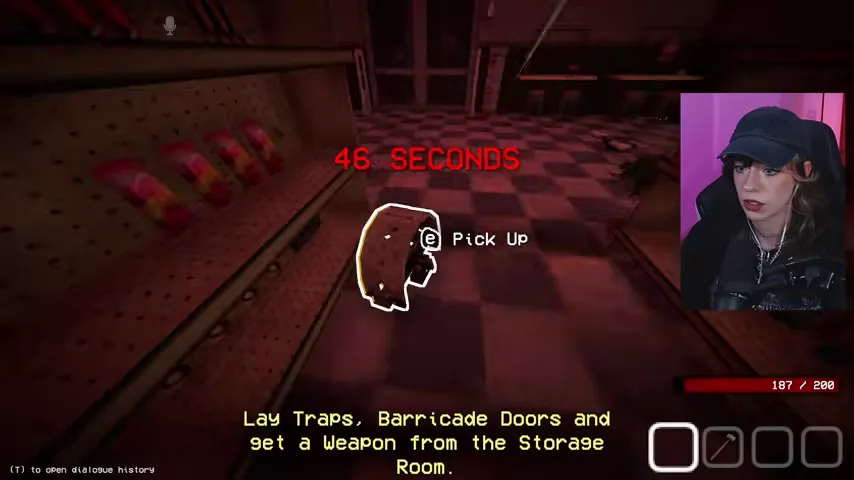
N12-M19 — Take the storage-room weapon before the shutters open
Visit the weapons arsenal while the countdown is still active. Take a loaded firearm and confirm ammunition rather than assuming the weapon on the wall is ready. If you bought a flamethrower, keep it as the crowd-control option and preserve a conventional gun for distant targets.
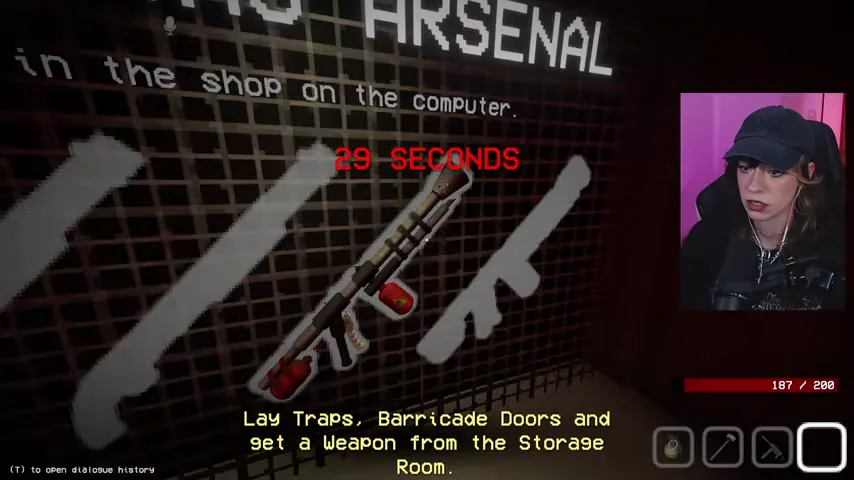
N12-M20 — Stage mines without blocking your retreat
Use the remaining seconds to place mines farther down the approach route. Keep a clear path to hard cover and the Jack-in-the-Box marker. Traps help control the special entity; they are not useful if your own placement prevents you from reaching the event objective.
Survive the assault and stop the Jack-in-the-Box
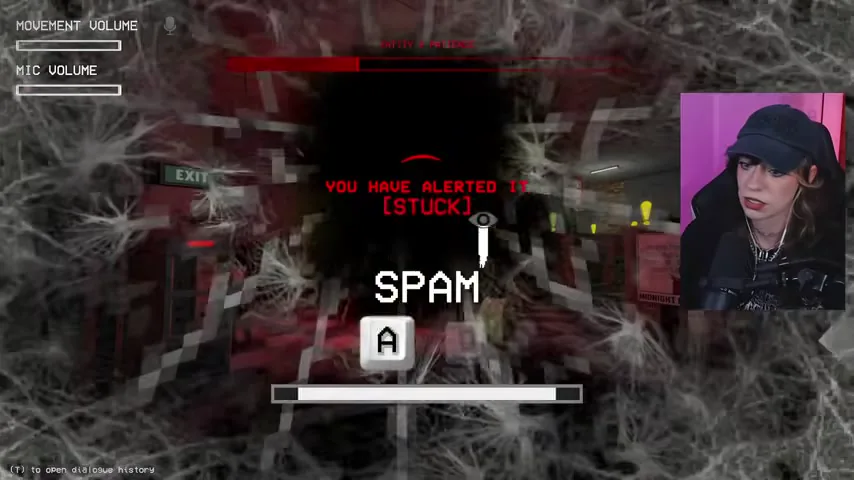
N12-M21 — Break the web restraint before taking another shot
The spider-like attacker can pin the player in a web overlay. Follow the on-screen rapid-input prompt until the bar fills. Trying to aim or reload while restrained wastes health and leaves the music-box event running. Escape first, then move toward cover or the next objective marker.
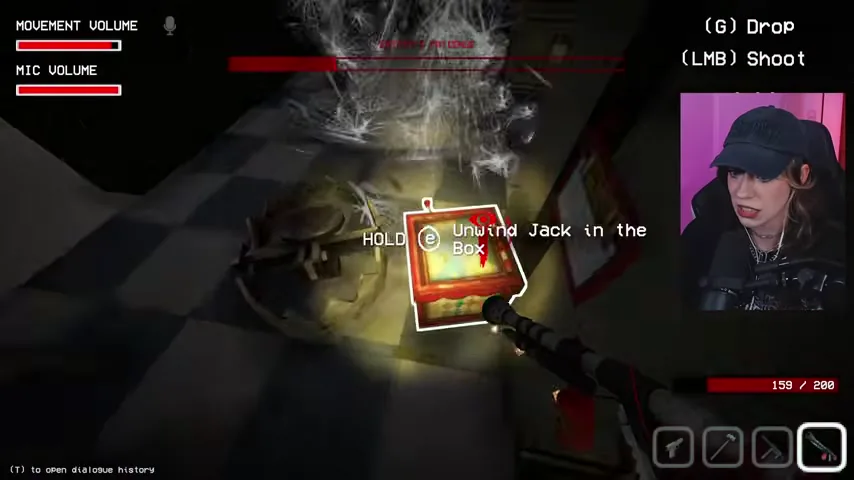
N12-M22 — Hold the interaction to unwind the Jack-in-the-Box
When the box alert appears, follow its marker immediately. Stand close enough for the prompt and hold the displayed control to Unwind Jack in the Box. Do not search the whole shop while firing blindly; use the alert marker, complete the hold interaction, and only then resume the firefight.
N12-M23 — Use fire to interrupt clustered entities, then move
Once the box is handled, burn or stagger clustered attackers from the edge of the aisle. Fire is effective crowd control but quickly makes the floor dangerous. Apply a short burst, step away from the flames, and switch to the firearm when the target has separated.
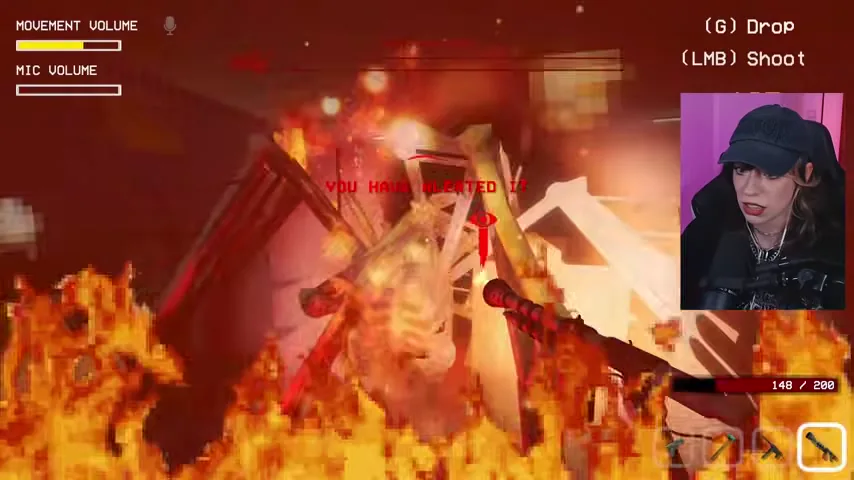
N12-M24 — Retreat through a clear lane instead of fighting inside the flames
If the counter area is burning, pull back through the route you preserved during setup. Heal behind hard cover, reload, and check for any remaining red marker or moving target. The third verified playthrough also confirms that missing traps makes this phase dramatically less reliable.
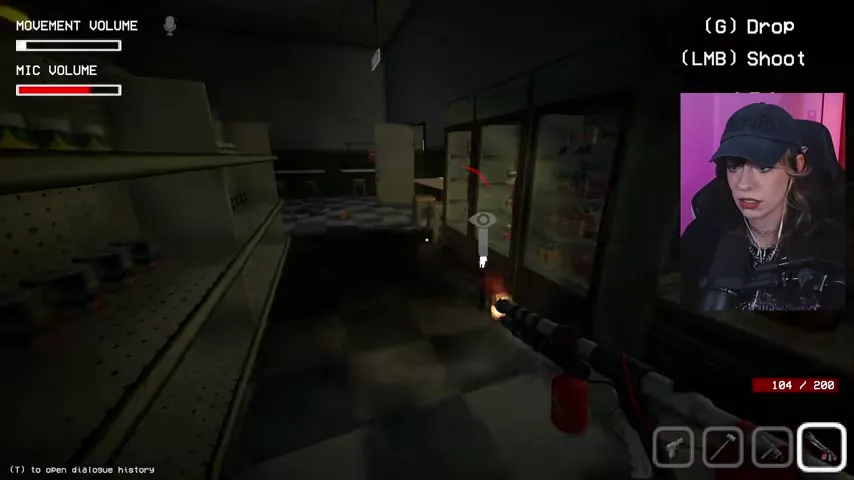
N12-M25 — Wait for the explicit all-clear
Do not assume the attack is finished after the box interaction or first large kill. Continue checking the aisles until the objective reads They are gone. You are now safe. Only that message confirms that the entity phase has ended.
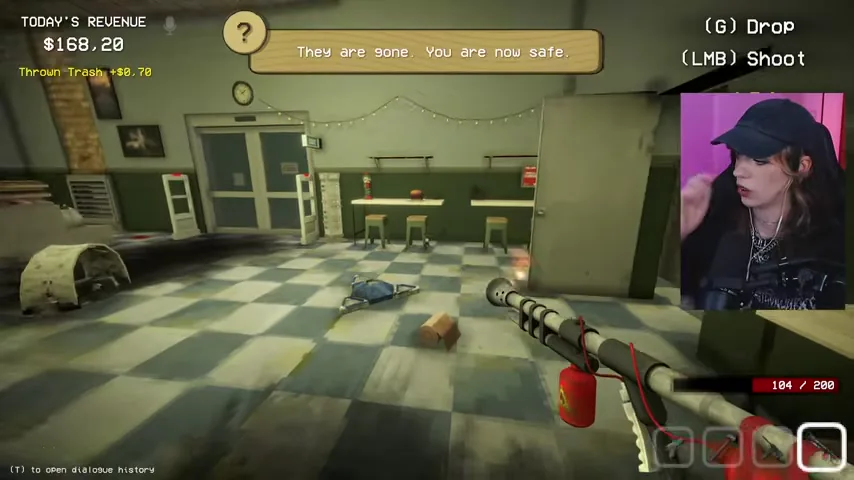
Clean, close, and review the shift
N12-M26 — Complete cleanup before walking to the bus
The next objective is to clean every mess and head to the bus. Mop blood and burns, collect loose trash, and finish any required shelf work. If departure will not trigger, recheck the floor and back room instead of waiting at the bus.
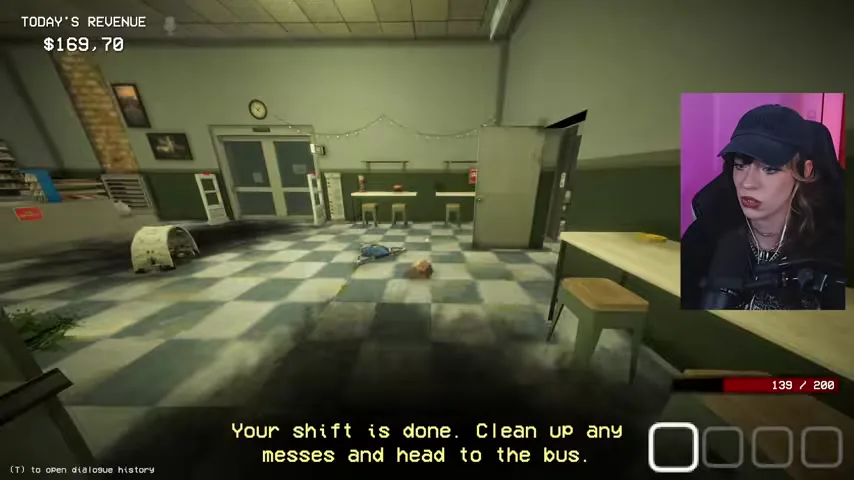
N12-M27 — Confirm Night 12 of 13 Complete
Board the bus only after the cleanup objective clears. The completion screen should read Night 12 of 13 Complete. Quota, store revenue, and personal funds vary with sales, upgrades, and damage, so treat the displayed dollar values as the run's accounting rather than fixed walkthrough targets.
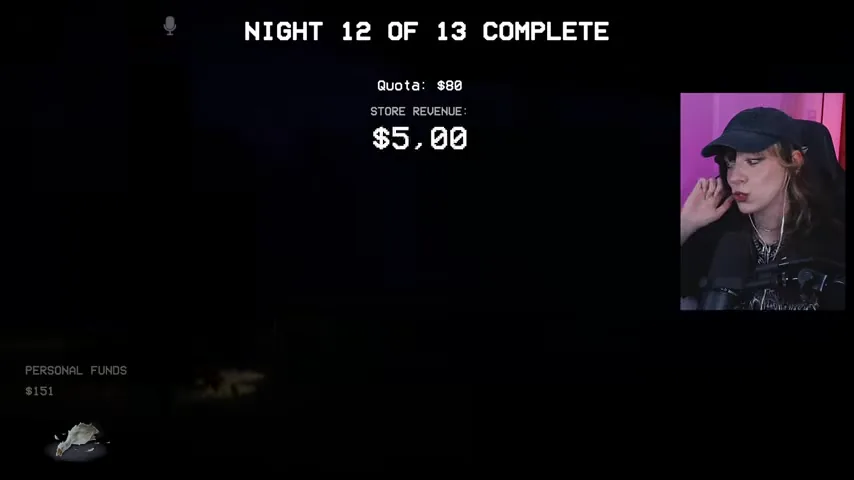
Make the sheriff decision knowingly
N12-M28 — Read the surgery offer summary before choosing
After the earnings screen, the game repeats the anonymous offer: invite the sheriff to the store tomorrow and Timmy's surgery costs will be covered. This is the branch point foreshadowed by the opening email. It does not retroactively change the Night 12 customer report.
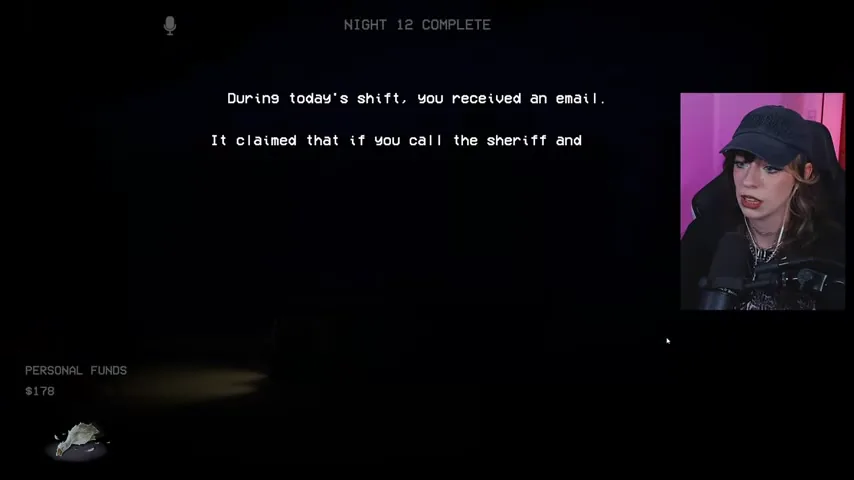
N12-M29 — Call Clyde only if you want the sheriff branch
Choosing to call produces the message You call Clyde. He agrees to visit tomorrow. That action guarantees Clyde's presence in Night 13 and advances the anonymous bargain. A corroborating playthrough refused the call, proving that refusal is a valid branch rather than a failed input; that route must still solve the $250 bill by other means.
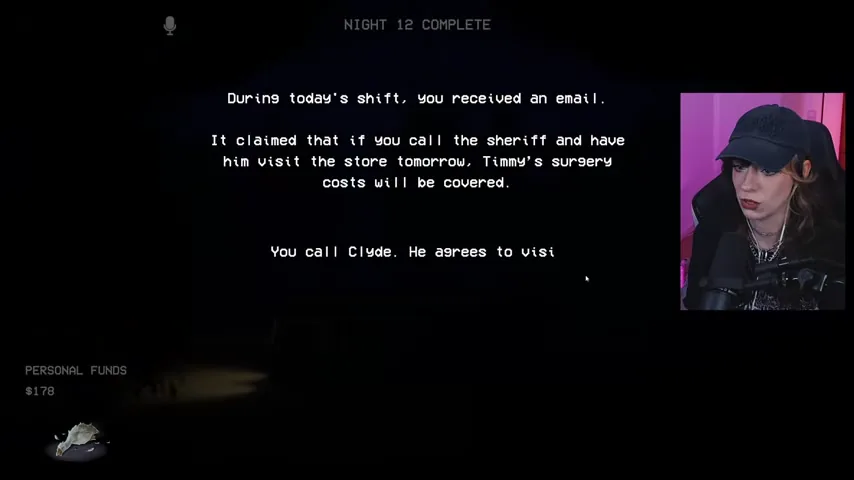
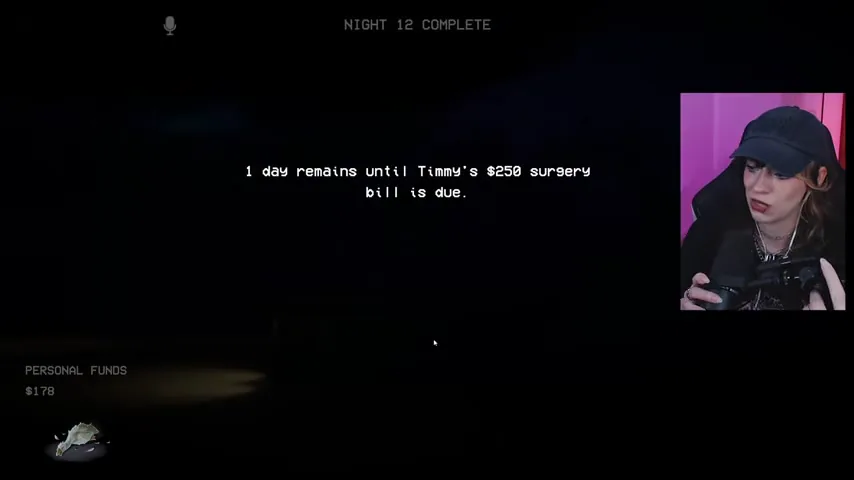
N12-M30 — Carry the one-day surgery deadline into the final night
The closing status says that one day remains until Timmy's $250 surgery bill is due and that Timmy is barely clinging to life. Whether you called Clyde or refused, Night 13 is the deadline. Do not spend remaining personal funds casually before the final shift.
N12-M31 — Verify Mark, Yasmin, Travis, and the driver in the report
The first half of the report marks Mark Ellison, Travis Dunn, and the driver as human. It identifies Yasmin Carvalho as a doppelganger because her gold jewelry disappears through the Anomaly Lens. Use this to preserve the method: compare the same view with and without the Lens instead of judging jewelry by taste or value.
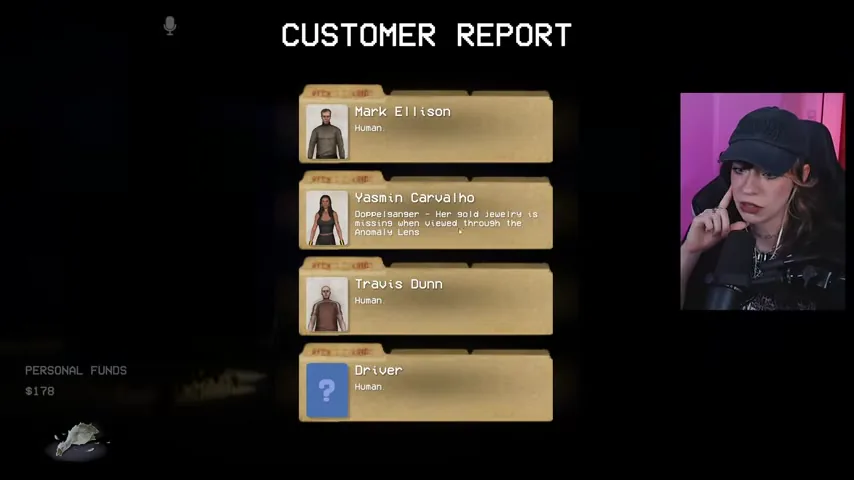
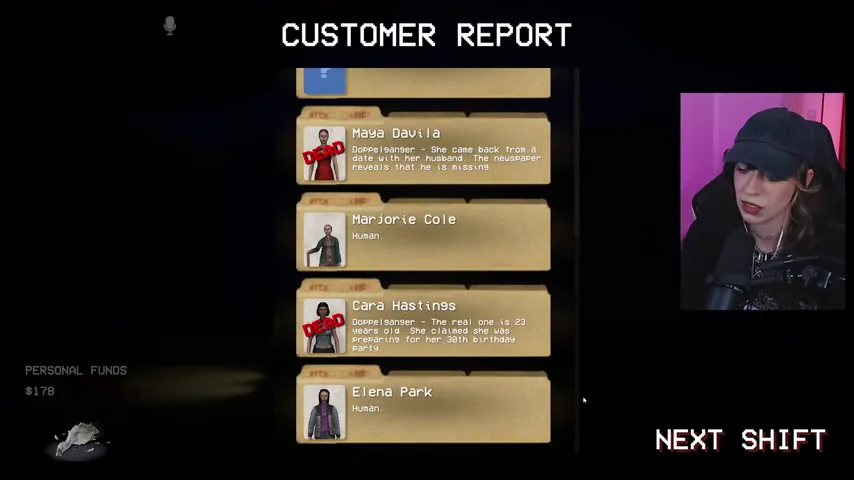
N12-M32 — Verify Maya, Marjorie, Cara, and Elena before Night 13
The second half marks Maya Davila as a doppelganger because Walter is missing, Marjorie Cole as human, Cara Hastings as a doppelganger because the real 23-year-old claims to be 30, and Elena Park as human. These are the deductions worth carrying forward: named people and exact ages outrank a generally convincing appearance.
Night 12 failure recovery
- You forgot the missing resident: search Walter Davila after Maya names him, then compare his database portrait with the newspaper face.
- Yasmin looks normal: compare her gold jewelry in direct view and through the Anomaly Lens. The missing jewelry is the anomaly.
- Travis sounds suspicious: his absent teeth and lisp match the record, and the result report marks him human.
- The driver carries suspicious news: the article is decades old and concerns Sheriff Dawson's father; plate 52F2 and the red SUV still match.
- Marjorie's glasses worry you: complete all body and movement checks. The glasses do not create an impossible contradiction.
- Cara changes her year: stop calculating from the new claim. The database says 1970, making the real person 23 in 1993, not 30.
- The countdown catches you shopping: buy traps, planks, weapons, ammunition, and healing before the final customer leaves.
- The spider pins you: finish the rapid-input escape before trying to shoot or chase the box marker.
- The box keeps escalating the fight: follow the marker and hold the unwind interaction immediately.
- You cannot leave: wait for the explicit all-clear, then clean every mess and complete the store objective before boarding the bus.
- You are unsure about Clyde: calling him starts the sheriff-visit branch; refusing leaves the surgery bill active. Both choices occur after Night 12 is already complete.
Chapter navigation