

Shift At Midnight Night 1 Walkthrough — First Shift and Identity Check Tutorial
Finish the three cleaning jobs, scan each ID, use the computer as the verified record, question every mismatch, remove confirmed impostors, clean their remains, and head to the bus when the shift ends.
Quick objective
Complete the store's three opening jobs, learn the full identity-check tutorial, process the remaining customers without harming a verified human, and leave on the bus after the closing prompt appears.
1. Read the notice board
Enter the store and inspect the Employee To Do notice. Night 1 gives you three opening jobs: use trash bags to remove the limbs from the storage room, mop the blood, and refill incomplete shelves from the stock boxes. You can complete the three jobs in any convenient order, but all three must disappear from the objective list.
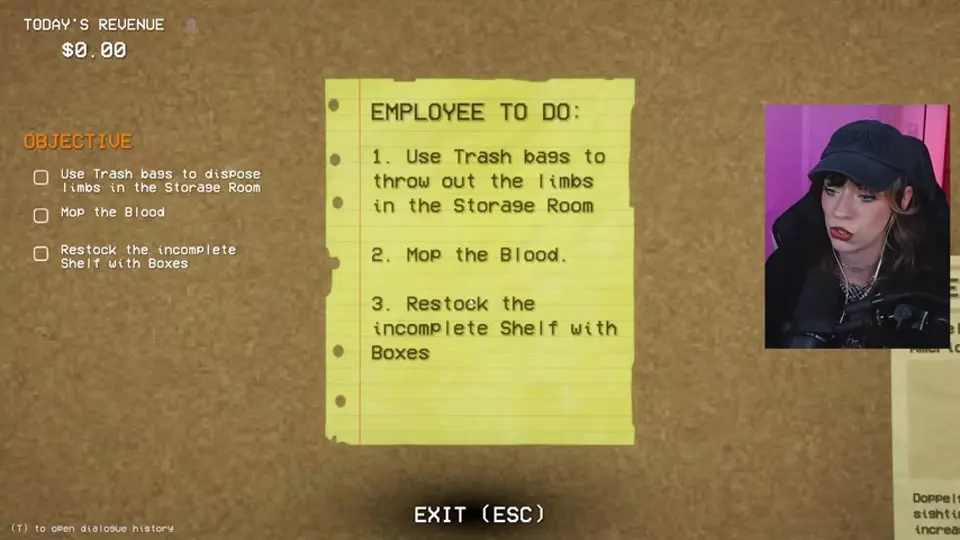
The notice board is the reliable opening checklist: dispose of limbs, mop blood, and restock shelves.
2. Mop every blood patch
Pick up the mop and hold the clean input over each blood patch until it vanishes. Check the shop floor and the storage-room floor; a small patch can keep the cleaning objective active. Drop the mop only after the objective updates.
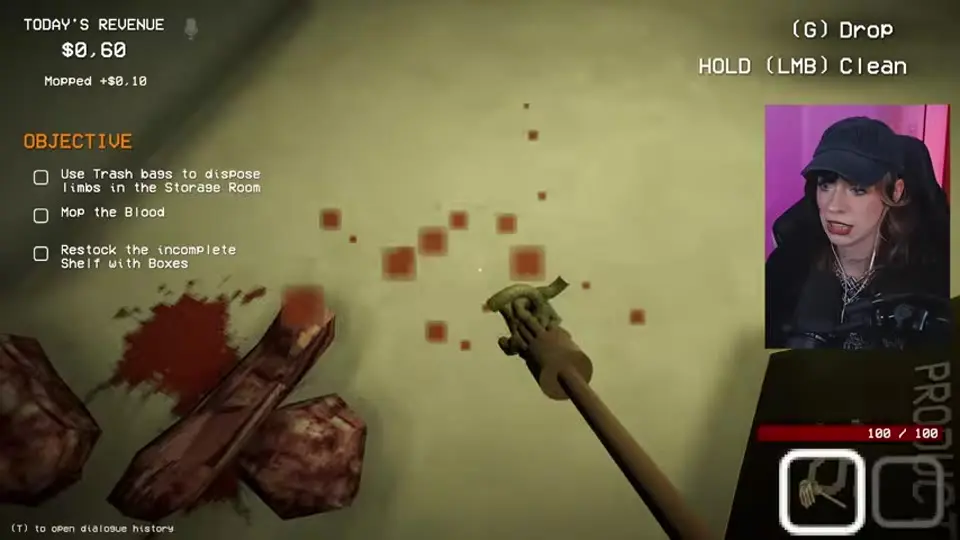
Hold the cleaning input over each patch rather than making one quick pass.
3. Bag the limbs and use the dumpster
Take a trash bag, collect the body parts in the storage room, and carry the filled bag outside to the marked dumpster. If the objective is still present, sweep the storage-room corners for a missed piece and make another trip.
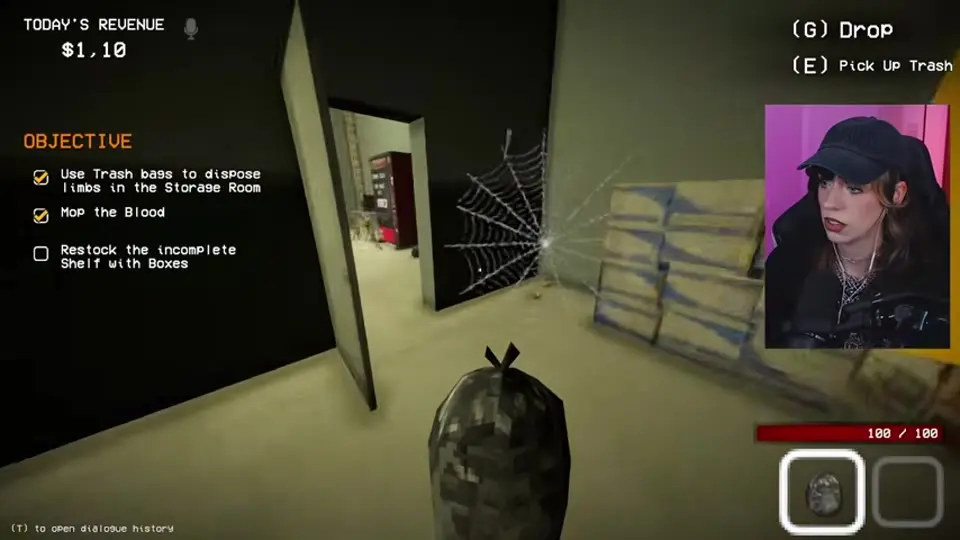
A filled bag still has to be carried outside; picking up the pieces alone does not finish the job.
4. Restock the incomplete shelves
Carry the available boxes to the gaps on the shop shelves and place stock until each box is empty and the restock objective clears. Customers remove products during the shift, so refill new gaps between transactions if you want to protect the store rating.
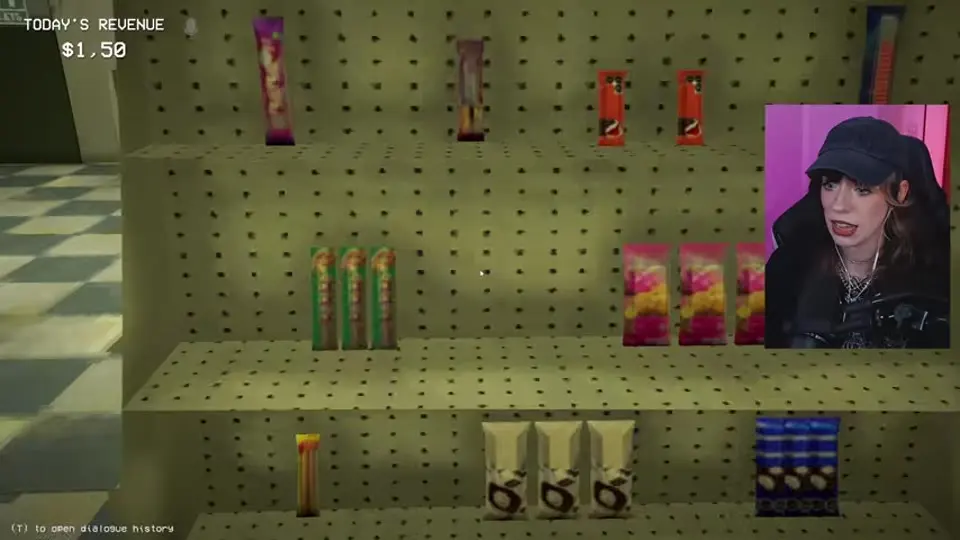
Keep placing products until the box is empty and the shelf gap is filled.
Before opening the counter, keep the mop and trash bags easy to reach, leave the counter clear, and read any new phone, computer, or equipment instruction as soon as it appears.
5. Read the customer interrogation protocol
Before making a judgment, read the second instruction sheet near the counter. It establishes the rule that matters for the rest of the game:
- Scan the customer's ID to open the real person's profile.
- Treat the computer database as verified information.
- Compare the person with the profile and question the listed details.
- If the evidence exposes a real inconsistency or blatant lie, use the gun beneath the counter.
Do not reverse this logic. A strange voice, awkward movement, missing accessory, or unusual personality is only a reason to question the customer; it is not proof by itself.
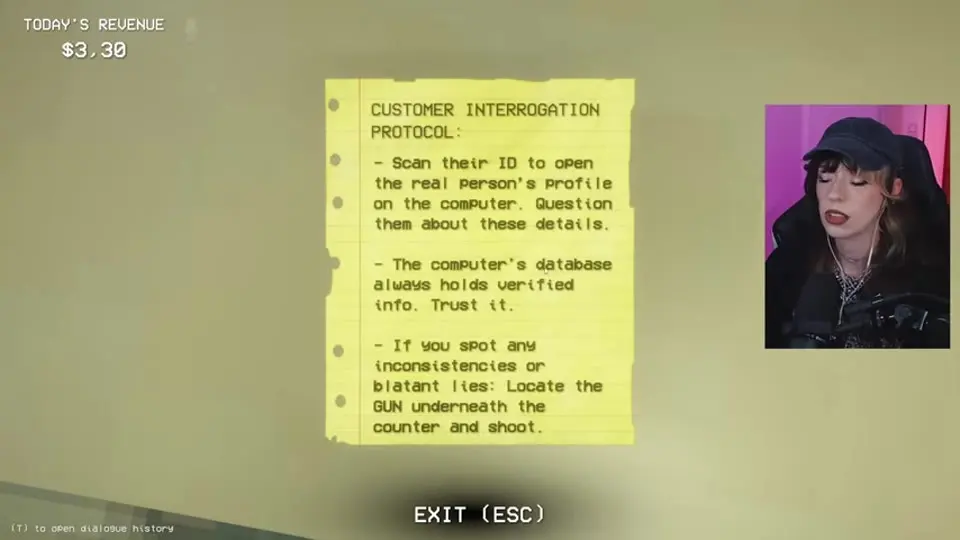
The computer record is the baseline; the person at the counter must be tested against it.
6. Complete the sheriff's tutorial transaction
The first visitor demonstrates the whole counter flow. Pick up the ID from the counter and scan its barcode, then inspect the profile on the computer. Question the required profile fields, including occupation and visible appearance traits, and compare the answers with the person in front of you. When the tutorial visitor remains consistent, accept the transaction. This completes the lesson and unlocks the gun under the counter.
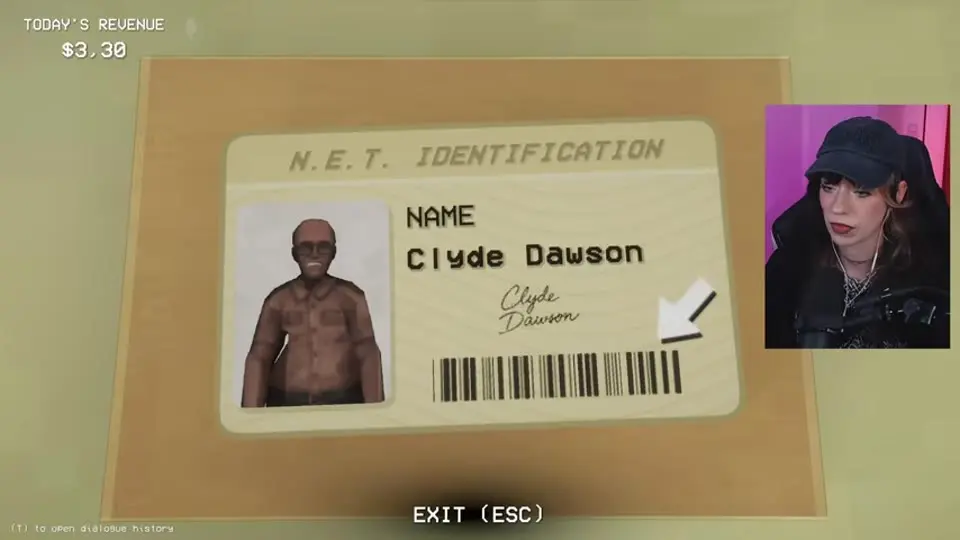
Scan the barcode first; the tutorial does not advance from visual inspection alone.
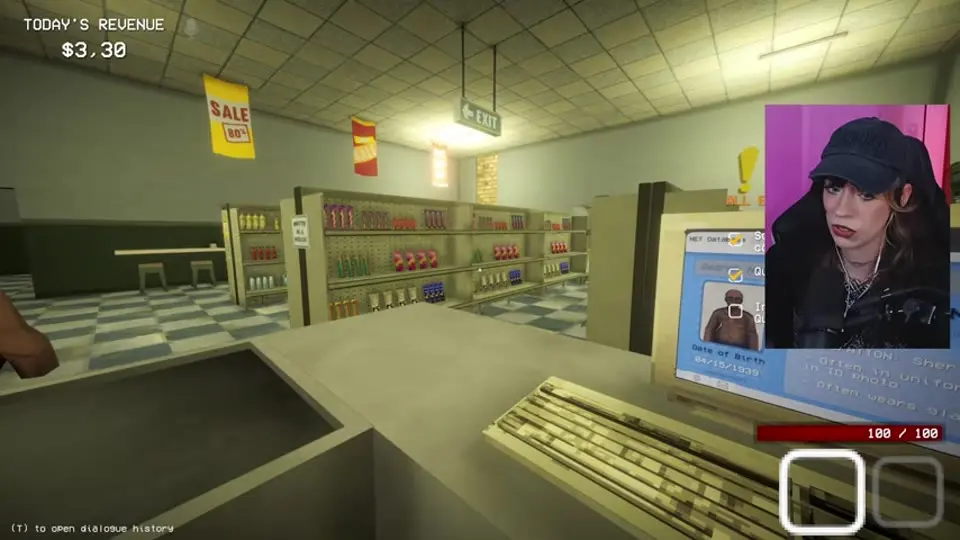
Question the highlighted profile details, then accept only after the required comparisons are complete.
7. Process a normal customer without overreacting
Run every ordinary customer through the same complete check. Scan the ID, read the name and occupation, compare the portrait and descriptive traits, ask about questionable details, and confirm the database status before accepting. Wording matters: a profile that says someone often wears glasses does not say they must be wearing them tonight. A plausible explanation can be consistent with the verified record.
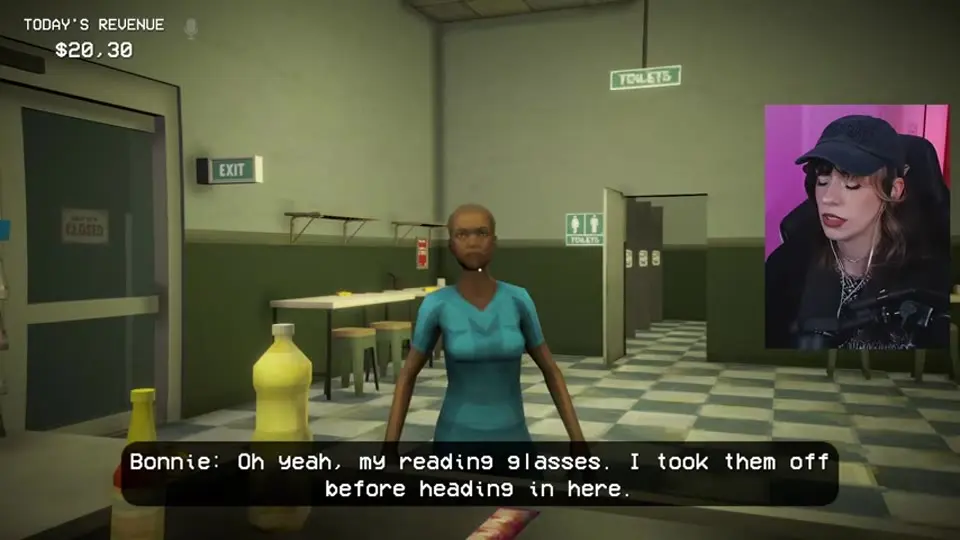
An optional trait can be absent; use the interview to resolve it instead of firing on sight.
8. Read new messages before the queue continues
Check the computer when a new-message alert appears. One Night 1 warning describes an eight-legged hostile creature that cannot see but can hear and is vulnerable to fire; it also mentions a small doll-like leaper that is vulnerable to bludgeoning attacks. These warnings are preparation, not permission to skip the identity check in front of you.
9. Resolve the unscannable ID with a manual search
One suspicious customer presents a handwritten card with no usable barcode. Do not guess and do not accept it as valid identification. Type the full name into the computer search. In the recorded Night 1 example, Nathan Callaway returns as deceased, which is a direct contradiction and confirms the impostor.
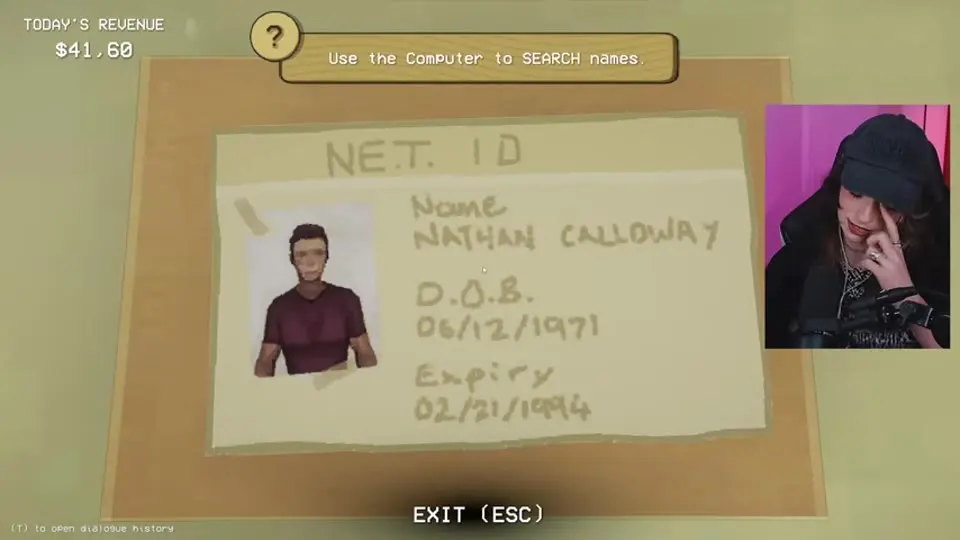
A card that cannot be scanned should trigger a full-name database search.
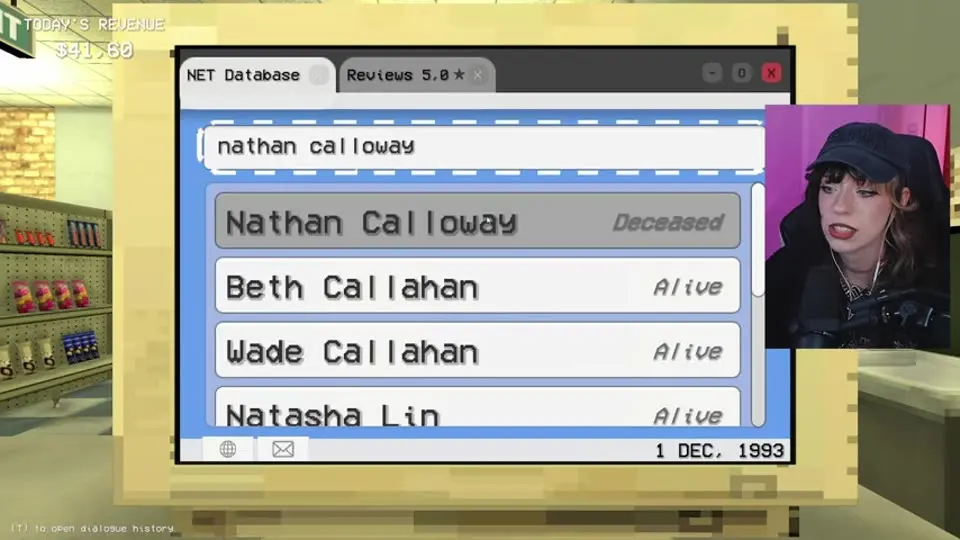
A deceased database result is decisive evidence; retrieve the unlocked gun beneath the counter.
10. Clean up immediately after a confirmed impostor
Shoot only after the database or interview supplies a confirmed contradiction. The body breaks into remains and leaves blood across the shop, so mop the blood, bag every piece, and take the filled bags to the dumpster before the next transaction. The cleanup controls are the same ones used during the opening jobs.
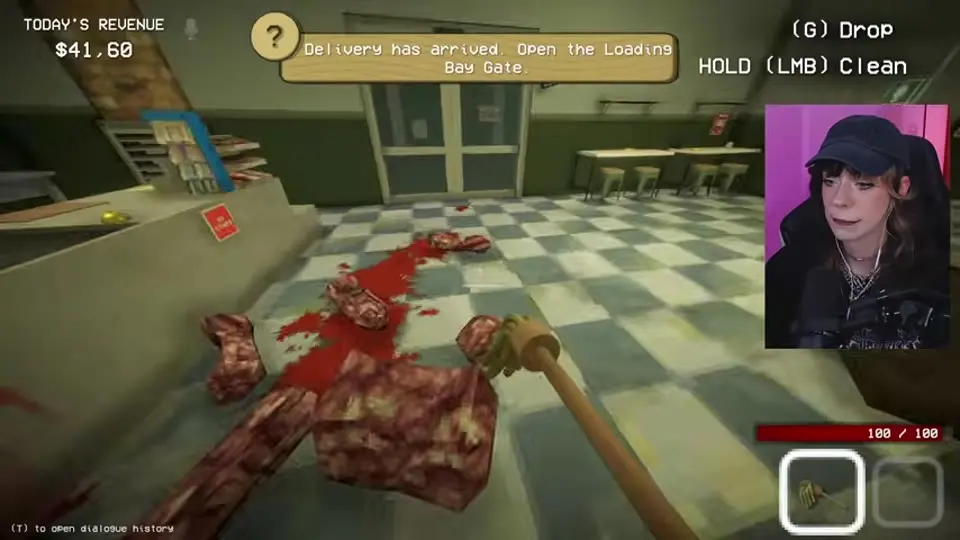
The next customer can arrive quickly, so clear the floor as soon as the threat is down.
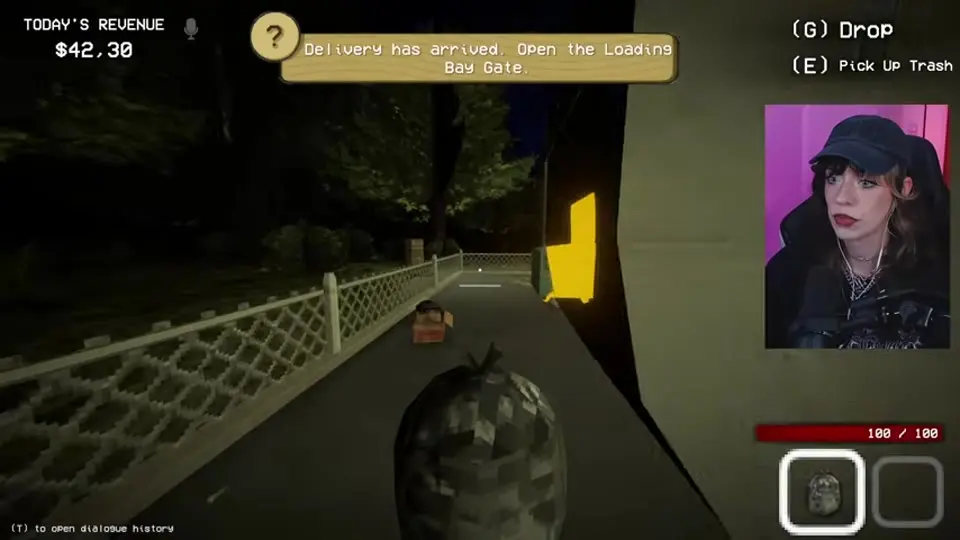
Carry every filled bag to the dumpster; leaving a bag inside does not complete the cleanup.
11. Open the delivery bay and inspect the defense supplies
When the delivery alert appears, open the loading-bay gate and inspect the delivered equipment. The shipment includes defensive supplies such as traps and boards. Read their labels and leave them somewhere accessible; the trap instruction specifically says to use traps if the store comes under attack.
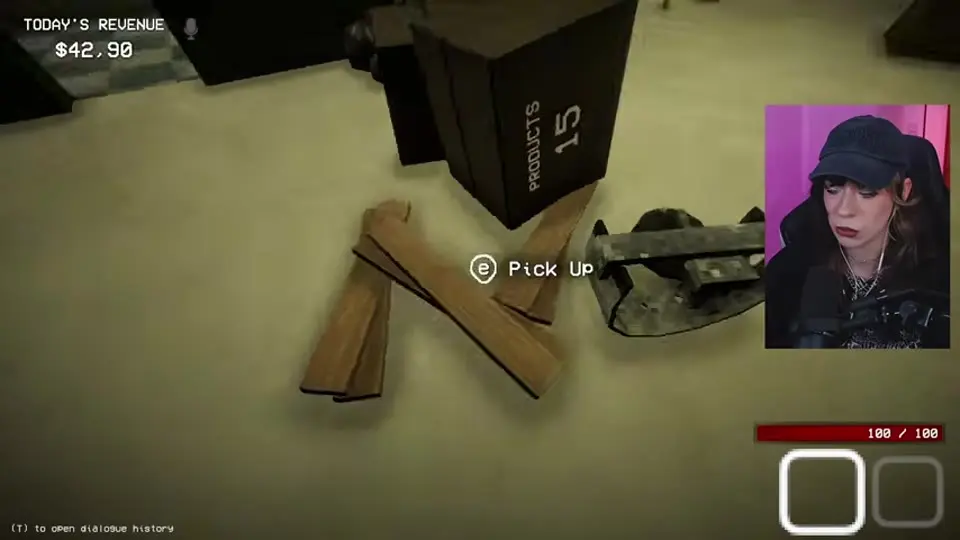
The delivery introduces defenses for an attack even though customer verification remains the immediate task.
12. Answer the roadside-help phone call
The shop phone rings with a caller claiming that a car has broken down just down the road. Answer the call, go outside, and follow the road far enough to trigger the figure in the darkness. The encounter disappears after the scare; turn back toward the lit store and resume the shift. The gun may be blocked during this scripted sequence, so progression comes from triggering the encounter rather than shooting into the dark.
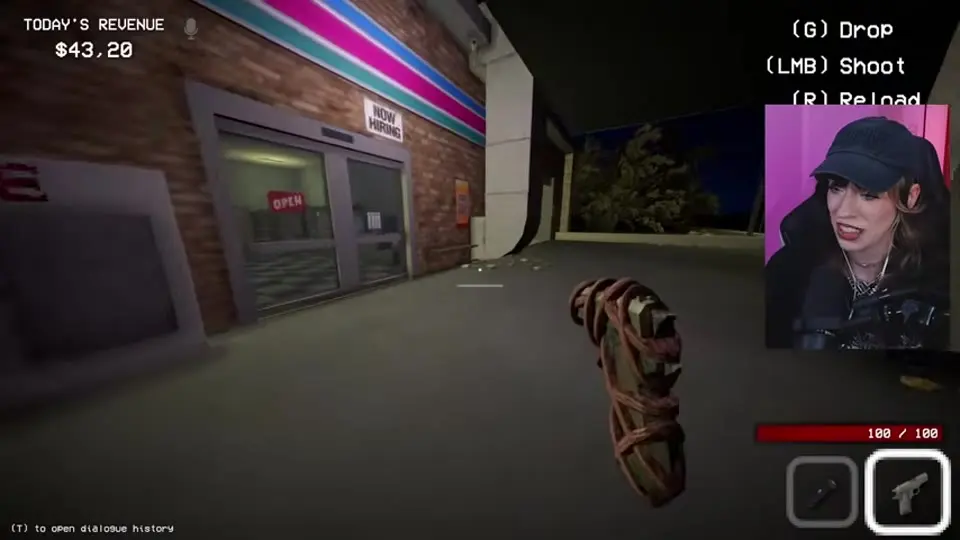
Approach until the roadside encounter triggers, then return to the store after the figure vanishes.
13. Use contradictions, not attitude, on later customers
Continue the full scan-and-question loop after the roadside event. A later example claims to be a flight attendant while the verified profile lists plumber and describes work-related dirt; the clothes, occupation answer, and profile do not agree. That is a real contradiction and justifies using the gun. By contrast, another customer may speak unnaturally or move restlessly while occupation, appearance, database status, and answers all remain consistent. Accept the consistent customer even if they seem odd.
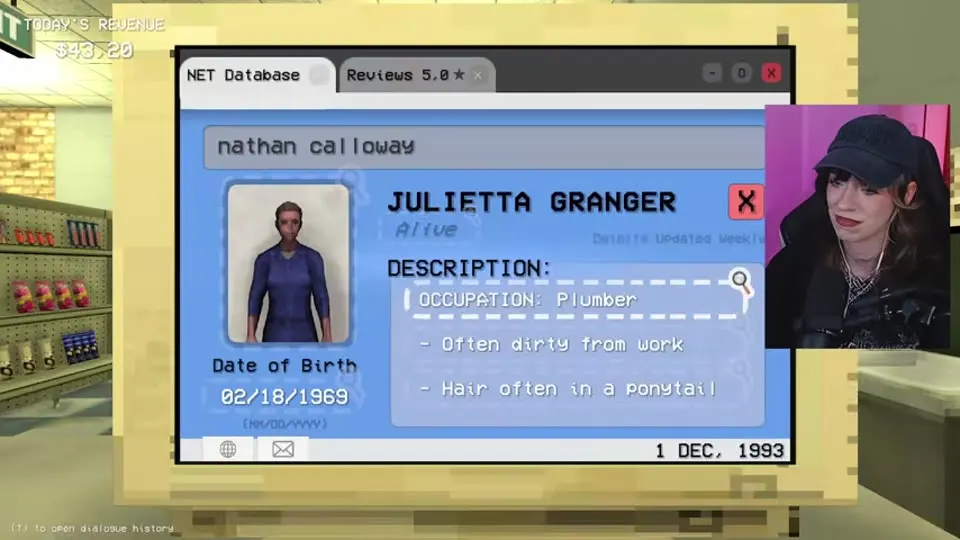
A direct occupation mismatch is evidence; demeanor alone is not.
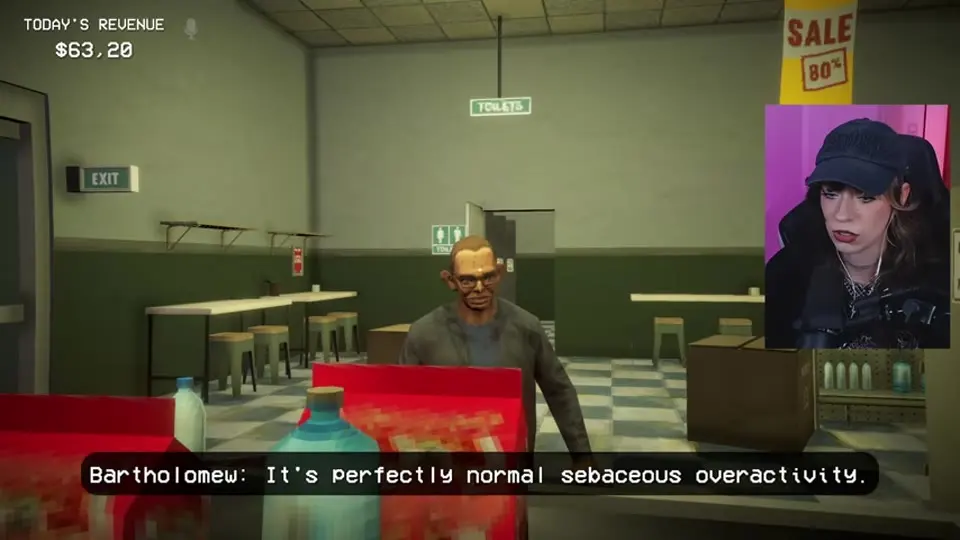
Finish the profile comparison before judging a customer who merely behaves strangely.
14. Close the store and take the bus
After the last correct transaction, the objective changes to clean up any messes and head to the bus. Mop remaining blood, remove all body parts and trash bags, and refill any shelf gaps you want cleared before leaving. Then exit the store and interact with the bus stop to close Night 1.
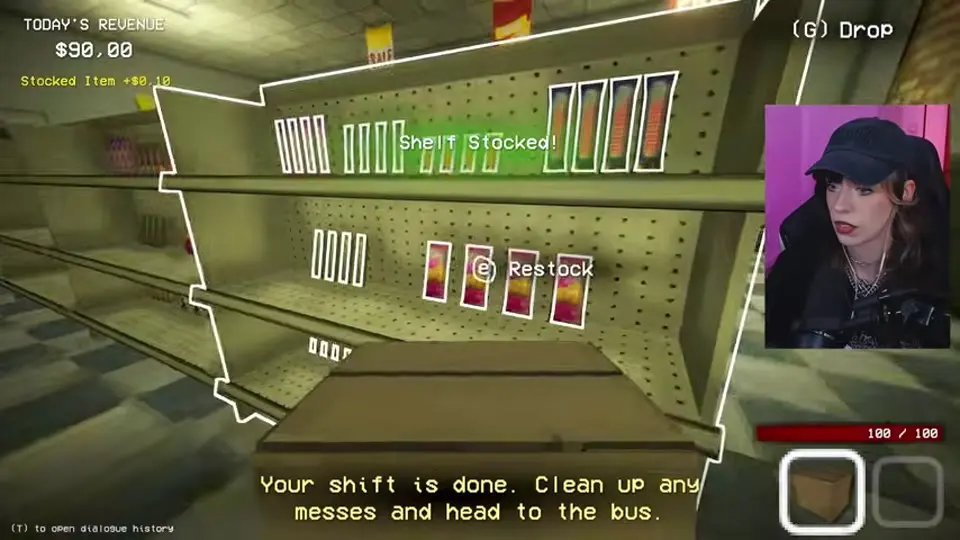
Do the final cleanup when the closing prompt appears, then leave through the bus interaction.
15. Read the Night 1 results
The results screen reports whether you killed any humans, whether you met the quota, and the funds earned before showing the remaining time until the next medicine bill. Revenue can differ with performance, so the important success checks are no humans killed and a completed quota. Continue to Night 2 only after reviewing the report.
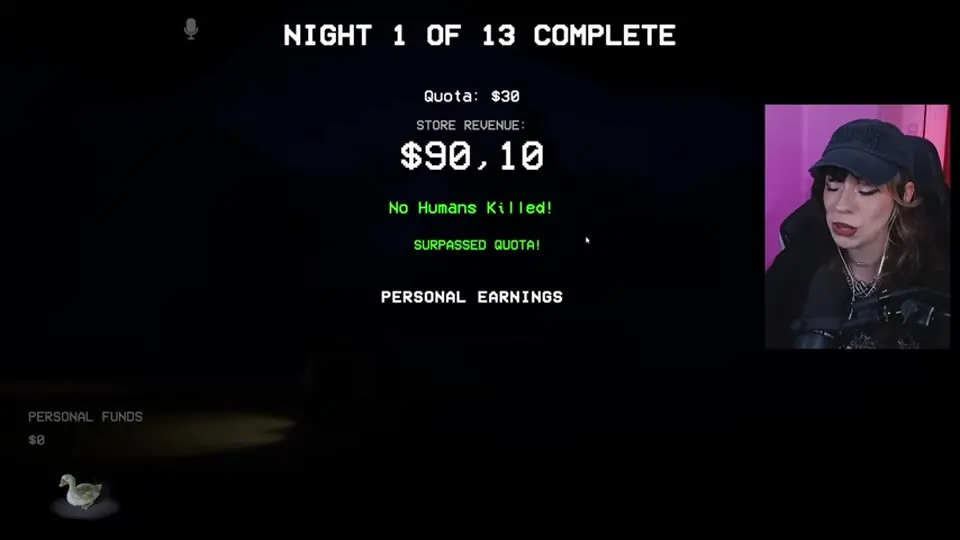
A clean clear keeps the human-kill count at zero and records whether the shift surpassed quota.
Night 1 evidence order
When the queue becomes stressful, repeat this order without shortcuts: scan the ID → read the verified profile → compare portrait and traits → question discrepancies → check database status → apply the night's warnings and any available special-tool result → decide → clean up if required.
Common Night 1 failures
- Treating an absent "often wears" item as proof instead of asking about it.
- Accepting a handwritten ID without manually searching the full name.
- Shooting because a customer sounds strange even though every verified field matches.
- Leaving blood, remains, or a filled trash bag inside after an impostor encounter.
- Ignoring shelf gaps until the closing prompt and losing store-rating value.
- Waiting beside the phone instead of walking down the road to trigger the scripted encounter.
What carries into Night 2
Keep the verified-profile workflow exactly as learned. Review any customer you misread, read new messages and equipment instructions before the queue builds, keep cleanup tools reachable, and buy or position defensive supplies before a warning becomes an active attack rather than during it.
Chapter navigation