

Shift At Midnight Night 13 Walkthrough — Final Shift and Clyde
Read the Mayor Dawson anniversary news, stage tools before serving, preserve the full identity-check order under pressure, call Clyde when the phone objective becomes available, verify his record, and be ready when the store blacks out.
Night 13 is the final store shift, but it does not discard the rules learned during the previous twelve nights. Its real test is whether you can keep using them when customers arrive quickly, thieves and troublemakers interrupt the queue, and the story starts moving around you. Prepare before the first transaction, distinguish human misconduct from impossible evidence, and do not treat the arrival of Clyde as an ordinary checkout.
Prepare the final shift
N13-M01 — Recover your equipment before opening
The final night can begin with your usable equipment on the floor or outside the store rather than in the expected quick slots. Walk the immediate area, pick up the tools and weapons you intend to keep, and arrange the inventory before customers begin waiting. At minimum, preserve a verification tool, non-lethal throwable, flashlight, loaded weapon, spare ammunition, and one free slot for store work.
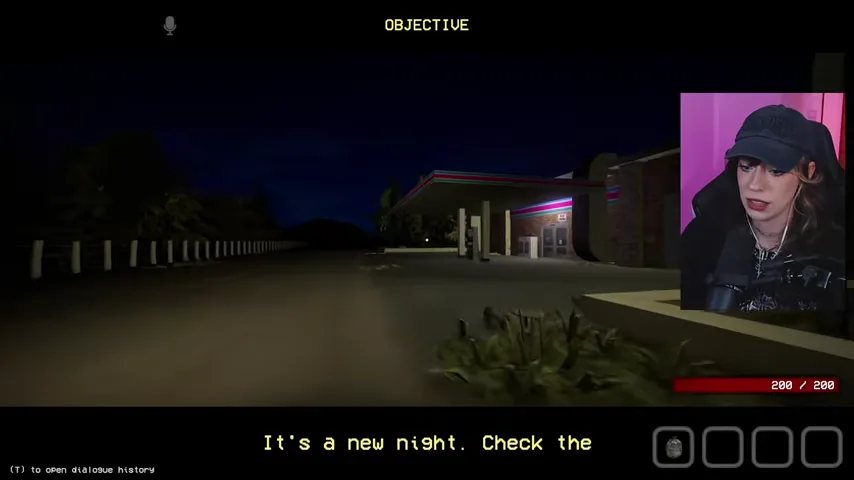
Do not discover that your gun or verification tool is missing after the Clyde event begins.
N13-M02 — Read the Mayor Dawson anniversary article
Open The Midnight News before serving anyone. The headline marks 45 years since beloved Mayor Dawson's death, and the article names the former mayor as Bill Dawson. The paper is not a reason to reject an ordinary customer, but the Dawson name is deliberate setup for the final story contact.
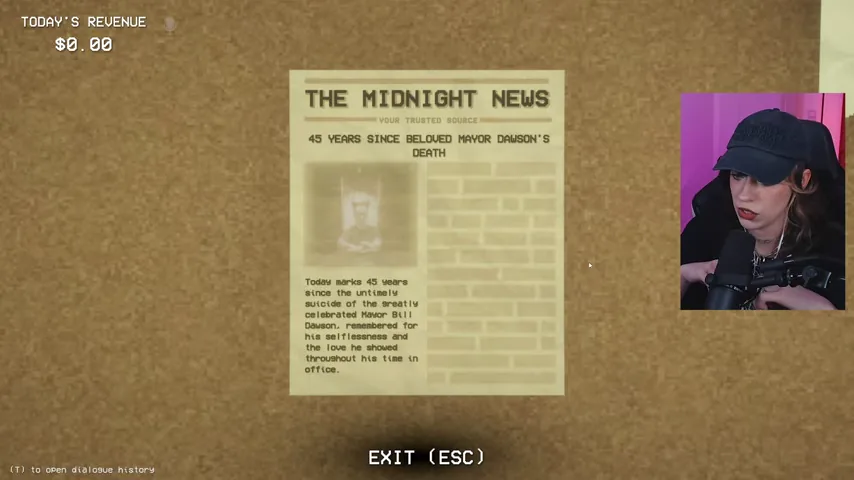
Remember the name and anniversary; do not invent a contradiction that the article never states.
N13-M03 — Read the customer-patience warning
The computer message explains that customers now leave without paying when service takes too long. Higher store rating gives them more patience, while an empty patience bar alerts the Entity. This creates a second failure clock alongside the identity check: skipping evidence is unsafe, but abandoning the queue for long chores is also unsafe.
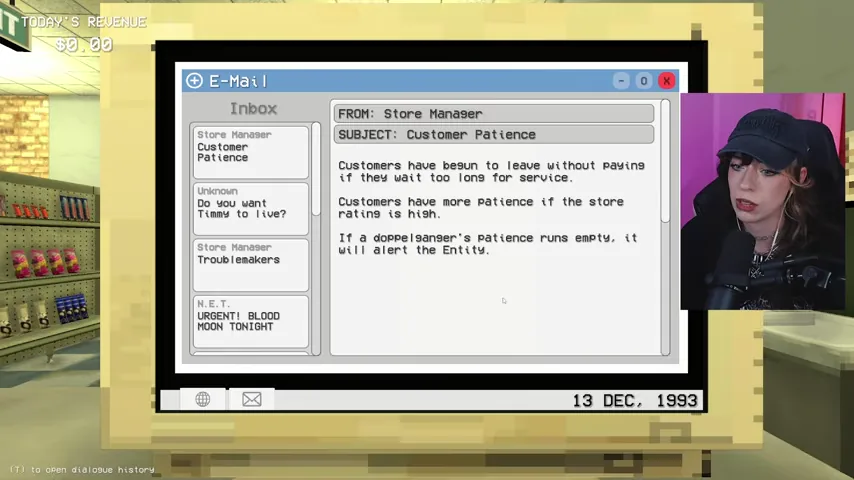
Save time through preparation and a consistent check order, not by guessing.
N13-M04 — Stage the counter and finish only urgent chores
Put toilet paper within reach, load the weapon you plan to carry, clear blocking trash, and refill the most depleted shelves. Once a customer is waiting, finish that transaction before starting another long stocking or cleanup run. Between customers, work on one nearby shelf or mess at a time and look back at the entrance often.
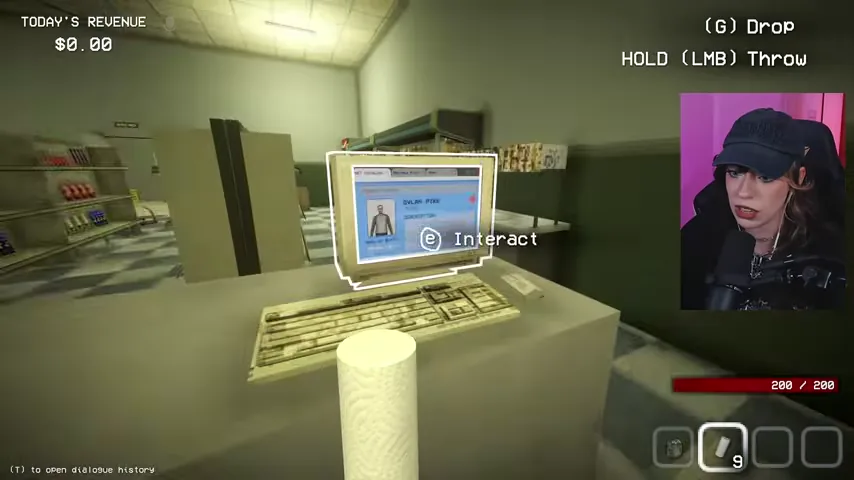
A tidy store helps the rating, but a customer whose patience expires can summon a much larger problem.
Verify the randomized queue without shortcuts
N13-M05 — Start every check with the live customer
Customer names and order differ between runs. First look directly at the person: note visible clothing, limbs, posture, face, and movement. Then inspect the ID and search the exact name in the database. Continue through interview answers, nightly facts, luggage or vehicle evidence, and the current special tool before deciding.
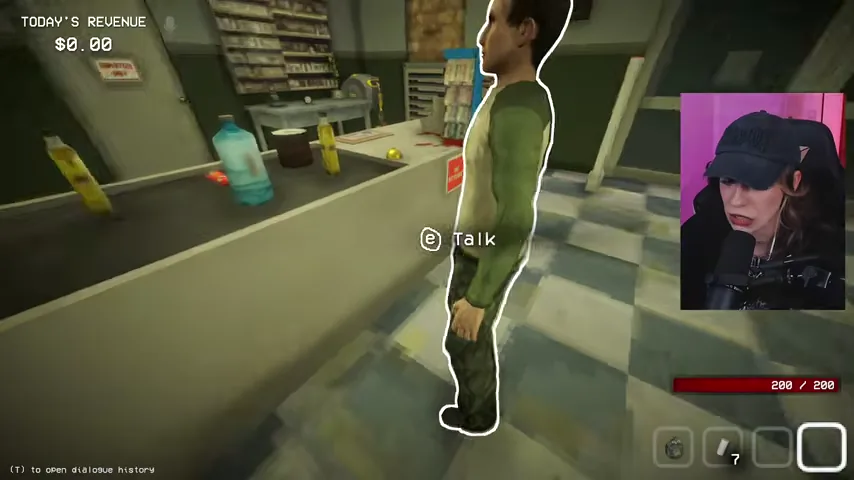
The reusable order is live view → ID → database → interview → contextual evidence → tool result.
N13-M06 — Reject a direct clothing contradiction such as Dylan's shorts
In one verified queue, Dylan Pike's record says he always wears shorts. The man at the counter is not wearing shorts. “Always” makes the clothing detail a hard condition rather than a general preference, so a direct live mismatch is valid doppelganger evidence. Do not let the pressure bar push you into approving him after reading only the occupation and complexion.
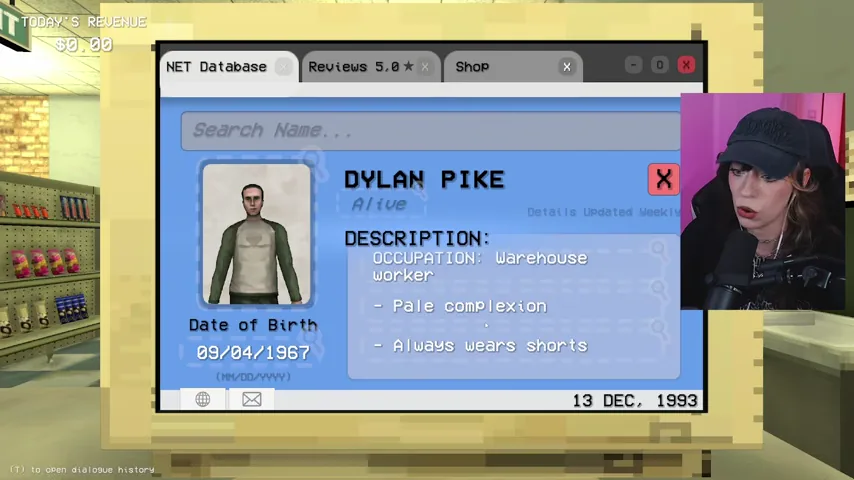
Compare the record with what the customer is wearing right now, not with the database portrait alone.
N13-M07 — Search all luggage before approving a driver
A fuel customer can carry the decisive evidence in a suitcase. Walk around the vehicle, open every available interaction, and compare the stated purpose of the trip with the actual contents. Hiking equipment, clothing, photographs, or an identification document can support or contradict the driver's story.
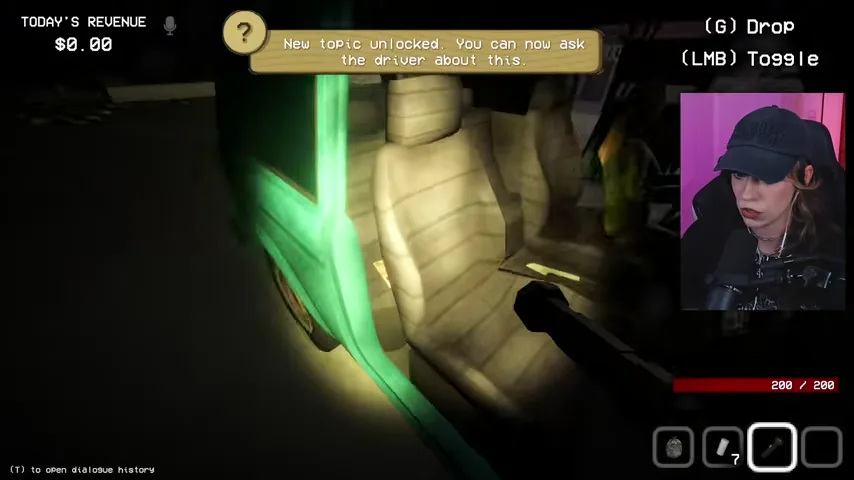
Do not return to the pump after checking only the person in the driver's seat.
N13-M08 — Check passport dates and identity fields
Read the passport name, portrait, birth date, expiration date, and issuing details. An old or expired document may be suspicious, but record the exact mismatch before acting; a document is evidence only when its visible fields conflict with the customer, current date, database, or story.
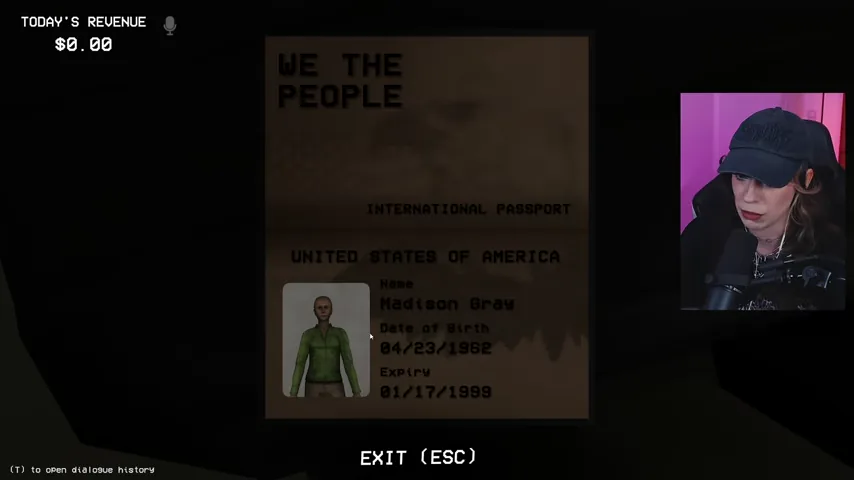
Use the document itself, not the streamer's first reaction, as the fact source.
N13-M09 — Match the plate and vehicle description last
Finish a roadside check by comparing the license plate, model or color, bumper stickers, visible occupants, and anything stored in the vehicle. Approve only when the vehicle record, luggage, documents, interview, and live driver all remain consistent; reject if one of those channels produces a verified impossibility.
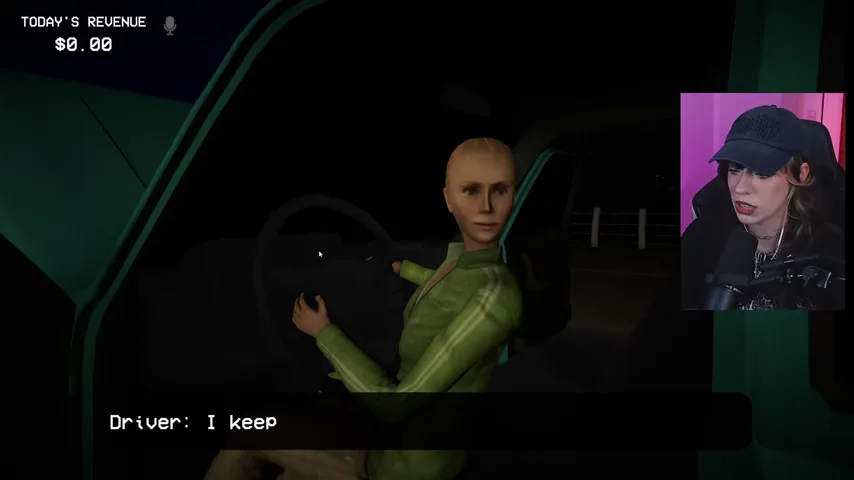
The plate is one part of the vehicle identity, not a substitute for searching the car.
N13-M10 — Use Wade Callahan's record as the appearance checklist
Another verified queue includes Wade Callahan. His database entry provides an occupation and specific visible traits, including a large tattoo on the right arm. Read the full list first, then return to the live person and check the correct side from the customer's perspective.
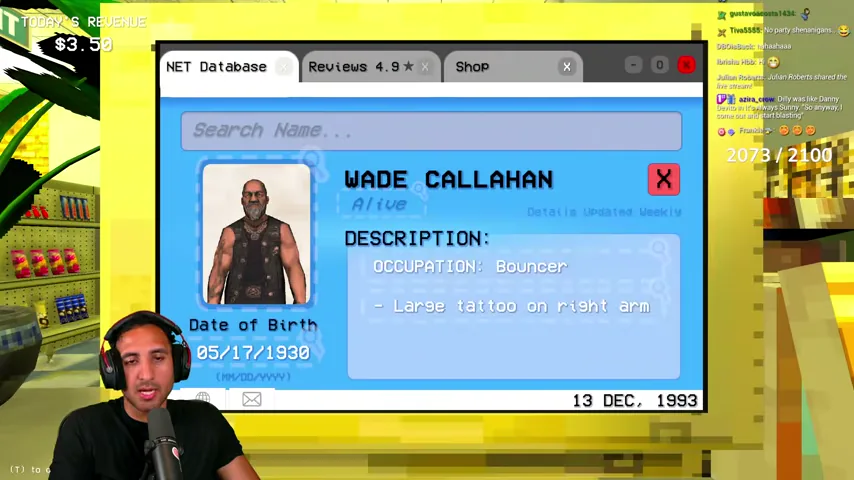
Facing a customer reverses left and right on your screen; translate the record to the customer's body.
N13-M11 — Approve Wade when the right-arm tattoo and other fields agree
Wade's live right arm carries the listed large tattoo, and the remaining visible, identity, and interview fields in this route agree. Complete the transaction after the full check. This is a useful final-night reminder that a large or intimidating customer is not supernatural evidence.
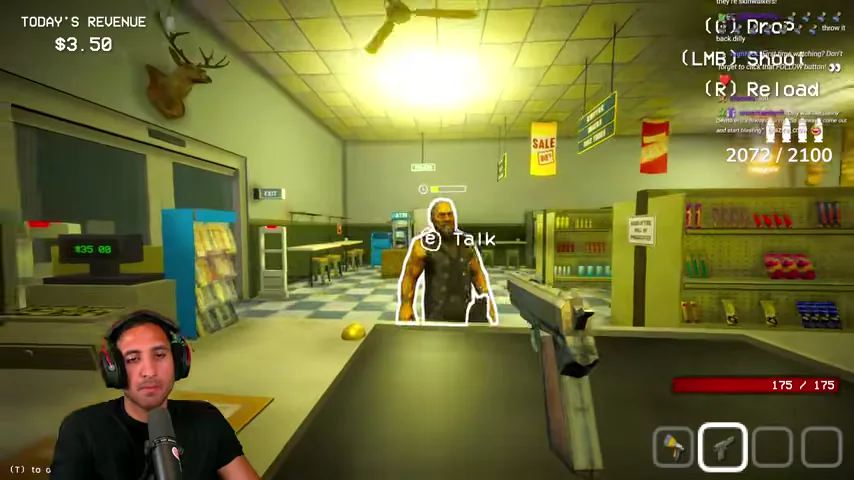
Approve on consistent evidence, not on whether a customer looks friendly.
N13-M12 — Reject Natasha's impossible work-hours claim
Natasha Linn can reappear in the randomized queue. Her record identifies her as a bartender, and her own dialogue confirms that the bar opens only at night. If she also claims that she has been working since the morning, the two statements cannot both describe that job. Reject on the time-and-occupation contradiction even if every visual trait matches.
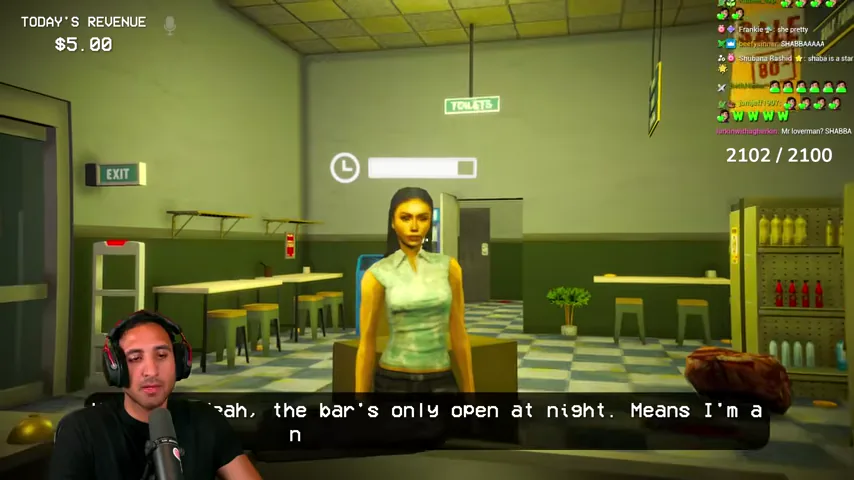
A returning name does not guarantee the same result; evaluate the dialogue generated in the current shift.
N13-M13 — Scan Kevin Larson's ID before judging his behavior
Kevin Larson presents a valid-looking NET identification card. Scan it, then search the exact name. Do not reject him solely because he is unusually tall, moves strangely, dances, stands near a disturbance, or becomes mixed into a thief encounter; behavior must be separated from identity evidence.
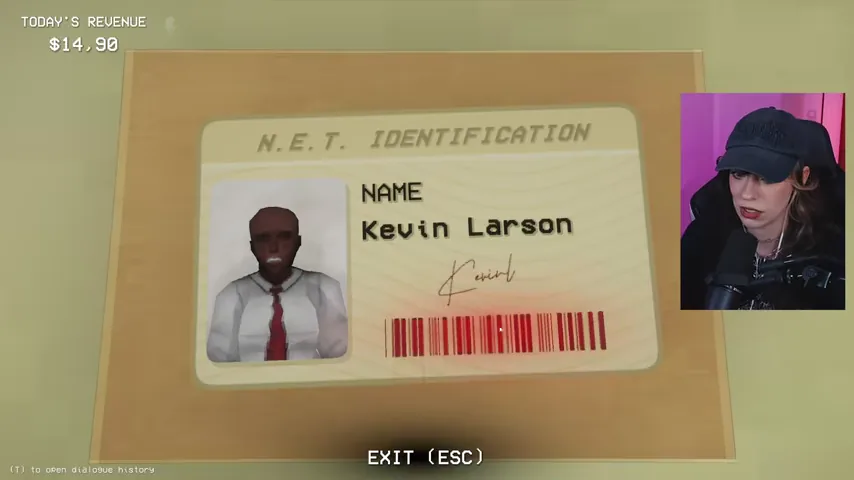
The final queue is chaotic enough to make unrelated events look connected.
N13-M14 — Compare Kevin's formal clothing, height, and job as one set
Kevin's database entry lists insurance sales, frequent formal wear, and unusual height. Compare all of those traits with the live customer, then finish the interview and tool check. A match on height alone is not approval, and confusion about where stolen items are hidden is not proof of a doppelganger.
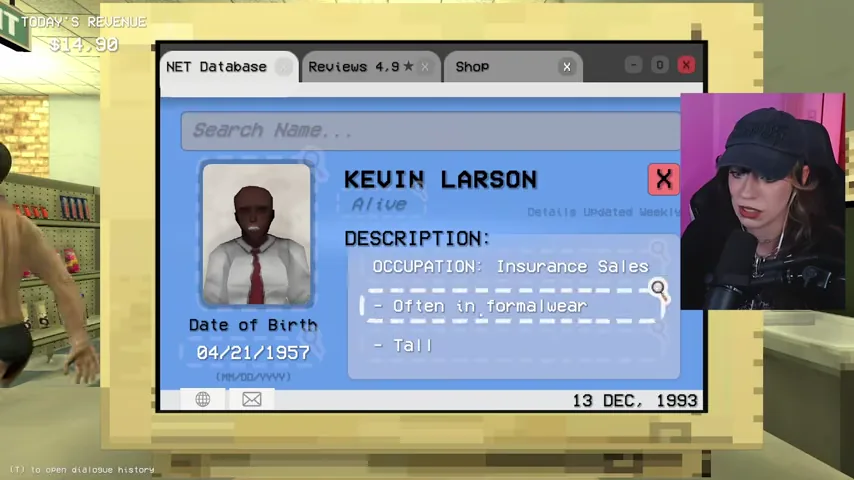
When the store erupts around a customer, pause the verdict until each identity channel is complete.
Control thieves and troublemakers while protecting the queue
N13-M15 — Confront a thief and recover the goods
If a thief runs for the exit, interrupt the theft, demand the items back, and pick up the dropped products. Restore those items to the store when the active customer is safe. A thief is a human store threat, not automatically a doppelganger, so do not turn a loss-prevention event into an unsupported identity verdict.
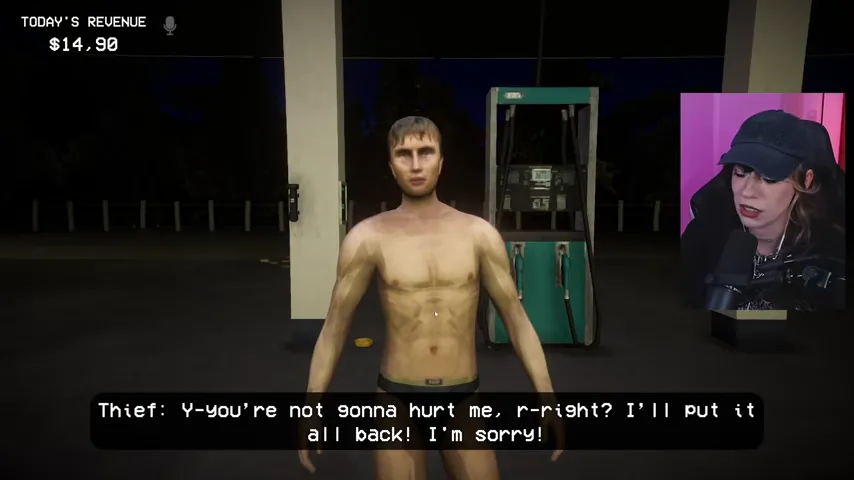
Prioritize the escaping thief briefly, then return to the patience bar before it empties.
N13-M16 — Drive marked troublemakers out with toilet paper
The non-lethal rule from Night 11 still applies. Throw toilet-paper rolls at a marked troublemaker until they leave, but keep firearms, the sledgehammer, explosives, and lethal traps away from them. Multiple disruptors can enter while a customer waits, so keep extra rolls staged instead of exhausting the entire supply on the first target.
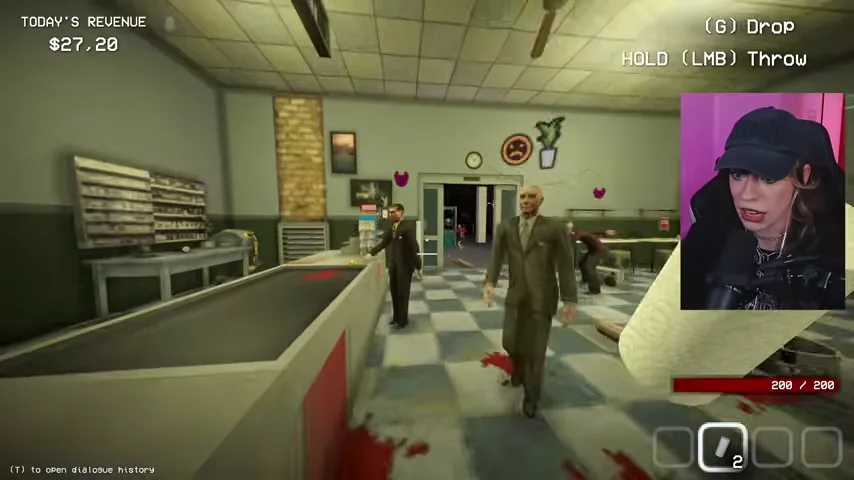
Killing a human to save a few seconds damages the run more than a short delay.
N13-M17 — Check Diana's live earrings, tattoo, height, and movement
Diana Volkov's interview occurs while the store is already under pressure. Keep her in view and inspect every visible trait before returning to the computer. Her database can mention silver hoop earrings and a faded rose tattoo on the right thigh; verify what the current model and clothing actually expose rather than assuming a covered trait is missing.
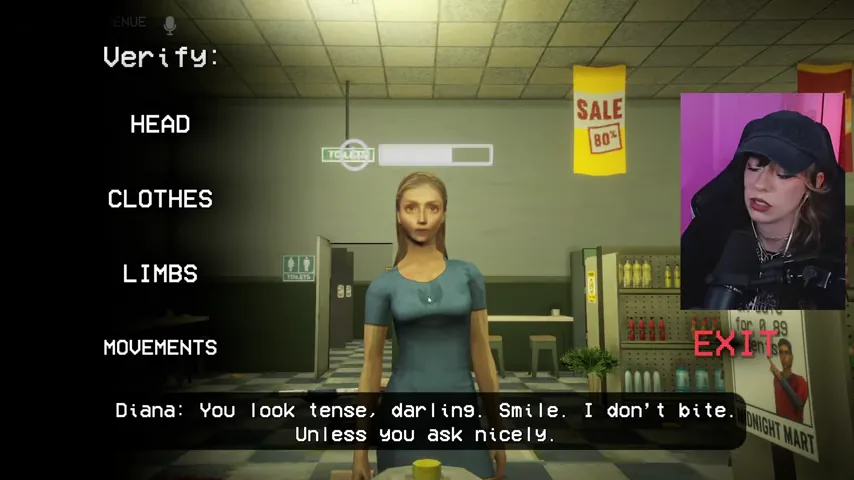
“Not visible” and “contradicted” are different findings when clothing covers the listed location.
N13-M18 — Finish Diana's database and tool checks before deciding
Search Diana's exact name and compare the portrait, occupation, visible height, earrings, tattoo location, and movement. Continue through the available scanner or lens. If the earrings are clearly absent or another exposed trait conflicts, reject; if the trait is merely hidden, require another independent contradiction before acting.
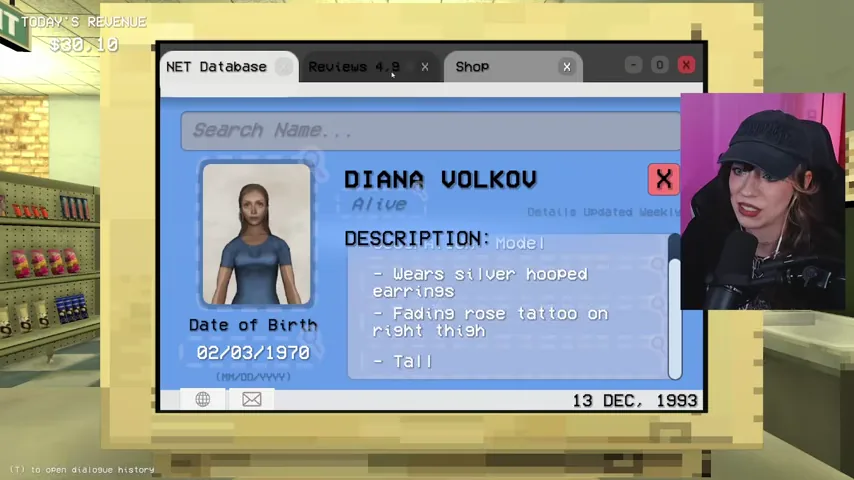
This prevents a rushed final-night guess from becoming a human casualty.
N13-M19 — Treat Lena's nervousness as behavior, not proof
Lena Rowe may stammer and appear anxious at the counter. That presentation is not an impossible trait. Verify her identity normally: compare her art-student occupation, pale complexion, short hair, paint-stained clothes, birth date, portrait, interview, and tool result.
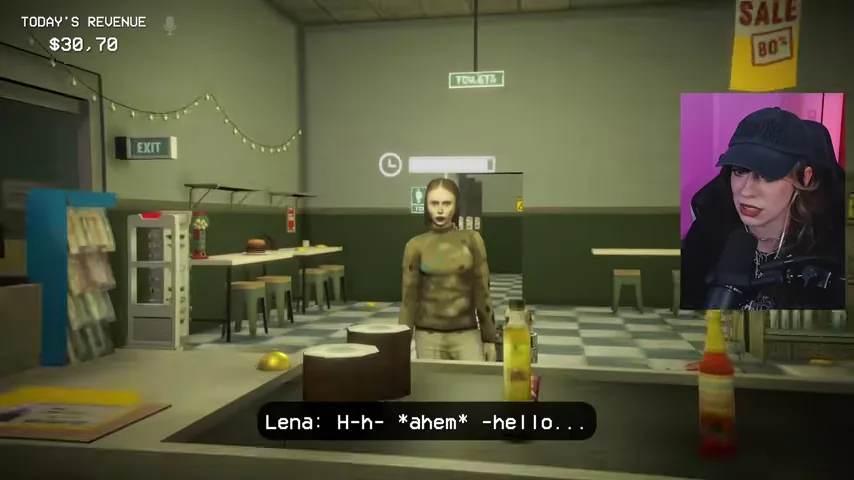
A nervous human and a calm doppelganger are both possible; evidence decides.
N13-M20 — Approve Lena when every listed field remains consistent
In the verified route, Lena's short hair, pale complexion, paint-stained clothing, art-student record, identity, and interview remain consistent. Complete her transaction. Use the remaining gap to restock only what is close to the counter, then return to the phone objective.
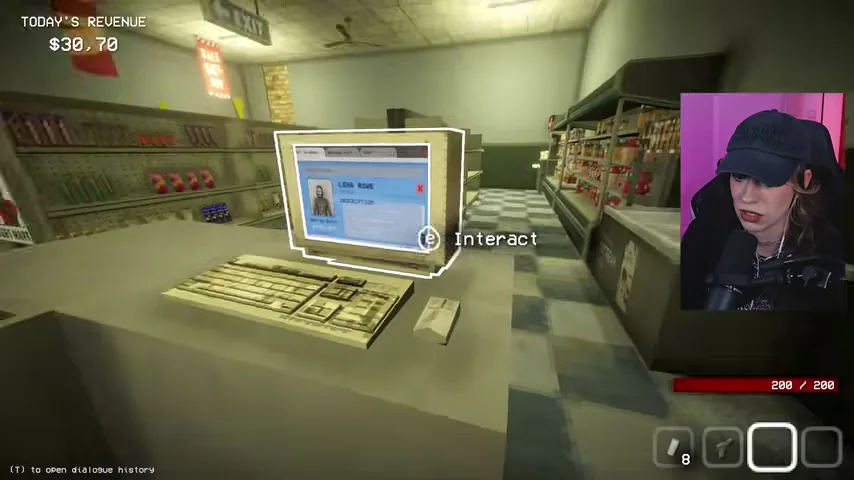
Correct approval is as important as catching a monster; do not reject everyone to force the finale.
Call Clyde and trigger the finale
N13-M21 — Use the wall phone when the Clyde objective is ready
After the required shift progress, interact with the wall phone and call Clyde. Do not make the call while a customer is about to time out or while lethal threats remain loose in the store. Reload first, clear the counter lane, preserve healing and ammunition, and leave an unobstructed path toward the store interior.
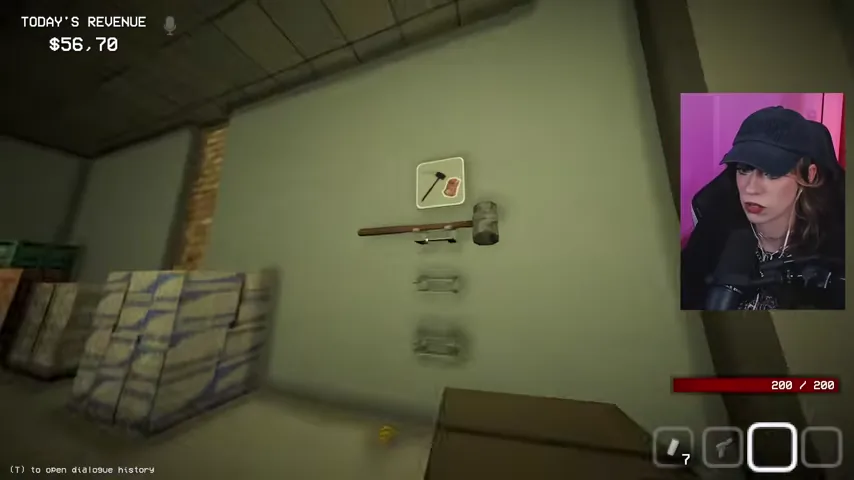
Calling Clyde is a story trigger, so prepare before pressing it rather than after he arrives.
N13-M22 — Let Clyde finish his arrival dialogue
Clyde enters in a friendly tone, thanks you for calling, and comments on the good work done at the store. Keep him in view and allow the dialogue to advance. Do not wander outside or start a long shopping order while he is speaking; the next event happens around the counter.
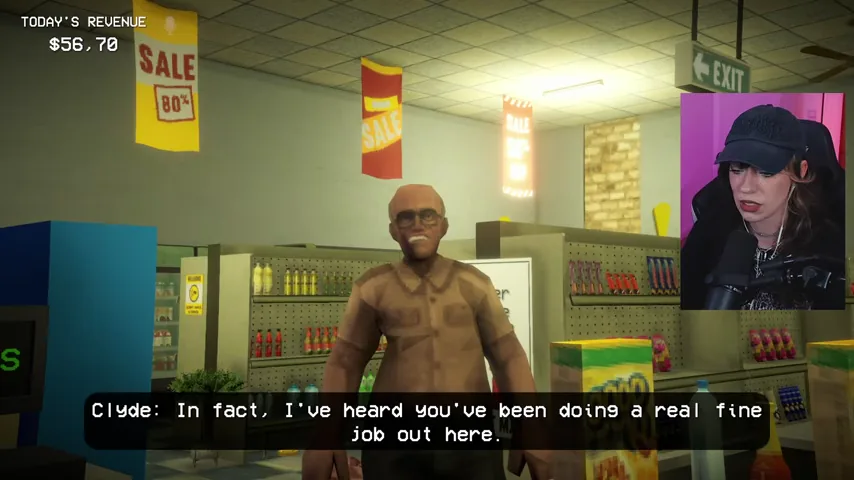
His arrival is not the end-of-night all-clear.
N13-M23 — Inspect Clyde Dawson's database record
Search Clyde Dawson. The record identifies him as the sheriff and lists his recognizable presentation, including a brown military-style outfit in the portrait and frequent glasses. Compare the record with the person at the counter, but do not assume that accepting or rejecting an ordinary sale can cancel the scripted story event that follows.
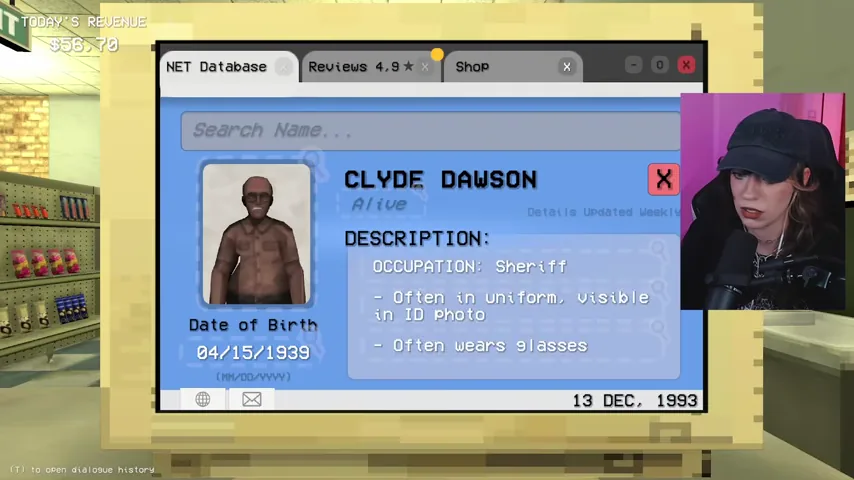
The shared Dawson surname connects this encounter to the night's newspaper without proving an identity decision by itself.
N13-M24 — Hold position when the store blacks out
The screen drops into a dark, desaturated view while Clyde notices someone approaching and demands to know who they are. Stop operating the register. Face the entrance and counter lane, keep a weapon ready, and listen for Clyde's line; the blackout is the beginning of the final scripted attack.
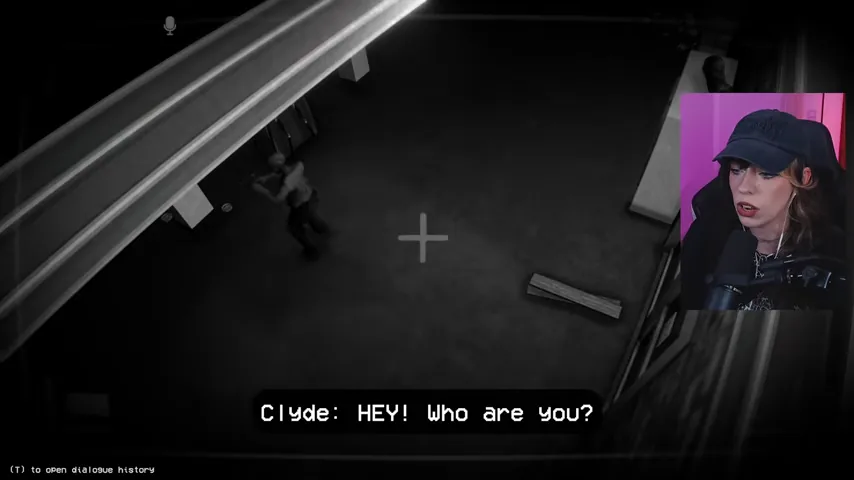
Do not mistake the blackout for a graphics failure or continue serving through it.
N13-M25 — Treat the unknown figure as the final hostile entity
When the image returns, a tall, skeletal figure stands at the counter and its name is hidden behind question marks. This is not another customer to verify. Back away from the counter, avoid being boxed into the register, and transition immediately from store service to survival.
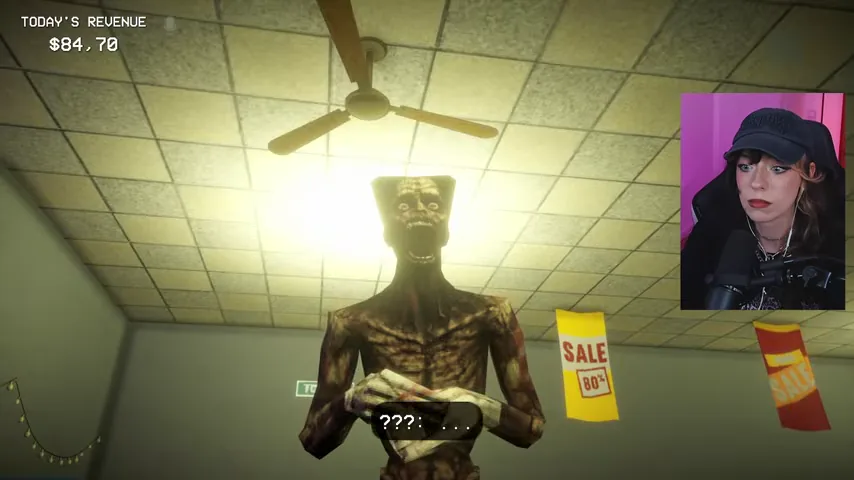
The impossible body and scripted arrival are direct hostile evidence.
N13-M26 — Draw your weapon and follow the Ending objective
Raise the loaded weapon, create distance, and respond to the on-screen survival direction. The sequence now leaves the ordinary Night 13 checkout and continues into the dedicated Ending route. Do not stop to restock, recover every dropped product, or re-open the database once the transition begins.
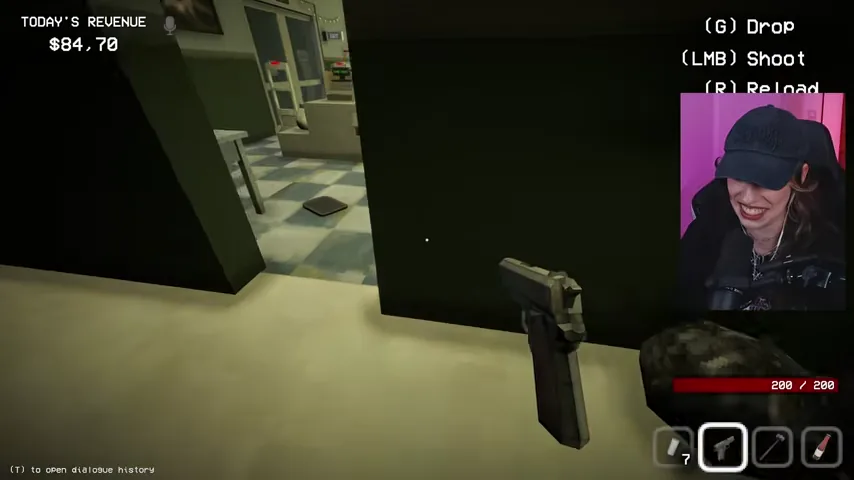
Continue with the Ending walkthrough for the chase, final cleanup, quota result, and story resolution.
Night 13 failure recovery
- A customer leaves and the Entity is alerted: reload the shift, stage tools and urgent stock before opening, then complete each active transaction before starting distant chores.
- You rejected a customer because they acted strangely: repeat the live-view, ID, database, interview, contextual-evidence, and tool sequence. Nervousness, dancing, rudeness, theft, and tall stature are not supernatural proof by themselves.
- You accepted Dylan while he wore the wrong clothes: treat an exposed “always wears” mismatch as hard evidence; do not reduce it to a cosmetic variation.
- You accepted Natasha after the morning-work claim: compare occupation schedules with the current interview. A night-only bartender cannot truthfully describe that job as work done since morning.
- You killed a troublemaker: use toilet paper only on marked human disruptors and reserve firearms for confirmed hostile entities.
- Clyde arrived before you were ready: prepare a loaded weapon, ammunition, healing, and a clear counter lane before using the wall phone.
- The screen went dark and you kept using the register: turn toward the entrance, listen for Clyde's warning, and switch immediately to the survival objective when the unknown figure appears.
Night 13 ends the retail test by combining every lesson: preparation protects customer patience, consistent evidence prevents human casualties, and recognizing the scripted Clyde transition keeps you alive long enough to reach the ending.
Chapter navigation