

Shift At Midnight Night 5 Walkthrough — Blood Moon, Locked Arsenal, and the Dentist
Read the Blood Moon email, buy fire weapons and traps before the alert, verify every customer and vehicle normally, then obey Lay Traps & HIDE until the delayed arsenal opens. Burn and shoot the attackers, clean the store, and sprint to the real bus if the Dentist event appears.
Night 5 is the first shift where a major attack is announced before the customer queue begins. The blood rain, Blood Moon email, delayed weapons arsenal, and survival phase are fixed. Customer names, order, and some evidence vary, so use the examples below to learn the decision rules rather than memorizing one recording.
Read the Blood Moon setup
N5-M01 — Treat the red rain as an attack warning
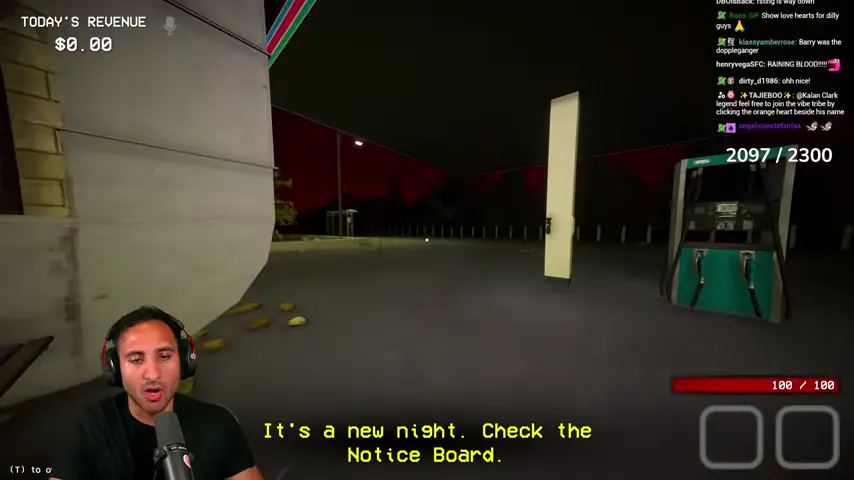
The red sky and blood rain appear as soon as the shift begins. Go inside, collect the nearby tokens, and read the notice board before serving anyone. Do not wait for the attack countdown before preparing; the visual warning is already telling you that this is a defense night.
N5-M02 — Inspect the corpse and read the break-room note
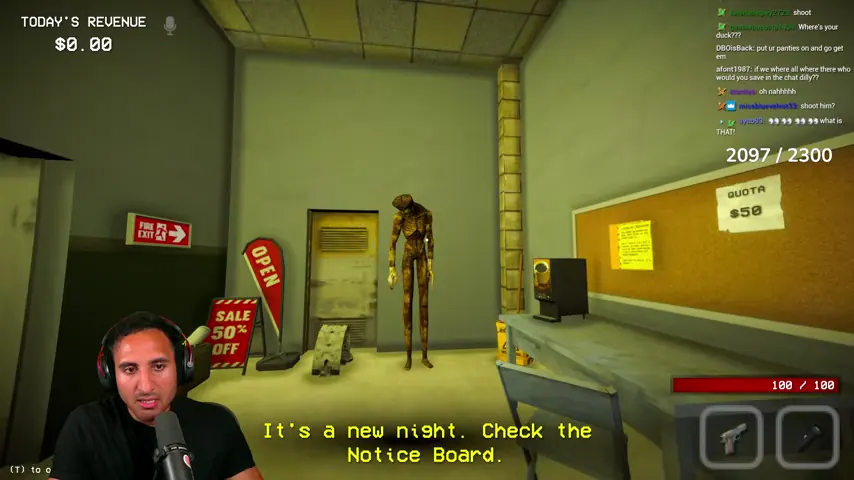
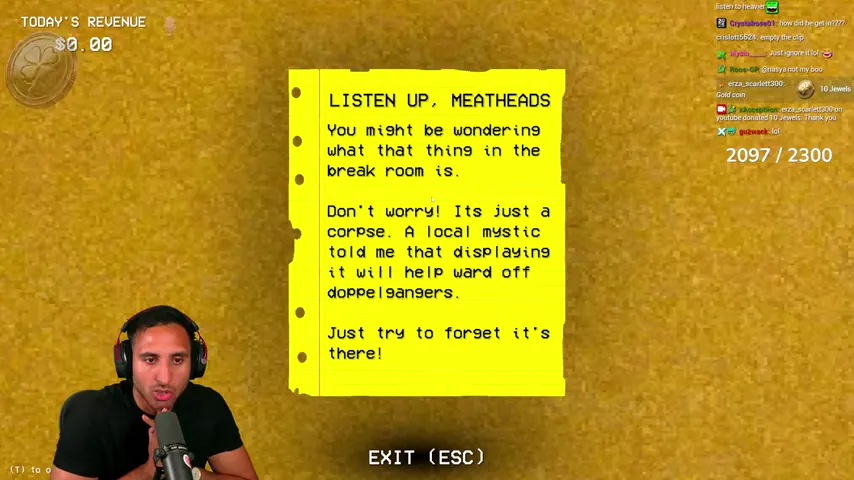
A corpse is displayed in the break room. The note says a local mystic recommended displaying it to ward off doppelgangers. It is not an enemy and does not need to be removed. Learn its position now so you do not waste time shooting it or confusing it with an attacker after the screen turns red.
N5-M03 — Read the full N.E.T. Blood Moon email
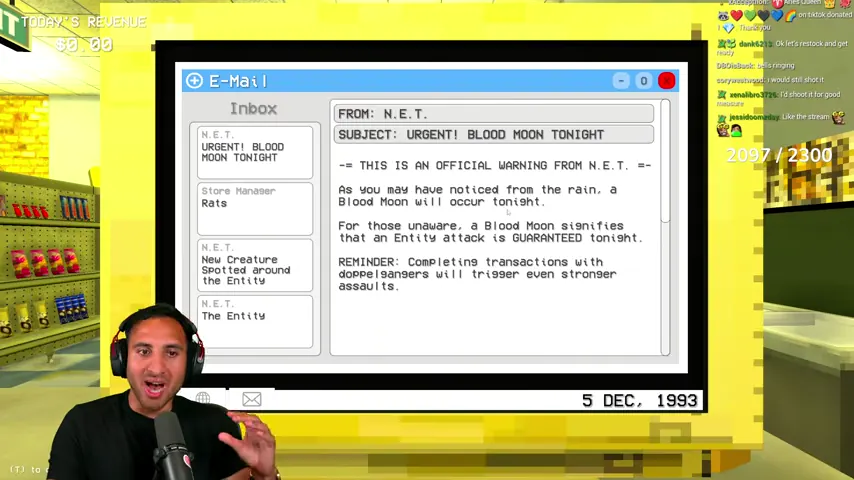
Open the computer inbox and read Urgent: Blood Moon Tonight. The email establishes two rules: an entity attack is guaranteed, and every doppelganger transaction you complete strengthens that assault. This makes careful customer checks part of the survival preparation, not a separate score objective.
Buy and stage survival equipment
N5-M04 — Prioritize weapons over decoration
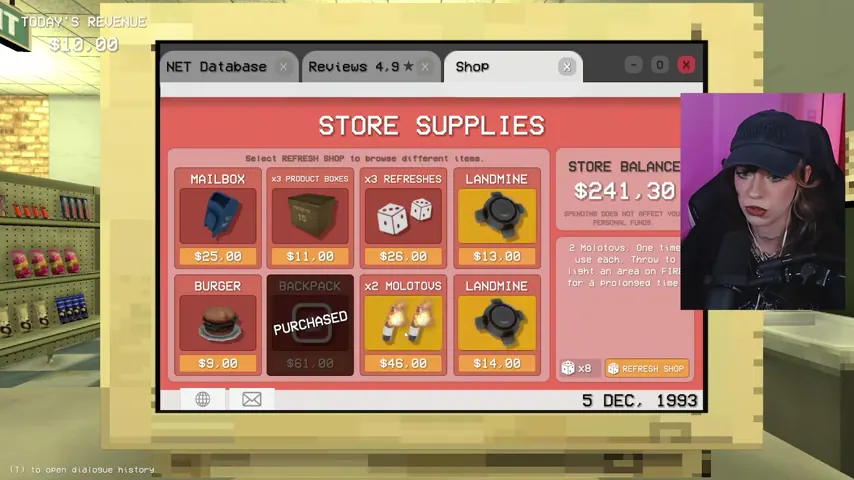
Open the Shop tab before the queue becomes busy. Buy at least one ranged fire option such as a Molotov, plus available mines, traps, grenades, healing, or extra inventory space. The creature phase is unavoidable, so cosmetic upgrades should come only after you have enough tools to survive it.
N5-M05 — Move delivered throwables into a known staging area
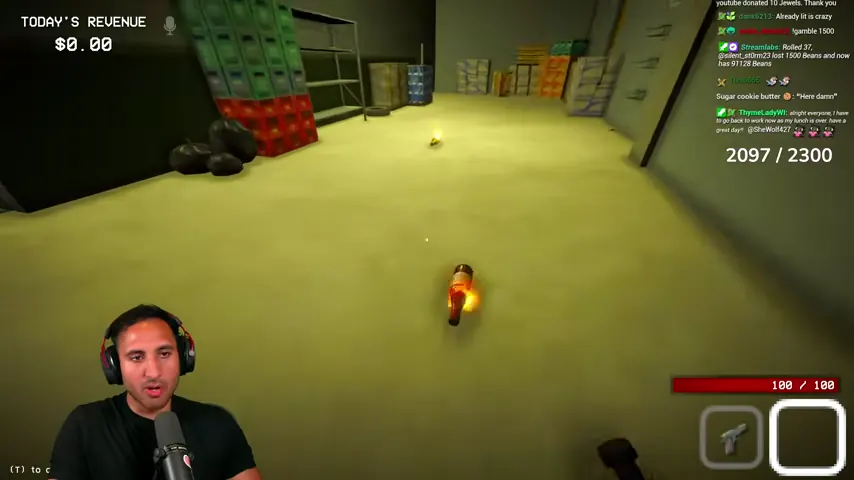
Collect the delivery and place your Molotovs, mines, and other throwables where you can recover them without searching the whole store. Keep the approach clear and avoid dropping fire items where you plan to hide. A simple staging point near the rear defense area gives you time to lay traps after the 60-second alert starts.
Process the customer queue without rushing
Use the same order for every person: ID scan → database record → face and body → clothes and identifying marks → occupation and relationships → spoken answers → decision. Blood Moon pressure does not make a vague suspicion sufficient evidence.
N5-M06 — Approve a customer only after every listed trait agrees
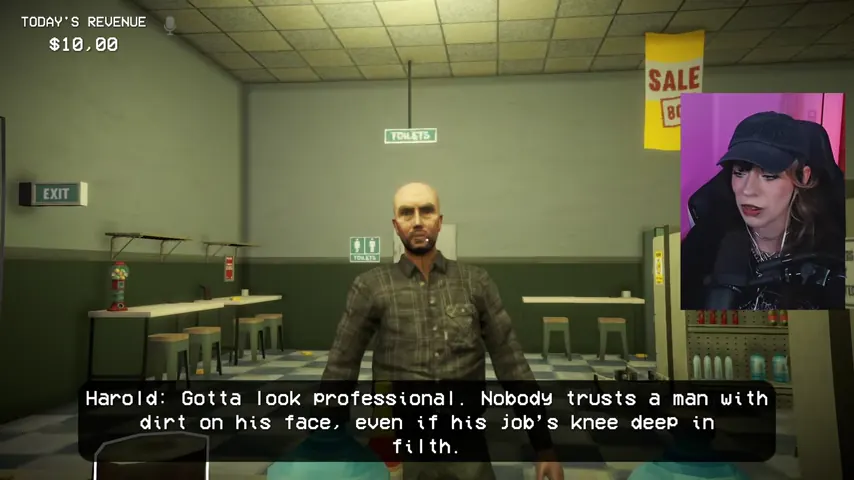
Harold Brandt is a useful human example from one verified run. His pest-control job, long sleeves, and neatly trimmed beard all agree with the database and his answers. The exact customer may not appear in your shift, but the rule is stable: odd dialogue is not enough to reject someone whose record and visible traits match.
N5-M07 — Compare a driver's vehicle with the registration record
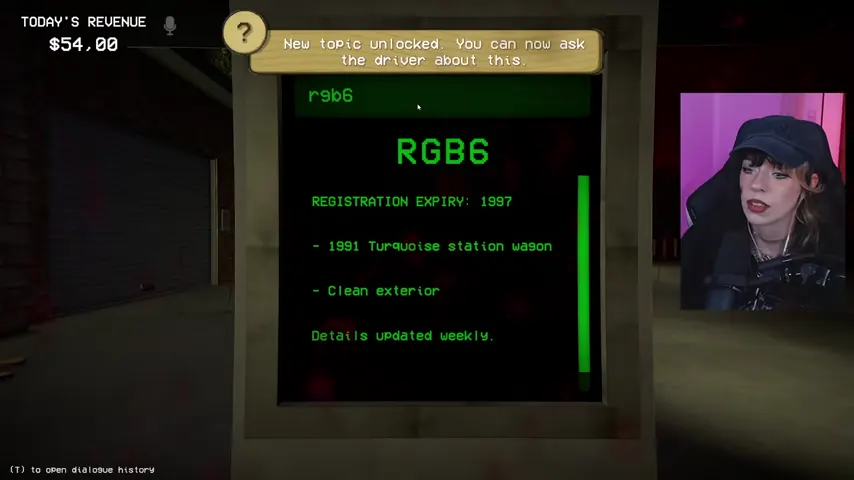
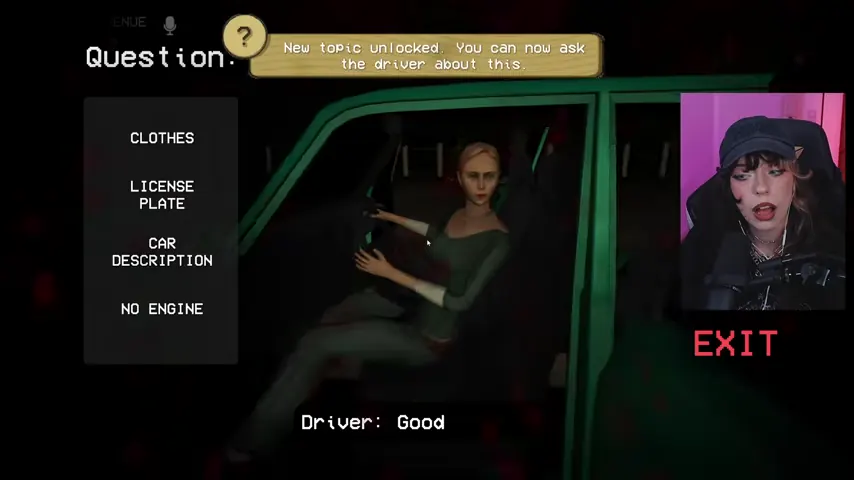
For a fuel customer, inspect the license plate and open the corresponding vehicle record. Match the plate, model year, color, body type, exterior condition, and special details. In one verified Night 5 run, plate RGB6 belonged to a turquoise 1991 station wagon with a clean exterior.
N5-M08 — Reject a physically impossible vehicle claim
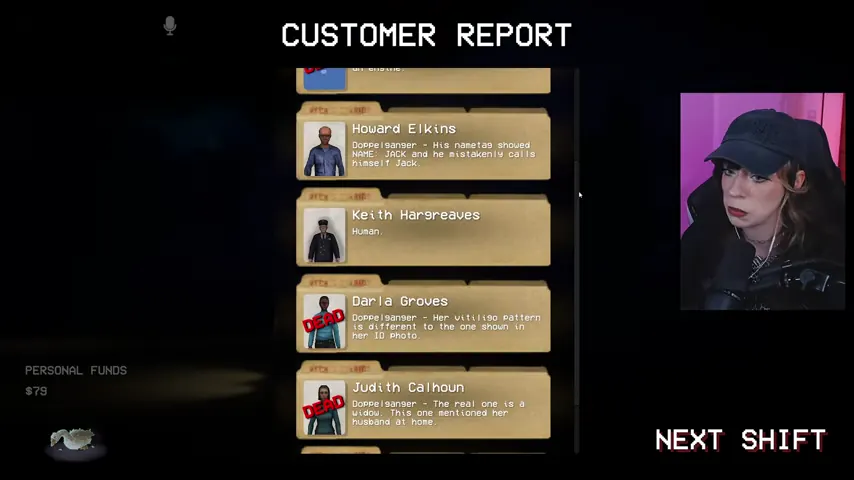
Ask about any missing or abnormal component before approving fuel. The RGB6 driver admitted that the car had no engine and claimed she was going to collect a replacement tomorrow. A car that arrived under its own power cannot have no engine; the customer report later confirms this driver was a doppelganger.
N5-M09 — Compare markings by shape and position, not category
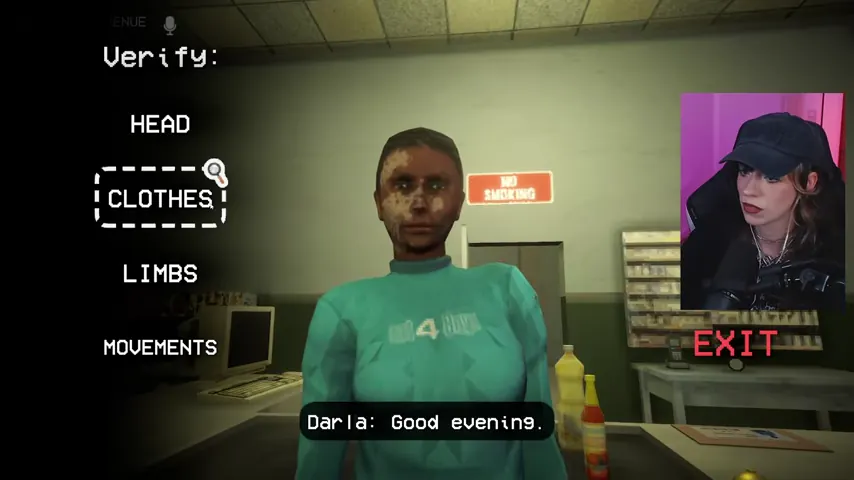
If a record says a customer has vitiligo, a tattoo, scar, or birthmark, compare the actual pattern and location with the portrait. Darla's face still had vitiligo, but its pattern did not match the file photo. The end-of-shift report confirmed the mismatched pattern was the decisive clue; simply having the same type of marking is not enough.
N5-M10 — Verify relationship claims against the person's life status
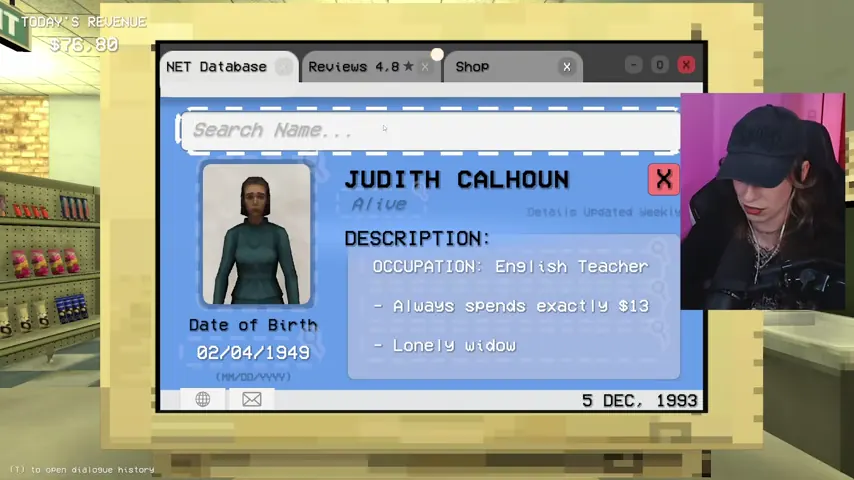
Judith Calhoun's record identifies her as a lonely widow. The customer said she was shopping for her husband Harold, directly contradicting that status. Reject a relationship claim only when it conflicts with the current database; do not reject ordinary small talk that the record cannot test.
N5-M11 — Accept a distinctive trait when its side and location match
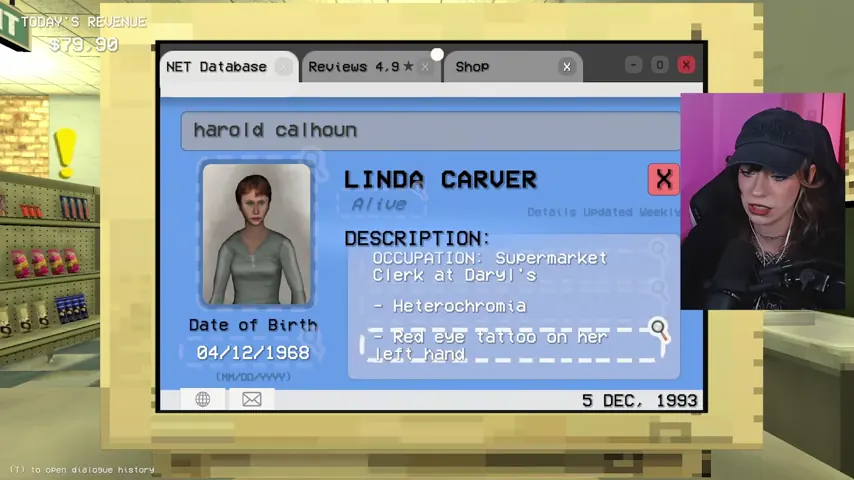
Linda Carver shows the opposite case. Her record lists a red-eye tattoo on the left hand, and the visible tattoo is on that same hand. When the name, occupation, portrait, and tattoo all agree, approve the transaction instead of treating every unusual marking as an anomaly.
Prepare for the delayed arsenal
N5-M12 — Answer the call and memorize the fallback plan
The manager warns that the rain has delayed the mechanism that opens the emergency weapons arsenal. He directs you toward the creepy painting in the break room and leaves a note. Finish locating this area before the alert so you can retreat without searching in red lighting.
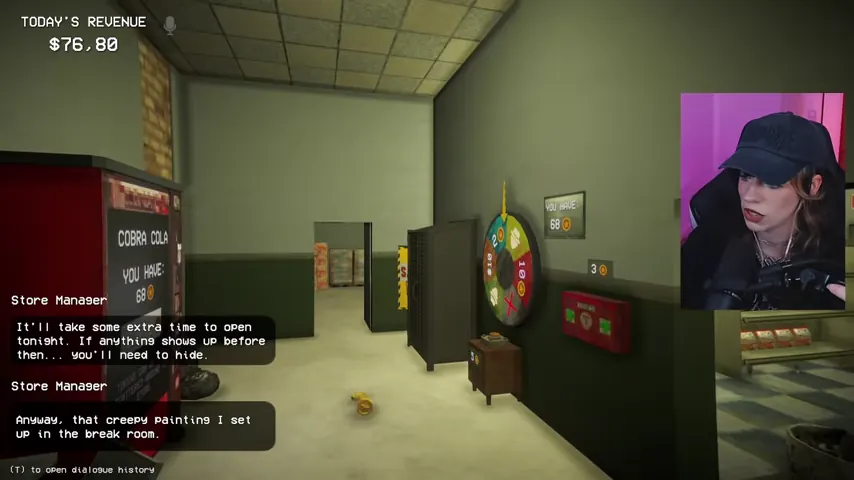
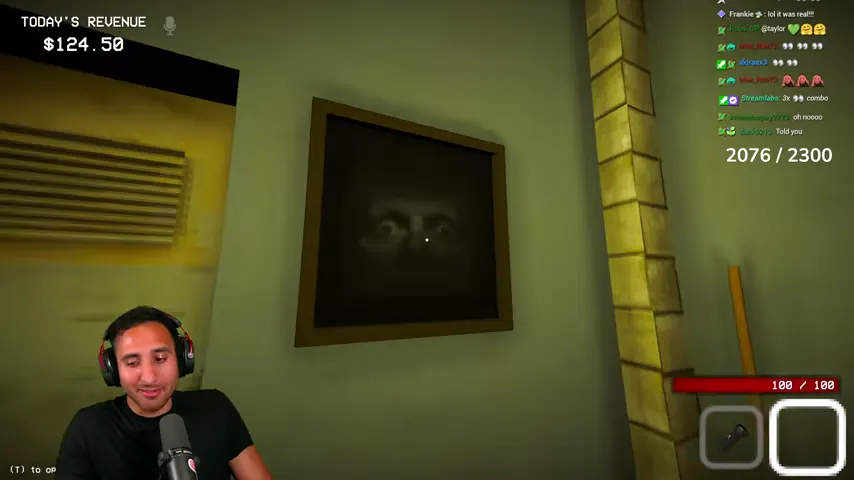
N5-M13 — Locate the creepy painting before the countdown
The dark painting with visible eyes is on the break-room wall. Inspect it while the store is calm and remember the surrounding doors and vents. When the arsenal is locked, this part of the store is your reference point for the instructed hide phase.
Survive the Blood Moon attack
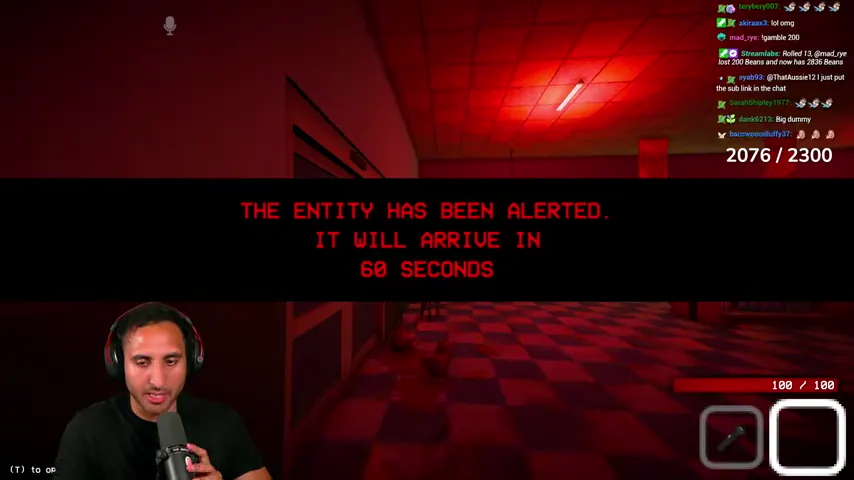
N5-M14 — Stop all retail work when the 60-second alert appears
The screen turns red and announces that the entity will arrive in 60 seconds. Abandon restocking, cleaning, optional purchases, and customer tasks. Collect the staged equipment immediately; anything left unfinished can wait until the survival phase ends.
N5-M15 — Lay traps across a controlled approach
Place mines and floor traps on a route the attackers must cross, leaving enough room to retreat without stepping into your own fire. If boards are available, secure an exterior approach only after the traps are down. Keep one throwable equipped and reserve a free inventory slot for a firearm when the arsenal opens.
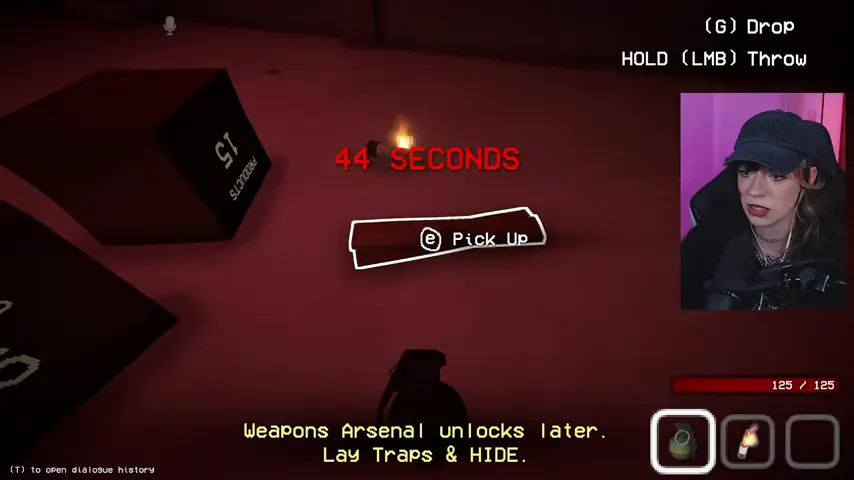
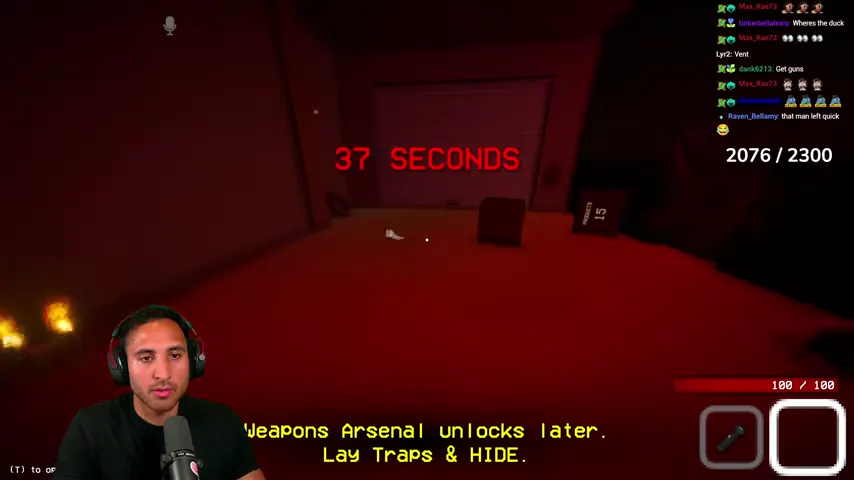
N5-M16 — Hide while the emergency shutters remain closed
The on-screen instruction is explicit: Weapons Arsenal unlocks later. Lay Traps & HIDE. Move to the prepared rear area, break line of sight, and wait for the shutters rather than standing beside the arsenal door. Watch the countdown and listen for the attack, but do not expose yourself just to check whether the weapons are ready.
N5-M17 — Burn the first attacker and create distance
When an entity enters, let the prepared route slow it, then throw a Molotov or another fire weapon into its path. Move sideways out of the burning area immediately. Fire remains dangerous to you and the store, so do not stand in the flames to confirm damage.
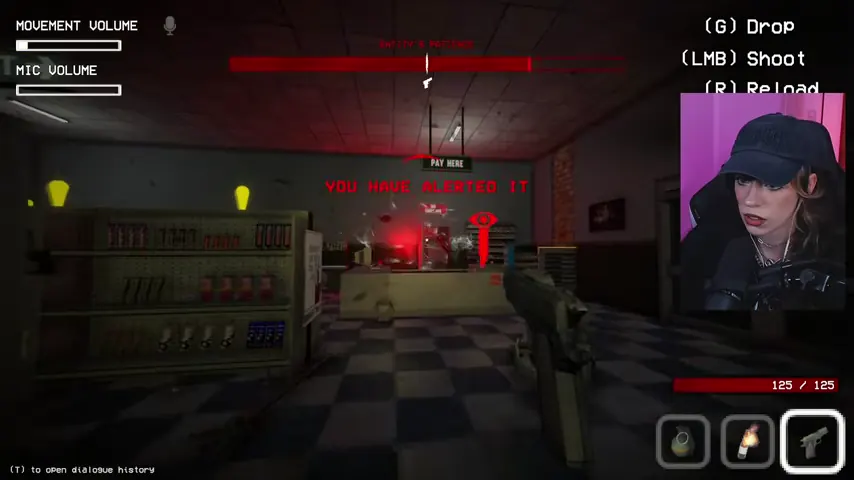
N5-M18 — Take the arsenal weapons and finish every marked target
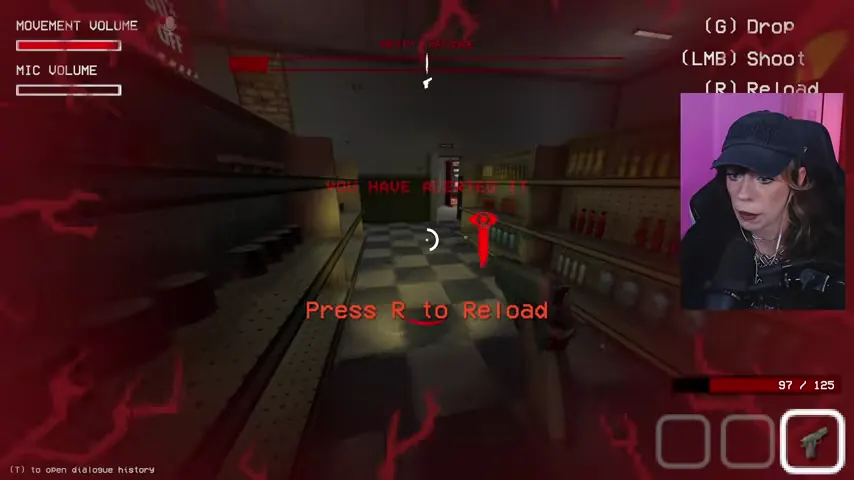
Once the emergency shutters open, take the available firearms and engage the red-marked entities from range. Reload while moving, preserve space from melee attacks, and use another explosive or fire source when multiple creatures overlap. A previously accepted doppelganger can add an extra attacker, so do not assume the fight is finished when the first creature falls.
Finish the shift
N5-M19 — Extinguish danger, clean every mess, and restock
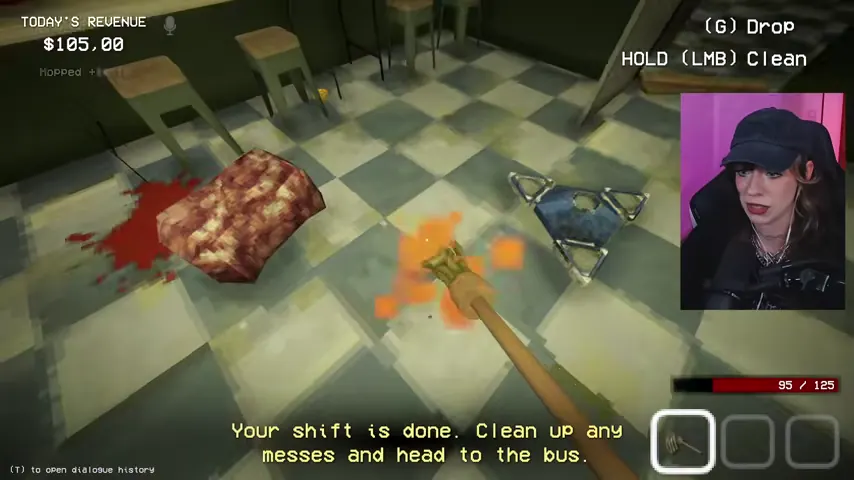
Wait until the objective changes to Your shift is done. Do not start cleaning while an entity marker remains. Mop blood, bag or destroy remains as prompted, throw out the trash, and finish the required shelf stock before leaving for the bus.
N5-M20 — Read the report and identify the exact missed clue
Review the customer report before starting Night 6. One verified report confirmed three distinct errors: Howard's name tag said Jack and he called himself Jack, Darla's vitiligo pattern differed from her photo, and the false Judith mentioned a husband even though the real Judith was a widow. Convert the report into a specific check for the next shift instead of merely trying to be more suspicious.
N5-O01 — If the world distorts, find the real bus
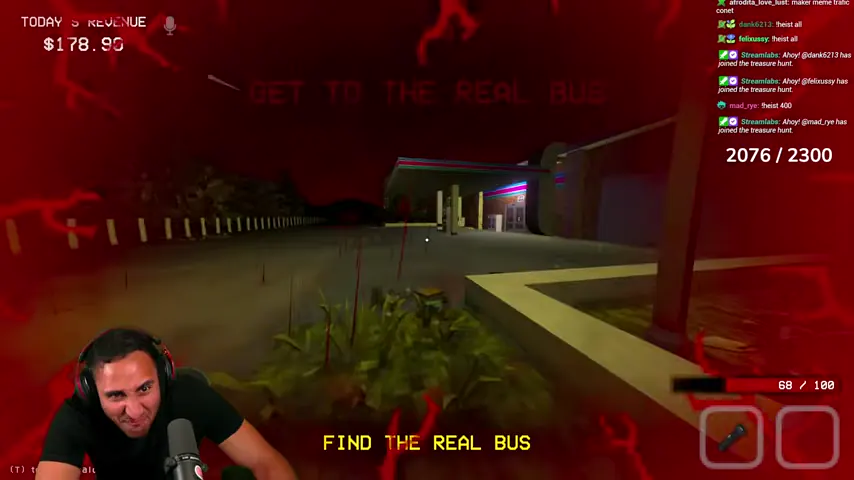
One verified run triggered a Dentist sequence after cleanup. The screen distorted and the red objective changed to Find the real bus. Sprint outside, keep moving, ignore false routes and visual copies, and enter the genuine bus when it becomes reachable. This is a run-and-escape event, not another gunfight.
Night 5 failure recovery
- The attack is much larger than expected: one or more completed doppelganger transactions strengthened it. Use the report to identify the missed clue.
- The arsenal is still locked: follow the current objective. Lay traps and hide until the shutters open instead of waiting in front of them.
- Fire killed you: throw from range, move away from the impact area, and never retreat through your own Molotov flames.
- The driver looked normal: vehicle evidence is independent of the person's appearance. A car with no engine is impossible even when the driver looks human.
- The marking seemed close enough: match the exact shape, side, and location. Darla's category was correct but her pattern was not.
- The Dentist caught you after the shift: stop cleaning once the red escape objective appears, sprint continuously, and search for the real bus.
What carries into Night 6
Keep survival tools staged before every warning phase, preserve the fixed identity-check order under pressure, and treat end-of-shift reports as evidence training. Night 5 proves that a single missed clue can make the combat phase materially harder.
Chapter navigation