

Shift At Midnight Night 10 Walkthrough — Second Blood Moon and Missing Dog
Record Guillermo's brown-Labrador notice and read the Blood Moon email first. Reject Martha Collins for naming Lee and Ken instead of Leo and Ben, reject Vivien Marrow when the Anomaly Lens removes her from view, prepare traps before the red phase, hide until the arsenal opens, then fight, clean, and review the $250 surgery deadline.
Night 10 is the second Blood Moon shift. Unlike an ordinary mistake-triggered raid, an entity attack will happen even after a perfect customer report. The safe route is therefore two parallel jobs: protect the evidence chain at the counter and prepare the store before the red phase begins.
Read the two opening warnings
N10-M01 — Record Guillermo's missing-dog notice
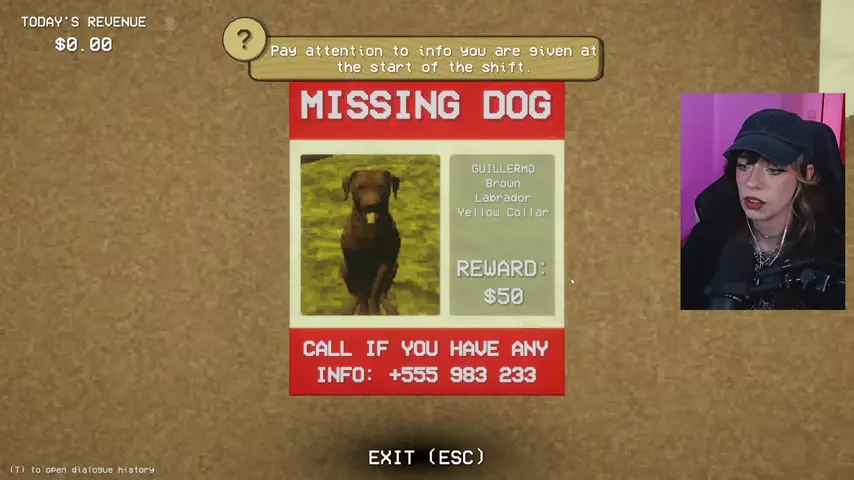
Read the notice board before opening. The missing dog is Guillermo, a brown Labrador wearing a yellow collar. The poster offers a $50 reward and lists 555-983-233. This information persists as a story lead; it does not replace the current shift objectives, so do not leave an active customer or Blood Moon preparation unfinished to search blindly.
N10-M02 — Treat the Blood Moon email as a guaranteed-attack order
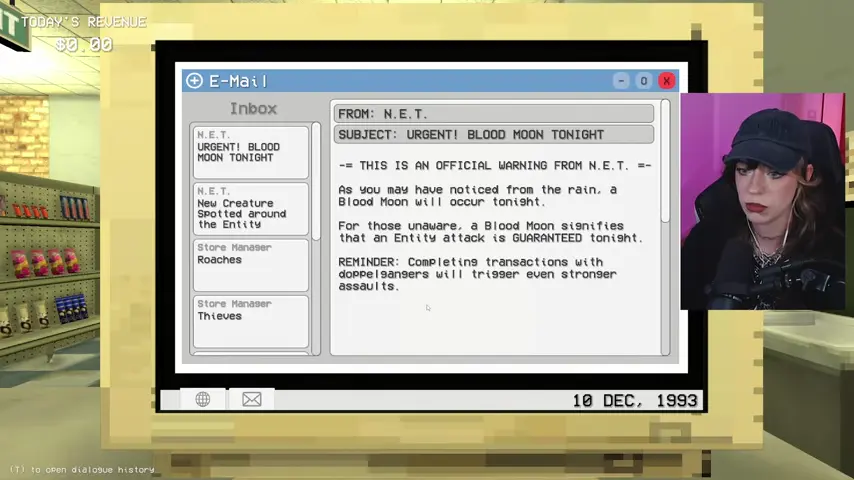
Open the NET email titled URGENT! BLOOD MOON TONIGHT. It says the rain signals a Blood Moon and guarantees an entity attack. It also warns that completing a transaction with a doppelganger triggers an even stronger assault. Plan to fight regardless of customer accuracy, but keep making correct decisions so the mandatory wave is not upgraded.
Clear the early human checks
N10-M03 — Approve Anita Varma after checking the coffee stain
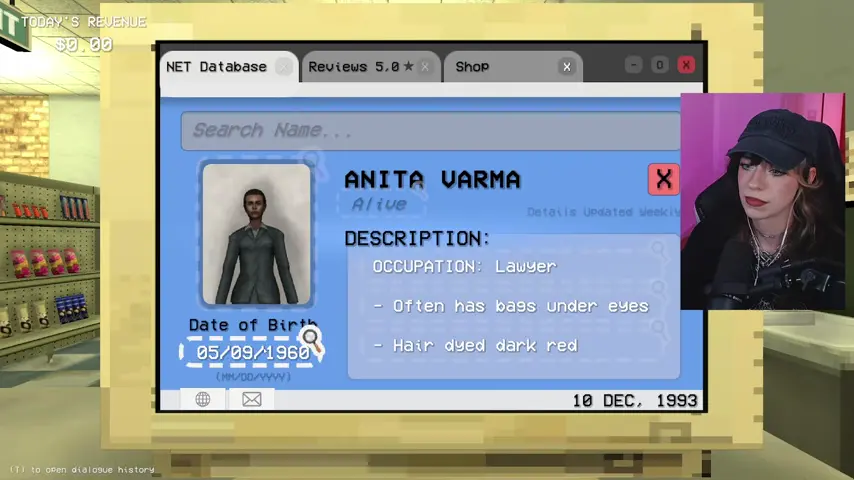
Anita Varma is a lawyer who often has bags under her eyes and wears her hair down. Ask about the visible stain; she says she spilled coffee that morning. Her occupation, face, ID, database record, and explanation agree, and the final report marks her as human. Do not turn an ordinary stain or tired expression into supernatural evidence.
N10-M04 — Read the fuel driver's license before searching the vehicle
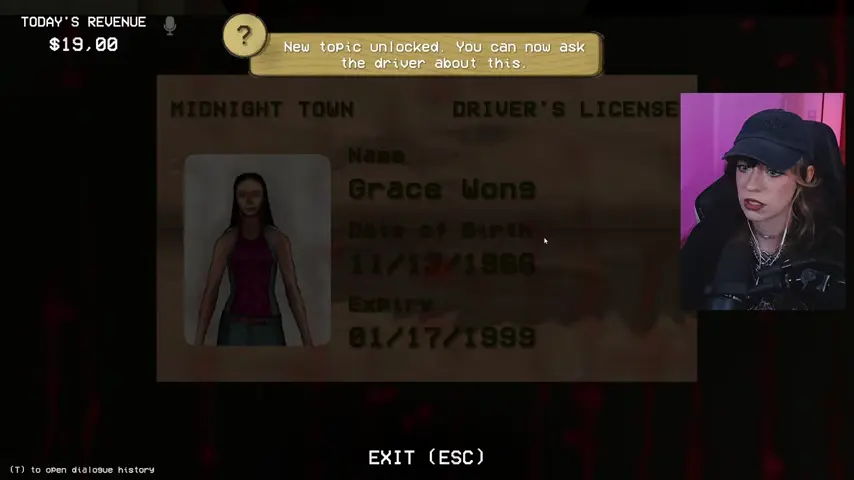
For the outside fuel customer, collect the driver's license and compare the name, portrait, birth date, and expiration date before touching the car. The verified route shows Grace Wong's license, but customer order and identities can vary. Use the document as the baseline rather than deciding from the dark exterior silhouette.
N10-M05 — Match the plate and vehicle record, then approve the driver
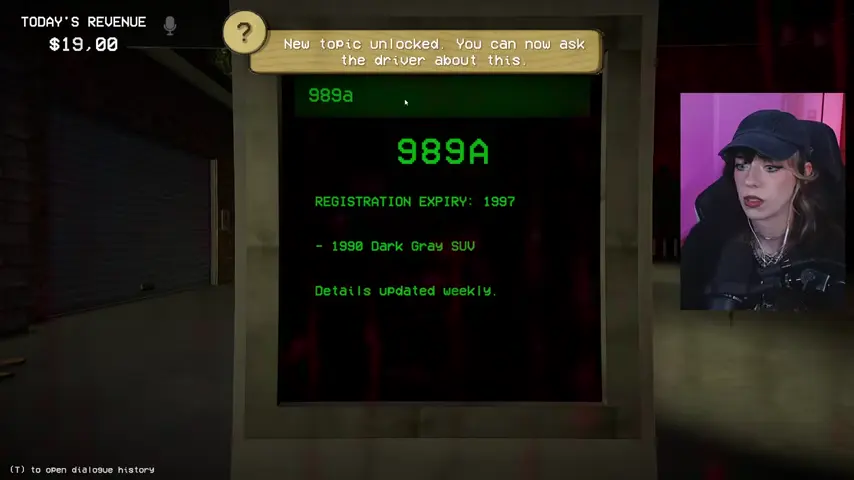
Inspect the accessible compartments, recover the plate number, and enter it at the roadside terminal. In the verified run, 989A returns a dark-gray SUV with registration valid through 1997. No impossible mismatch appears, and the shift report classifies the driver as human. A vehicle search is evidence gathering, not automatic permission to shoot.
N10-M06 — Approve Daniel Flores when the blind-eye detail matches
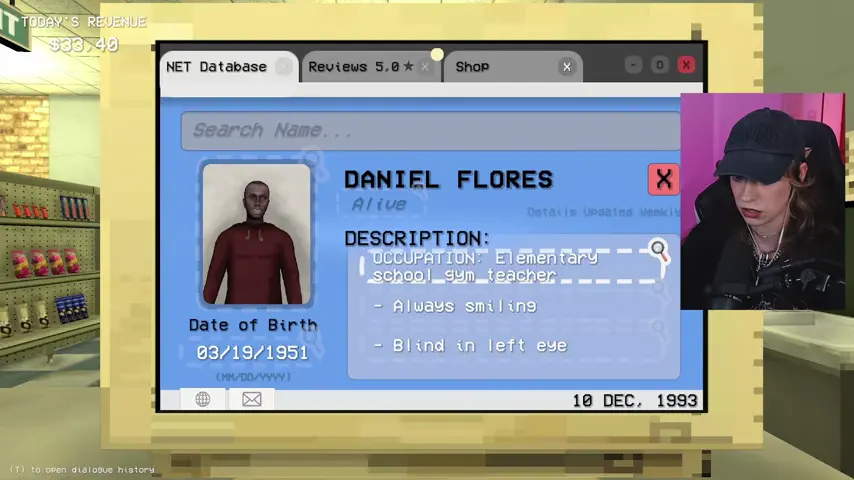
Daniel Flores is an elementary school teacher. His record describes a blind left eye, and the customer openly confirms that condition. Compare which eye is affected, scan him, and verify the remaining fields. The final report marks Daniel as human; a visible disability that matches the record is confirming evidence, not an anomaly.
N10-O01 — Buy Blood Moon supplies while the floor is calm
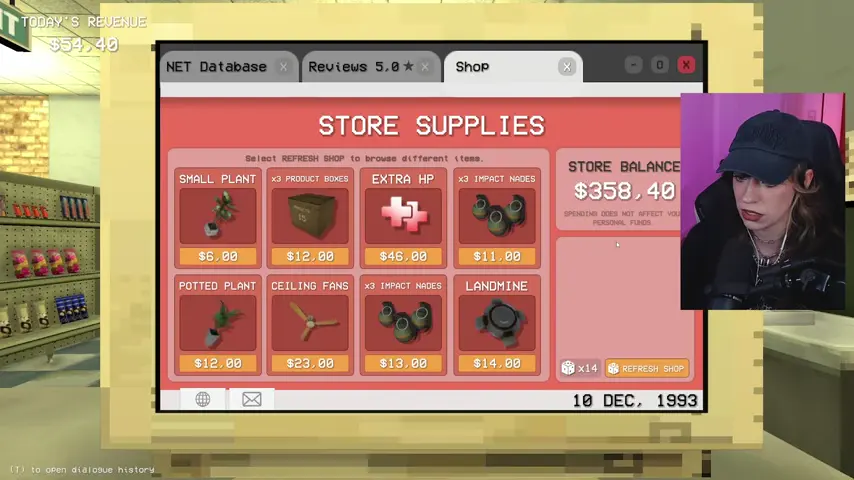
Open the shop between customers. Prioritize maximum health, landmines or other traps, ammunition, a loaded firearm, healing, and enough inventory space to stage the kit. Keep the hammer or planks reachable as well. The arsenal is temporarily locked during the first Blood Moon countdown, so buying late will not rescue an unprepared run.
Catch the two proven doppelgangers
N10-M07 — Write down Martha Collins's exact child names
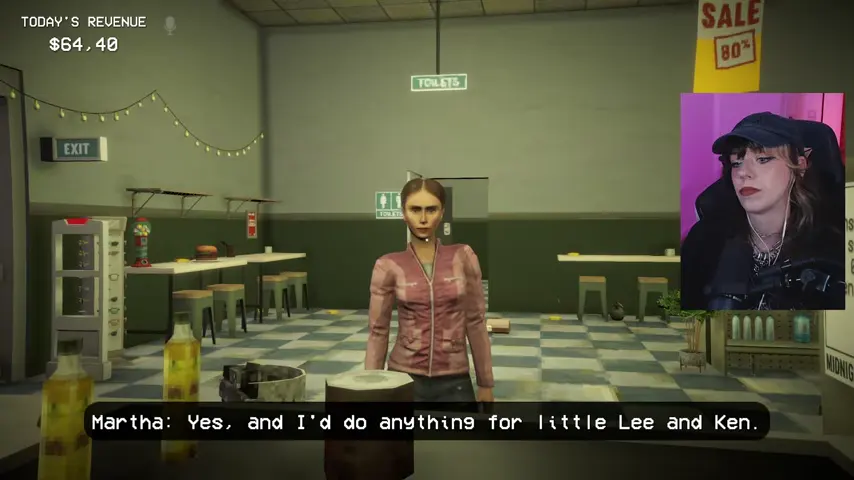
Martha Collins says she would do anything for her two children, Lee and Ken. Preserve the exact names. “Mother of two” agrees with her own database summary, but that broad match is not enough—the named relatives are the testable part of the story.
N10-M08 — Reject Martha because the database lists Leo and Ben
Search Martha's profile and the family names before accepting the transaction. The real record lists her children as Leo and Ben, not Lee and Ken. The result report confirms that this name mismatch exposes a doppelganger. Stop the transaction and eliminate the threat before returning to normal store work.
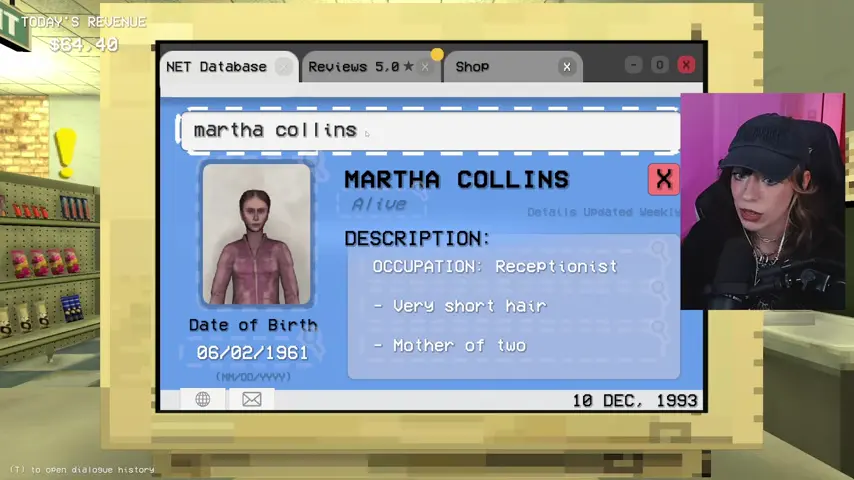
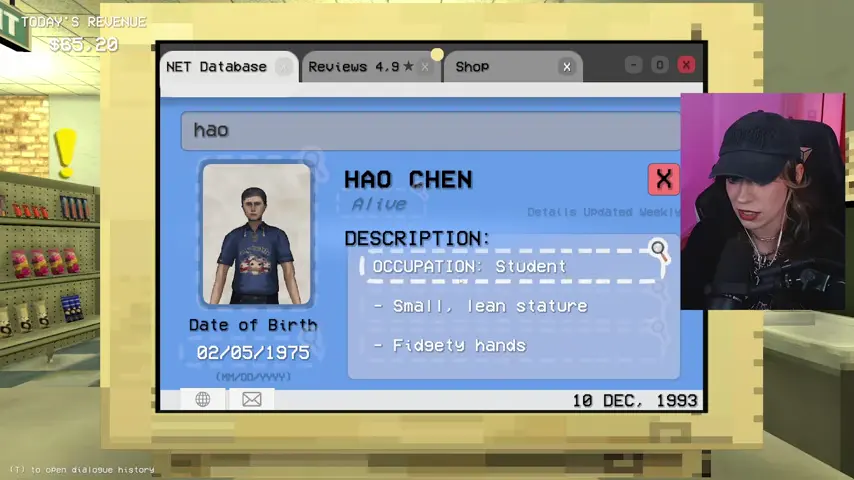
N10-M09 — Let Hao Chen leave after exposing the fake alcohol ID
Hao Chen presents a fake adult ID to buy alcohol, but searching his real name returns a student born in 1975 with a small, lean build and no impossible body detail. He admits he is underage and asks not to be killed. The final report marks him as human: using fake identification for an ordinary crime is not the same as being a doppelganger.
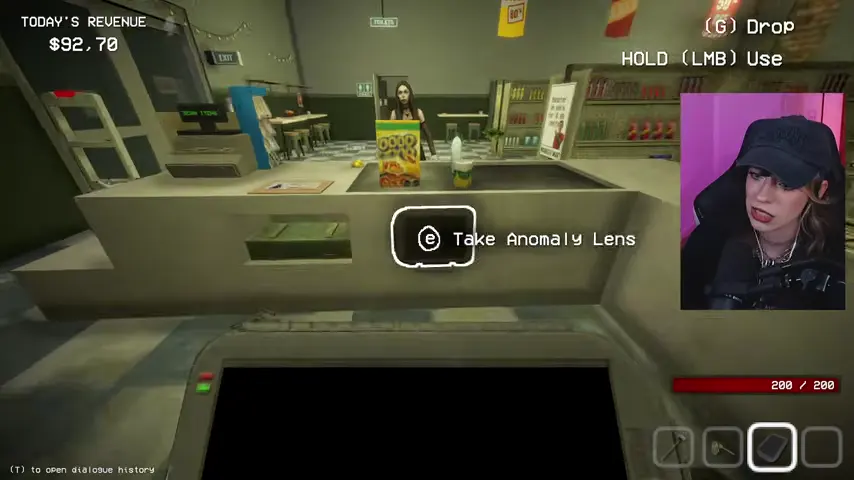
N10-M10 — Establish Vivien Marrow's direct-view baseline
Vivien Marrow describes herself as a pale seamstress who wears black because bright things hurt her eyes. Look at her directly before raising the Anomaly Lens. Her unusual complexion and style are not sufficient evidence on their own; the comparison between normal sight and the lens is decisive.
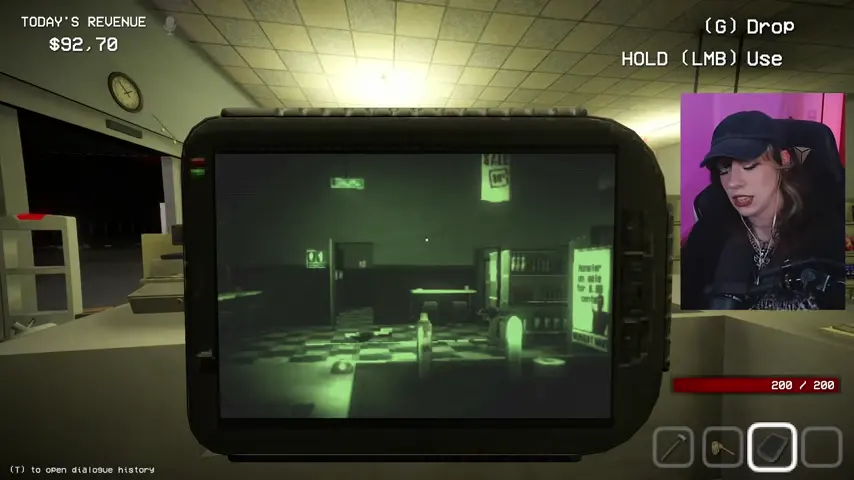
N10-M11 — Reject Vivien when the Lens removes her from view
Raise the Anomaly Lens without moving the camera. The customer who was standing at the counter disappears from the lens display while the surrounding store remains visible. That reality mismatch is conclusive. Reject Vivien; the final report identifies her as a doppelganger revealed by the lens.
Complete the forest summons
N10-M12 — Answer the voice and take the marked route behind the store
After the counter sequence, a voice says, “We know you are kind,” and calls you into the forest. The objective changes to Head to the forest behind the store. Take a flashlight, keep one inventory slot free for the bucket, and bring a defensive weapon. Finish or pause the active customer safely before leaving the counter.
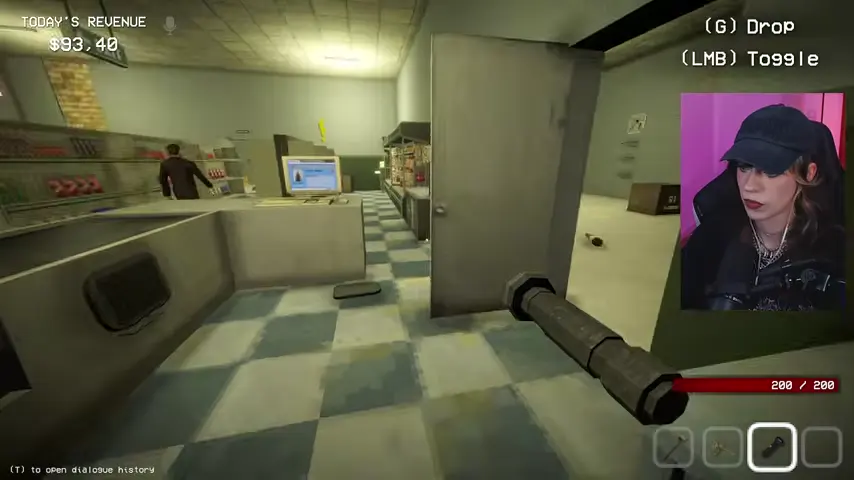
N10-M13 — Fill the bucket from the glowing liquid without standing in it
Follow the illuminated patches until you find the bright, corrosive pool. Equip the bucket and use the interaction from the edge. Contact with the liquid drains health, so step back between fills and do not treat the glow as a safe navigation marker.

N10-M14 — Carry the filled bucket to the marked basin
Return to the nearby ritual basin or grave-like container and pour in the collected liquid. If the objective does not advance, check that the bucket is actually filled and that you are using the basin interaction rather than dropping the item beside it. Repeat the marked collection-and-pour loop until the objective resolves.

N10-M15 — Wait for the forest acknowledgment before returning
Do not leave after the first pour merely because the area looks quiet. Wait for the voice to acknowledge the completed ritual and for the objective state to clear. Once it does, return directly to the store; the Blood Moon timer is still the night's hard endpoint.
Finish the last identity check
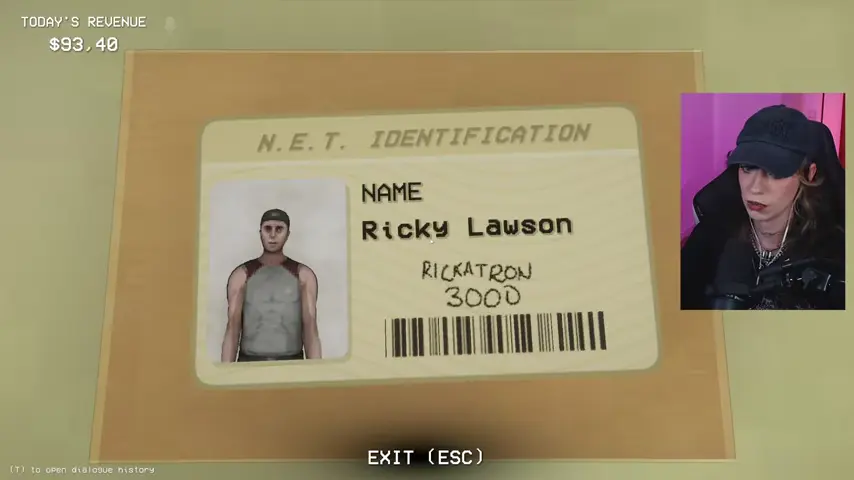
N10-M16 — Approve Ricky Lawson after the lazy-eye check
Ricky Lawson presents identification and says one eye drifts. Compare the live eye, the ID portrait, and his database details, including his usual purchase pattern. No impossible mismatch appears in the verified route, and the result report marks Ricky as human. Familiar customers still require the full check, but a known trait that matches should not be punished.
Survive the second Blood Moon
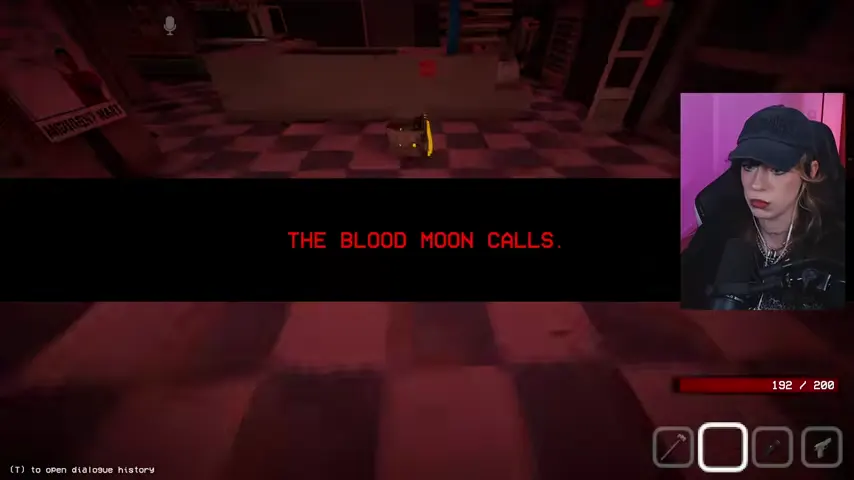
N10-M17 — Stop store work when “The Blood Moon Calls” appears
The red message is the start of the guaranteed encounter, not a warning that can be postponed. Drop cleanup and stocking, collect the prepared kit, and move immediately into the defensive route. Correct customer decisions do not cancel this event.
N10-M18 — Place traps on approach lanes, not at your feet
Lay mines and traps along the paths entities must cross: the main counter approach, doorway lanes, and routes leading to your chosen hiding point. Keep a clear escape line so you do not trigger or become boxed in by your own setup. Finish the essential placements first because the countdown continues while you work.
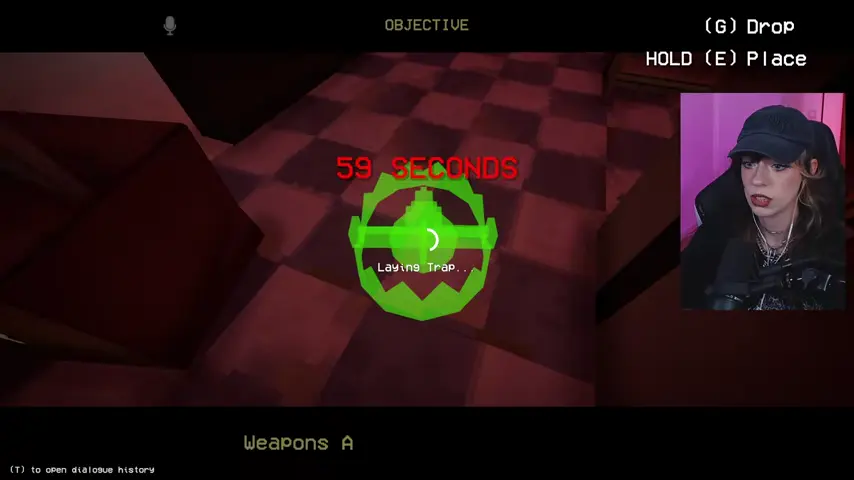
N10-M19 — Hide until the arsenal countdown reaches zero
The weapons wall displays Weapons Arsenal unlocks later — Lay Traps & HIDE. This is a timed survival phase. Use a locker or a route with hard cover, keep quiet, and let the traps slow the first arrivals. Do not stand at the locked wall repeatedly trying to take a gun.
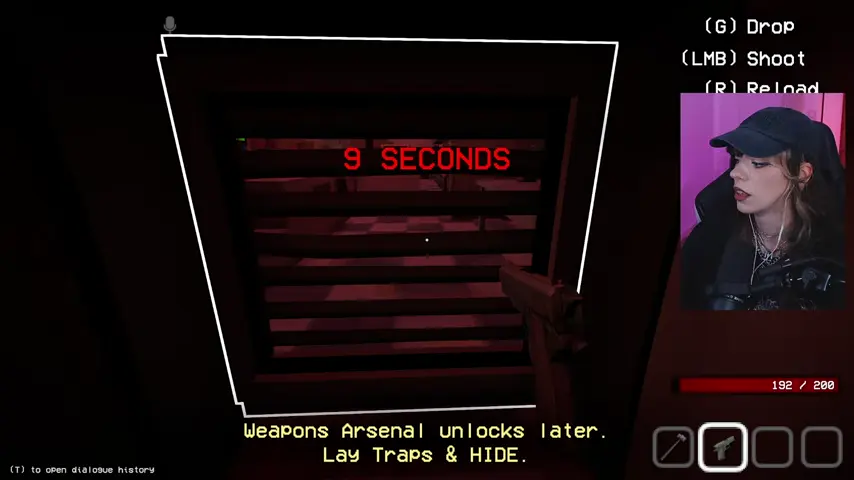
N10-M20 — Survive the first wave instead of forcing an early fight
Large entities can enter while the arsenal is still locked. Stay behind cover, relocate only when your position is compromised, and use any weapon already carried as a last resort. Reload prompts and red markers are secondary to staying alive until the objective changes.
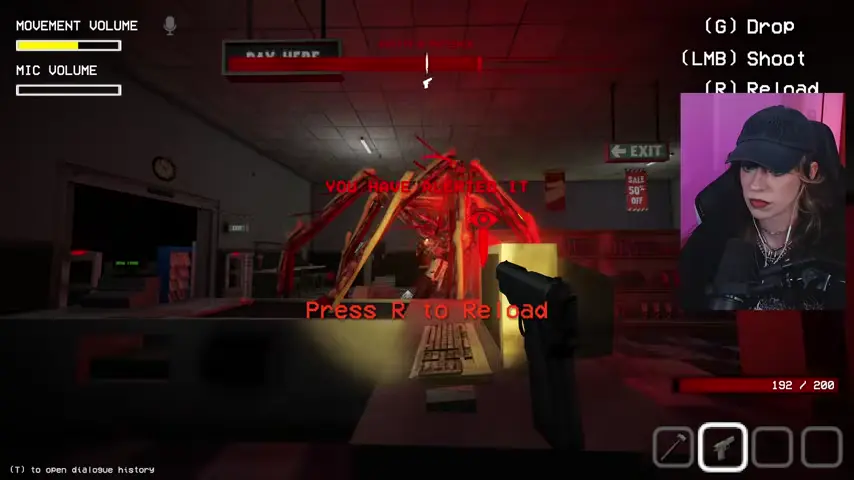
N10-M21 — Let traps and fire break up clustered attackers
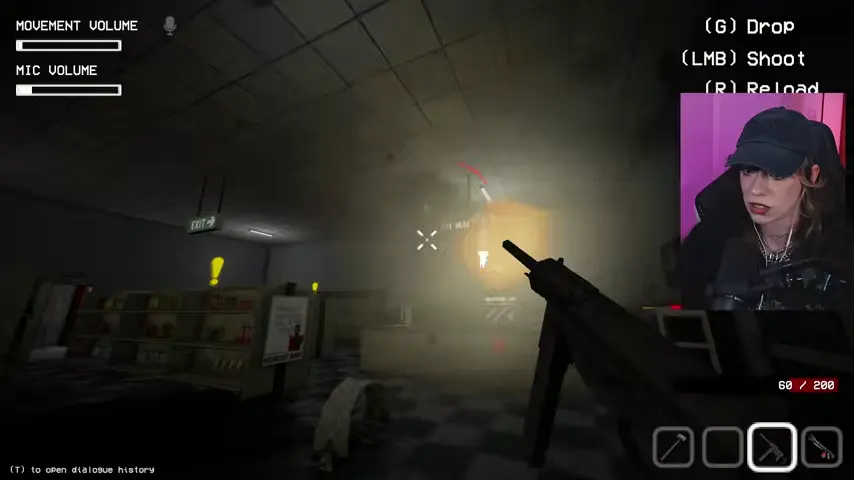
Once entities bunch in a lane, use prepared explosives, fire, and traps to stagger the group rather than fighting every target on the open floor. Keep enough distance from burning shelves and detonations; self-inflicted fire damage can erase the advantage of a successful trap.
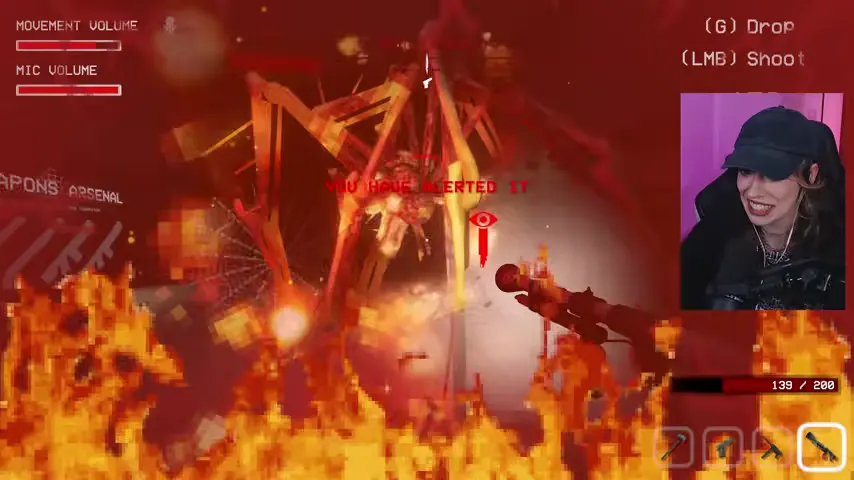
N10-M22 — Take the arsenal weapons and counterattack from cover
When the arsenal unlocks, take a loaded firearm, confirm ammunition, and fight from a shelf corner or doorway. Damage one controlled target, reload behind cover, and check the remaining red markers before crossing the shop. Do not assume the encounter is over after the first large entity falls.
Clean up and close the shift
N10-M23 — Wait for the cleanup objective before lowering your guard
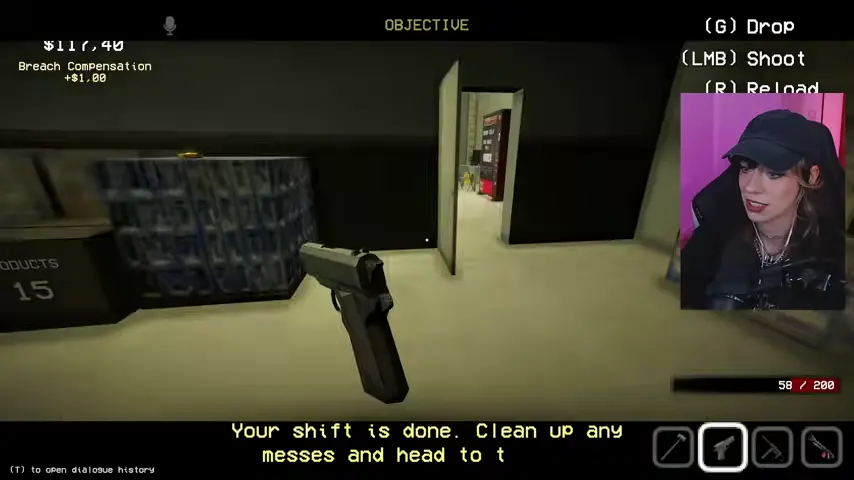
Resume store work only when the objective says the shift is done. Mop blood, pick up loose items, repair the mess that blocks movement, and finish required stocking. Silence during combat is not the same as a confirmed all-clear.
N10-M24 — Leave on the bus only after the floor is ready
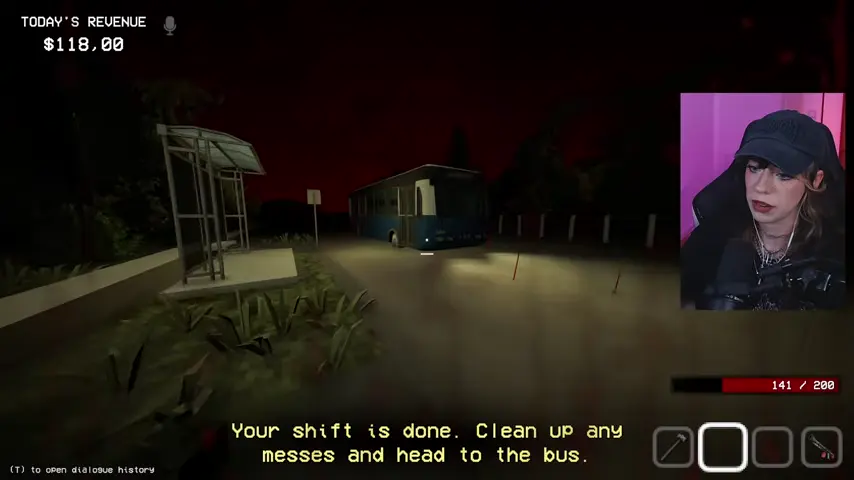
When the cleanup and remaining store tasks are complete, carry any retained equipment out and board the bus. If the bus prompt does not advance, recheck the objective list for a missed spill, loose product, or unfinished shelf instead of waiting at the curb.
N10-M25 — Confirm the Night 10 result before spending money
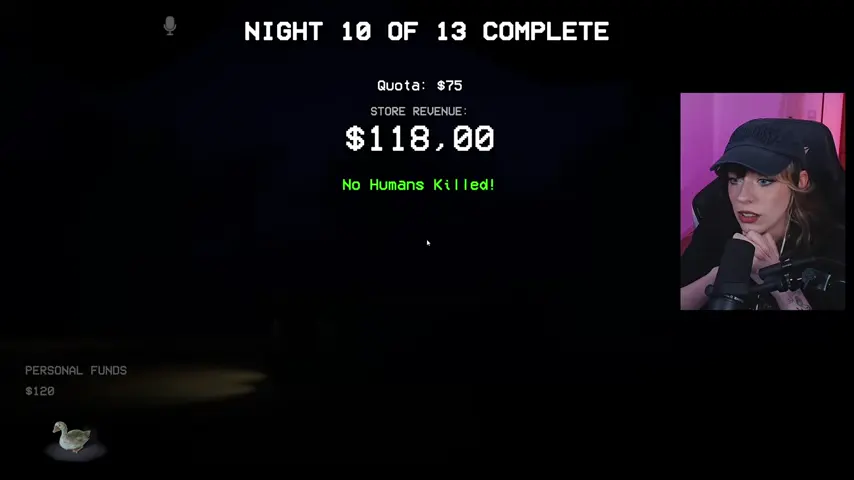
The result screen should read Night 10 of 13 Complete. Review quota, store revenue, human casualties, and personal earnings. Values vary with transactions and upgrades; the verified route shows no humans killed. A completed Blood Moon does not guarantee a good economic result, so inspect the report before buying more supplies.
N10-M26 — Reserve $250 for Timmy's surgery within three days
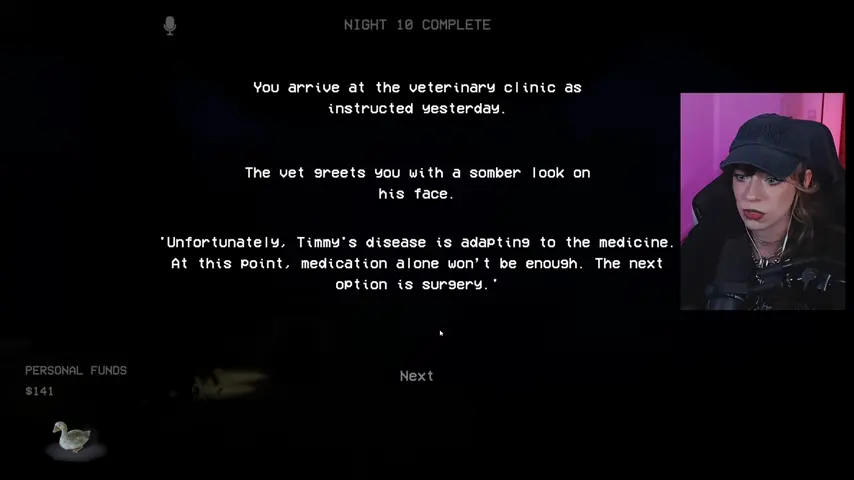
At the veterinary clinic, the vet explains that Timmy's disease is adapting and medication alone is no longer enough. Surgery costs $250 and must happen within three days. Treat that deadline as the new budget constraint: preserve personal funds and avoid unnecessary purchases during the next shifts.
N10-M27 — Verify the driver, Anita, Daniel, and Martha in the report
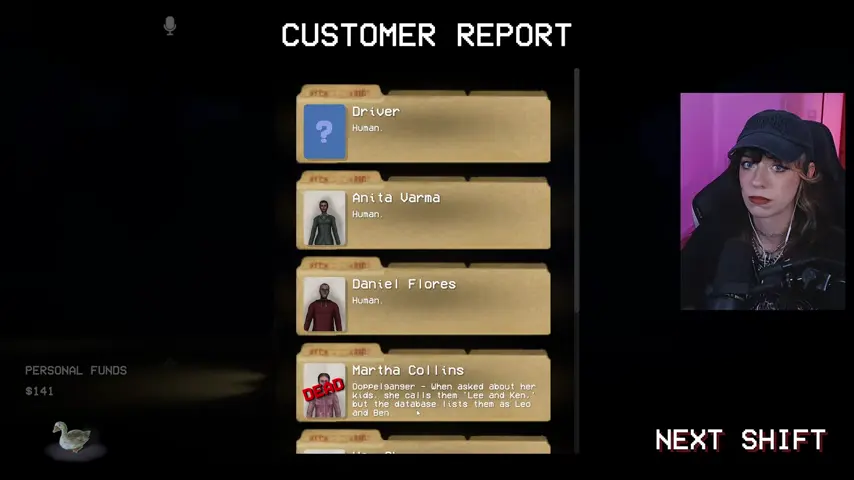
The first part of the customer report confirms the driver, Anita Varma, and Daniel Flores as human. It also explains Martha Collins's failure: she names Lee and Ken, while the database lists Leo and Ben. Use the report to correct the evidence rule, not merely memorize who survived.
N10-M28 — Verify Hao, Vivien, and Ricky before Night 11
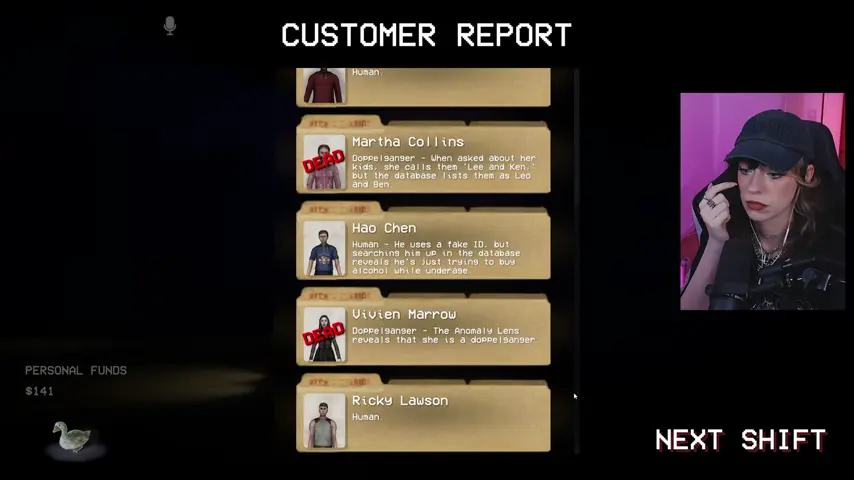
The remaining report confirms that Hao Chen is a human using a fake ID to buy alcohol, Vivien Marrow is a doppelganger exposed by the Anomaly Lens, and Ricky Lawson is human. Night 10's reusable lesson is strict separation: ordinary dishonesty can belong to a human, while an impossible database or reality mismatch is decisive.
Night 10 failure recovery
- You forgot the missing-dog details: Guillermo is a brown Labrador with a yellow collar; the reward is $50 and the number is 555-983-233.
- You accepted Martha: record exact family names. Lee and Ken contradict Leo and Ben even though both stories describe two children.
- You killed Hao: search the real person behind the fake ID. Underage alcohol fraud is an ordinary offense; Hao's real record remains physically consistent.
- You missed Vivien's clue: look at her directly, then raise the Lens without moving. Her disappearance from the same scene is the anomaly.
- The forest task stalls: fill the bucket at the glowing pool, use it on the marked basin, and wait for the acknowledgment before returning.
- The arsenal will not open: it is intentionally locked during the first countdown. Hide and use traps until the timer expires.
- The Blood Moon overwhelms you: buy health, mines, ammunition, and healing before the red phase; keep a clear retreat path and avoid your own fire.
- You cannot afford surgery: the deadline begins after Night 10. Preserve funds over the next three days and prioritize the $250 bill.
Chapter navigation