

Story Mode runs from the Intro through Night 13 and then the Ending. Open only your current chapter below: each night adds one evidence, store, or survival rule, while the stable decision order remains ID, database, appearance, interview, nightly facts, special tool, and final decision.
Complete route
Choose your current chapter.
24 verified guide entries
Start Here
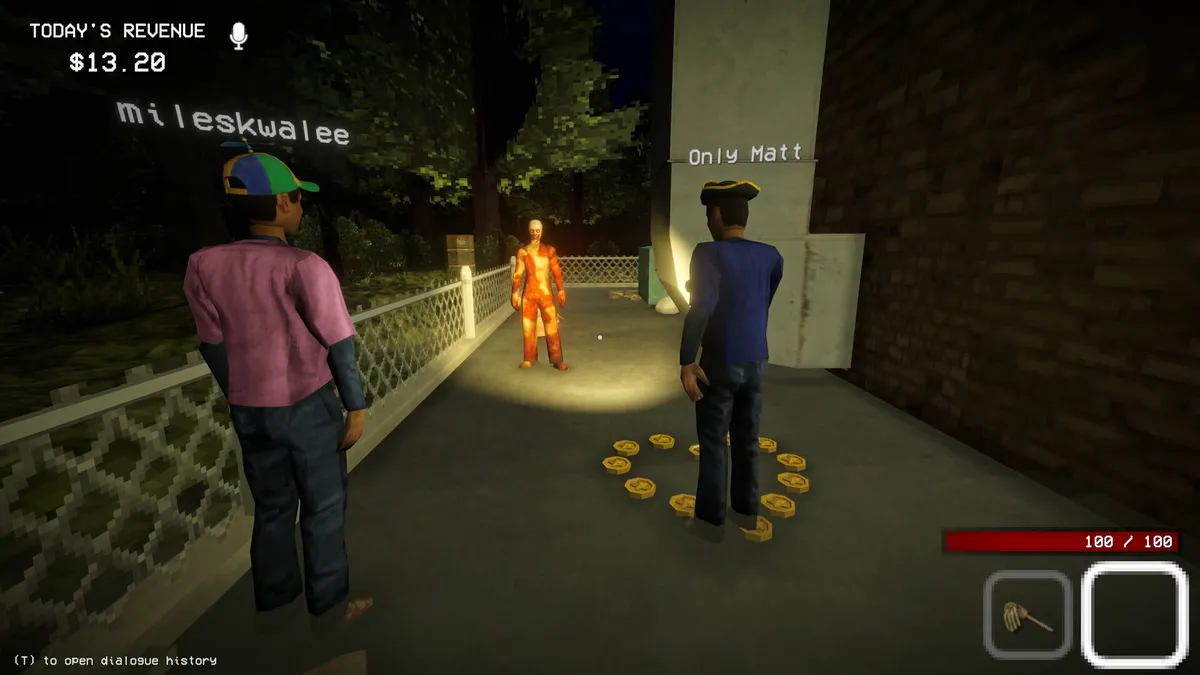 Beginner GuideFollow a verified first-shift route for cleanup, stocking, ID and database checks, customer questions, quota work, co-op roles, and emergency defense.02
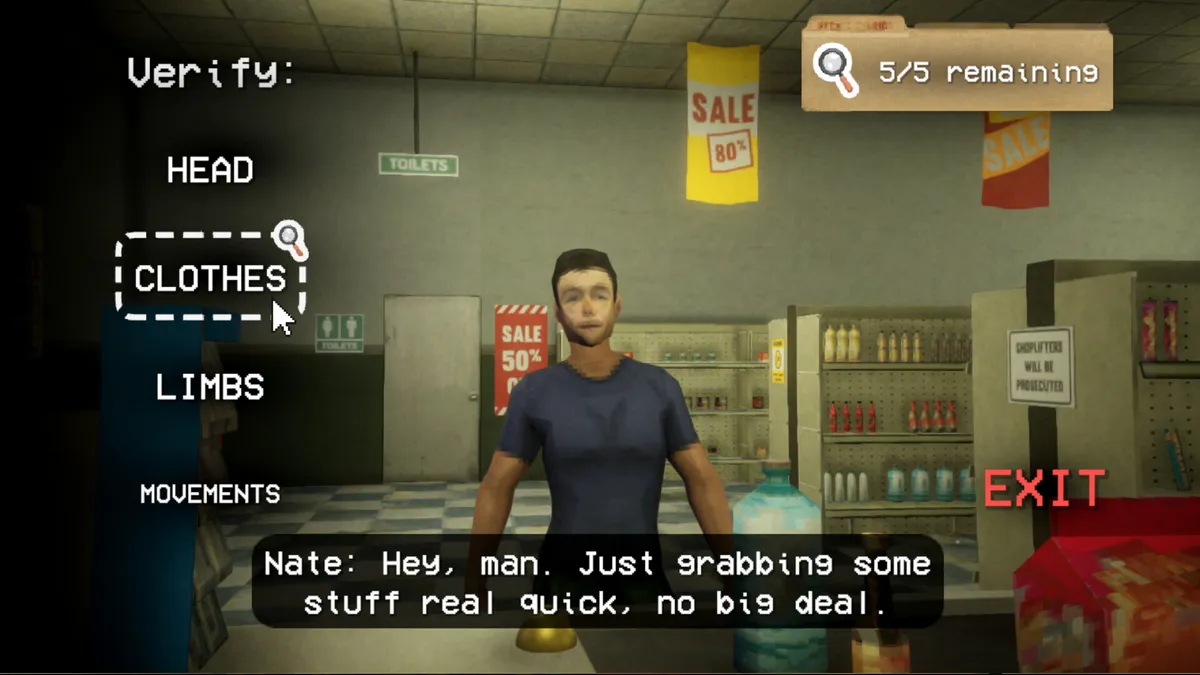 How to PlayLearn the complete Shift At Midnight gameplay loop: store duties, checkout, customer and vehicle investigations, evidence tools, quota management, co-op roles, and emergency defense.03
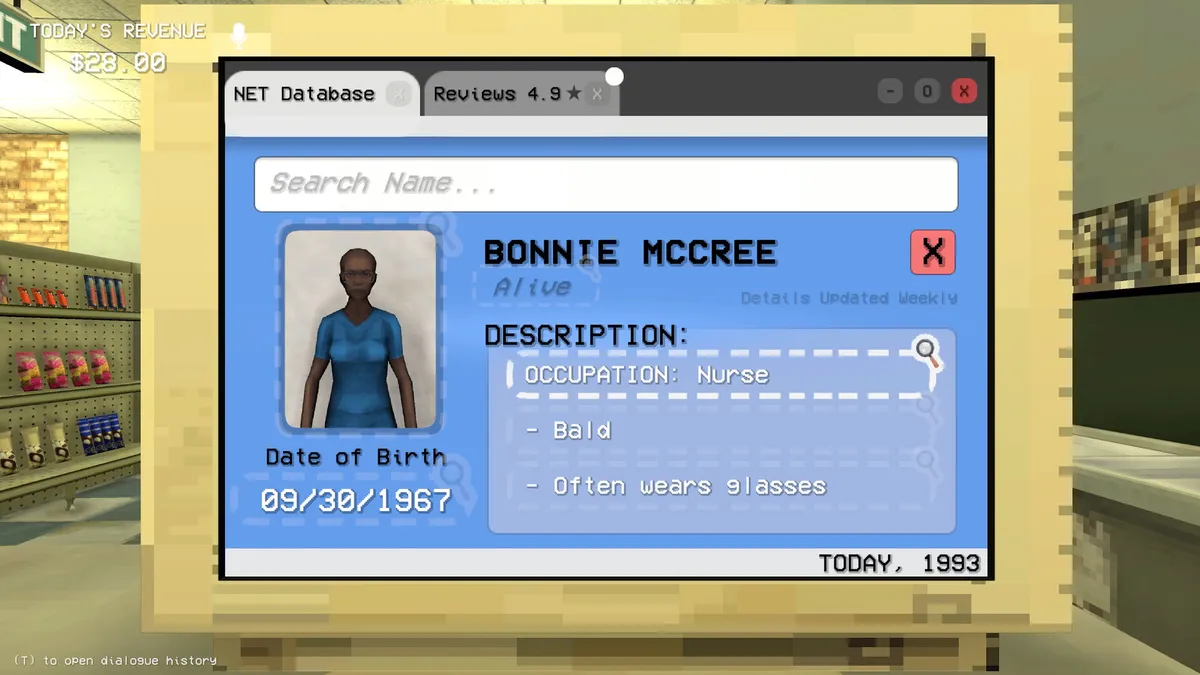 Tips & TricksUse a reliable evidence order, catch relationship and vehicle lies, manage stock and spending, and survive music-box or tall-shadow attacks.
Intro and Nights 1–7
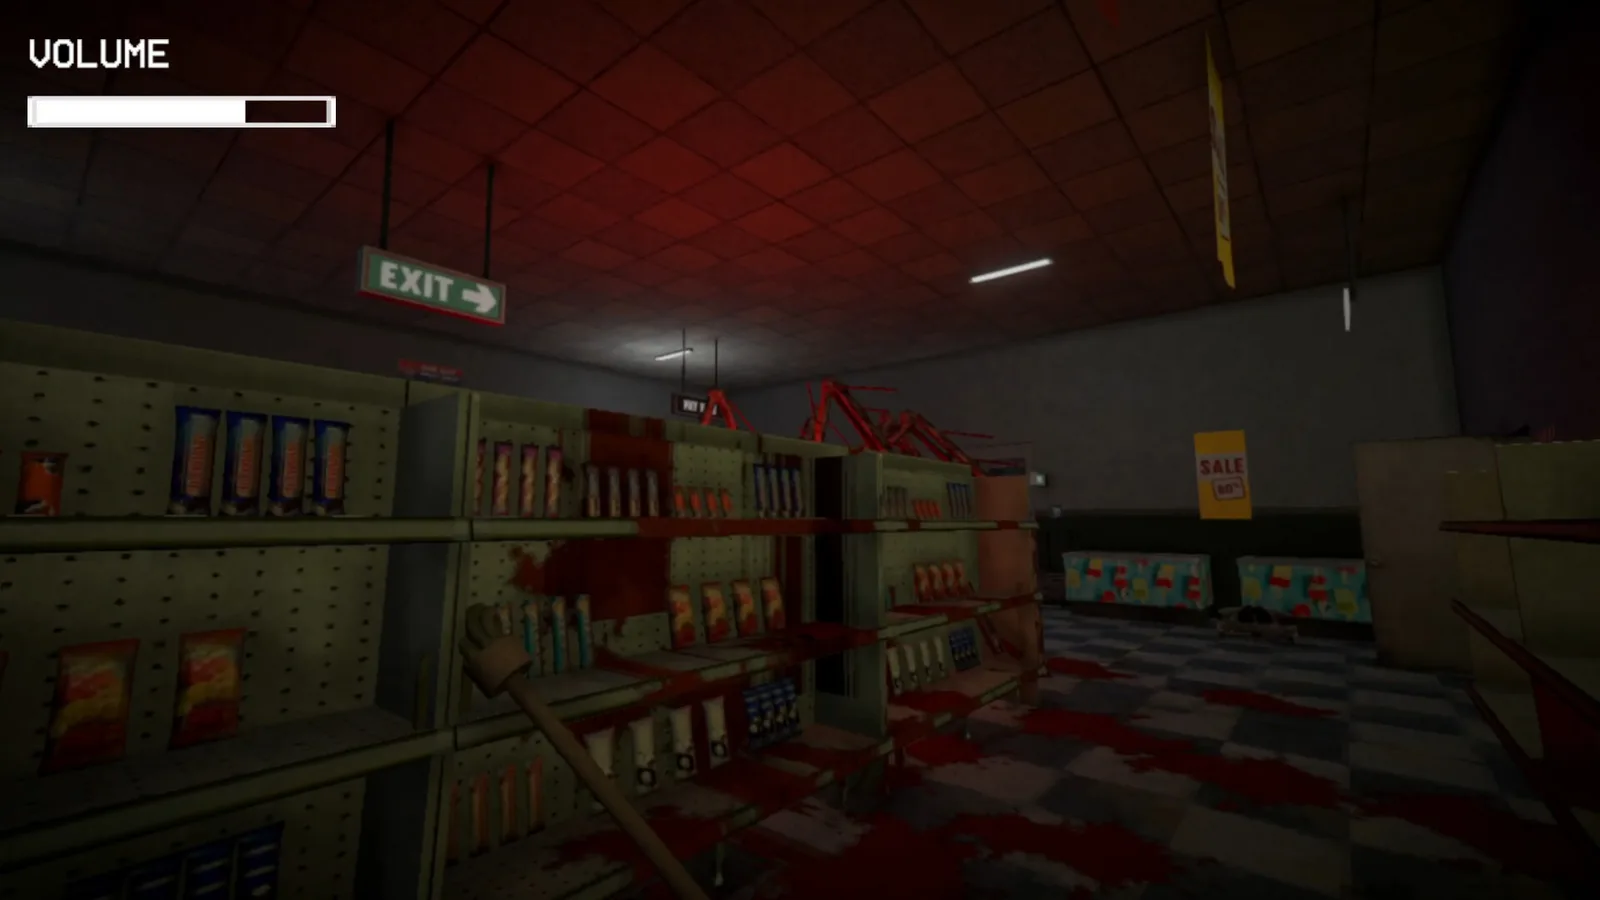 IntroSet up a new Shift At Midnight run, choose and name your pet, understand Story and co-op choices, and learn the four rules needed before Night 1.05
 Night 1Complete Night 1 by cleaning the store, learning the verified customer-checking workflow, handling the roadside lure, and closing the shift safely.06
 Night 2Finish Shift At Midnight Night 2 with every customer check, generator event, anomaly decision, hunt setup, and the Dentist warning explained in order.07
 Night 3Complete Night 3 by controlling the rats, verifying missing-photo records, checking named relatives, and handling the $40 medicine choice.08
 Night 4Finish Night 4 by inspecting cars, checking license plates, pumping gas, clearing the timed rat event, and surviving an alert if a doppelganger escapes.09
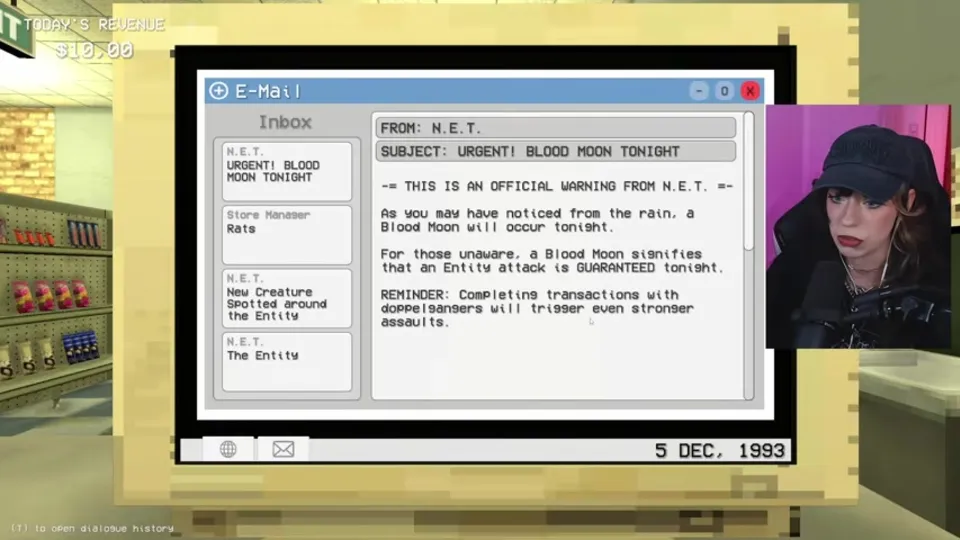
 Night 5Complete Shift At Midnight Night 5 with the Blood Moon warning, customer and vehicle checks, delayed arsenal setup, entity attack, cleanup, and Dentist escape explained in order.10
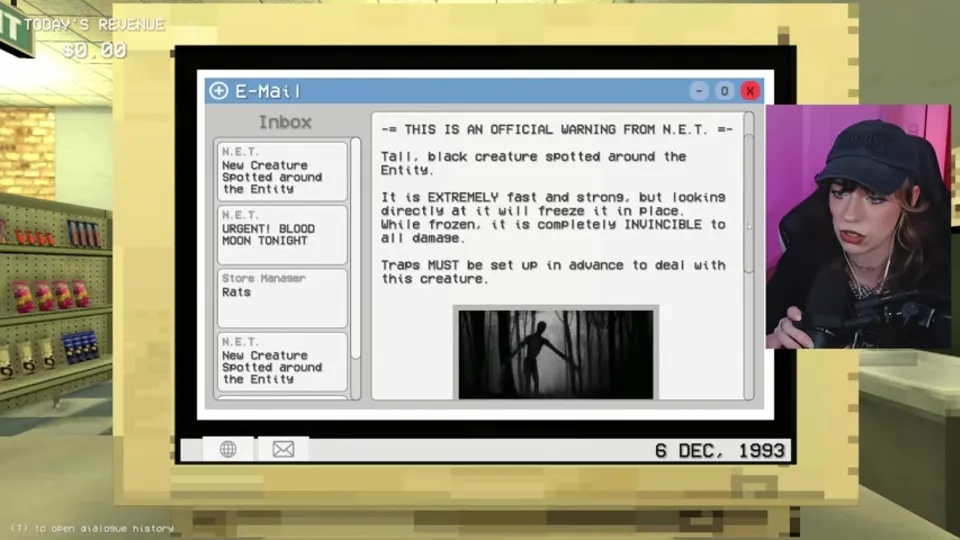
 Night 6Complete Shift At Midnight Night 6 with the Emote Scope, every forest-limb objective, the 60-second defense setup, and the tall shadow's exact trap rule.11
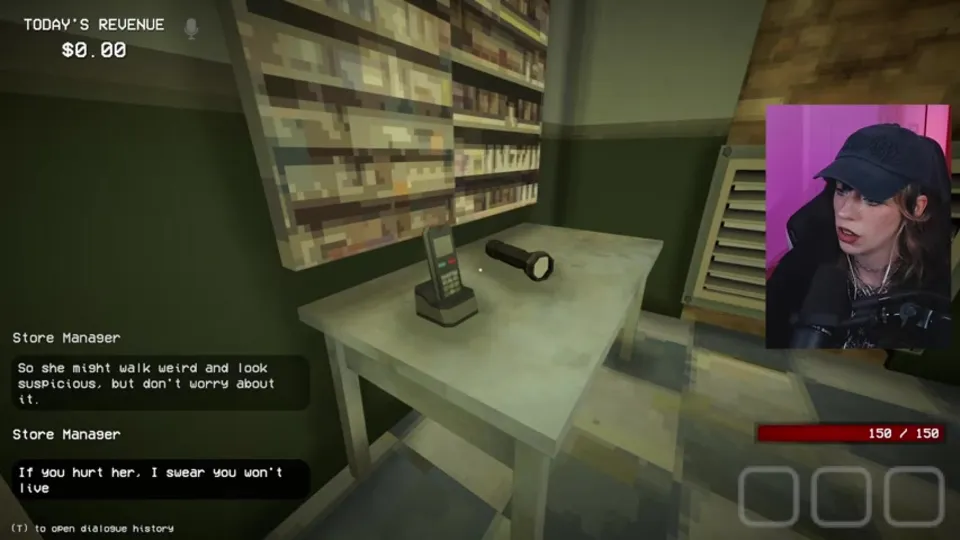
 Night 7Finish Shift At Midnight Night 7 with the thief system, Louisa's real leg condition, every high-value customer clue, store upgrades, and raid defense explained in order.
Nights 8–13 and Ending
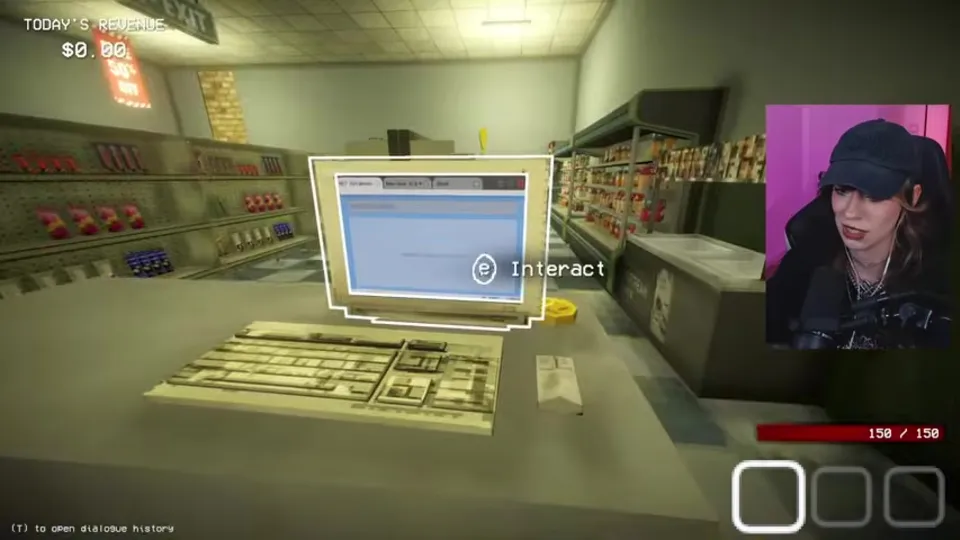
 Night 8Complete Shift At Midnight Night 8 with the sheriff warning, roach cleanup, relationship and timeline checks, store transactions, and the conditional defense explained in order.13
 Night 9Finish Night 9 with the Anomaly Lens, music-box rewind rule, roach bonus, customer contradictions, raid preparation, and complete result-report checks.14
 Night 10Finish Night 10 by recording Guillermo's missing-dog notice, checking every customer, completing the forest task, and surviving the guaranteed Blood Moon attack.15
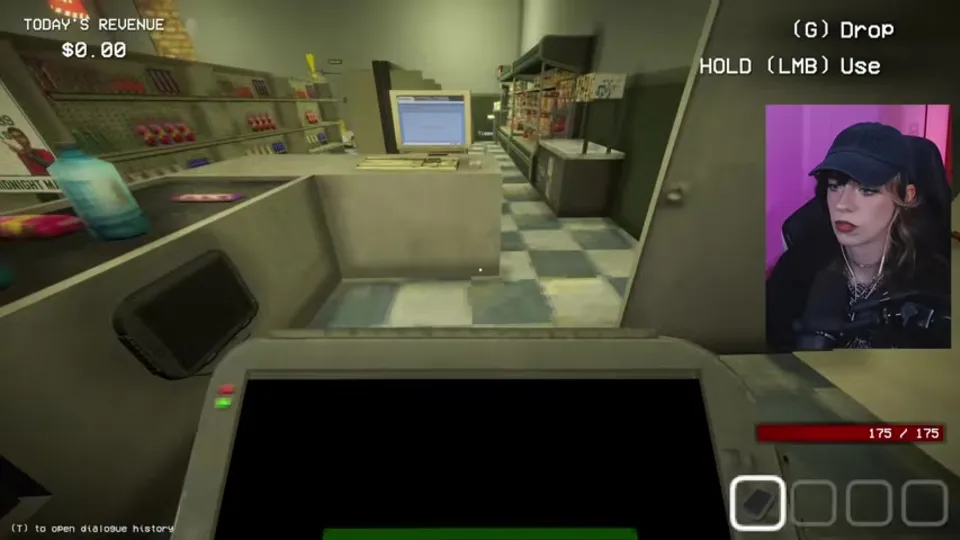 Night 11Complete Night 11 with the East District blackout clue, safe troublemaker control, verified customer decisions, conditional raid defense, cleanup, and result-report checks.16
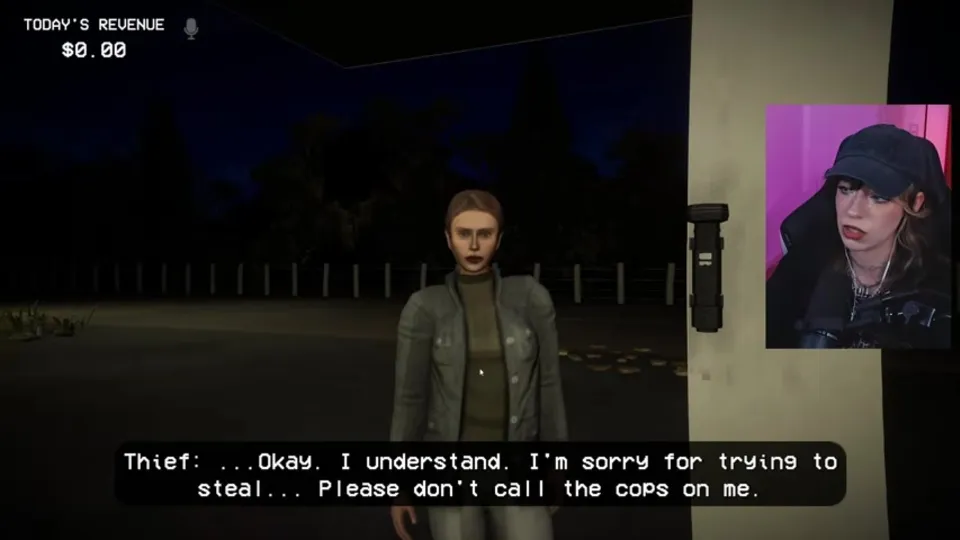 Night 12Finish Night 12 by connecting Walter Davila to the missing-person notice, resolving every customer, surviving the entity assault, and making the sheriff choice.17
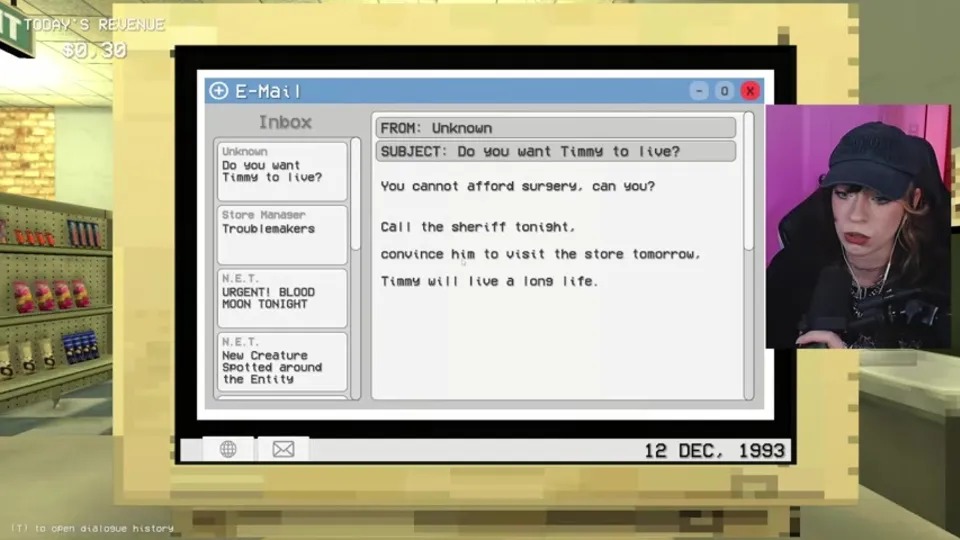 Night 13Complete Night 13 by managing customer patience, checking randomized identities without shortcuts, calling Clyde, and surviving the final store event.18EndingEscape the Dentist, finish Night 13, and unlock Grave Decision, Empty Home, or True Ending with the correct Clyde and $250 surgery choices.
Reference
OverviewA fact-checked Shift At Midnight overview covering the gas-station horror loop, solo and three-player co-op, Story Mode, platforms, languages, reviews, trailers, saves, and technical Steam facts.20 Price & BuyCompare every captured regional Steam price, converted value, U.S. baseline difference, historical low, and Windows purchase detail for Shift At Midnight.21
 System RequirementsCompare the official Shift At Midnight minimum and recommended Windows specifications, then check your CPU, GPU, RAM, DirectX, storage, and co-op connection.22
 UpdatesSearch the complete available Shift At Midnight announcement archive, including patch notes, release news, demo updates, events, bundles, and community posts.23
 CommunityOrganize solo through optional six-player shifts with clear roles, fixed evidence calls, version checks, privacy rules, and reproducible corrections.24TroubleshootingFix Shift At Midnight launch, cursor, performance, dark-screen, audio, lobby, voice, and save problems with a reversible diagnostic order.
Use this page as a shift tracker
This is the Story Mode control board, not a second general guide index. Find the night shown in your current save, check the new rule and prepare before opening column, then open that chapter. The linked page contains the complete customer deductions, event order, screenshots, failure recovery, and end-of-shift report.
Customer order can change. Do not memorize the order from a video or screenshot. Carry this evidence chain into every shift:
ID → verified database record → visible appearance → interview answers → tonight's facts → special tool → final decision
A rude customer, thief, missing accessory, odd walk, or unusual voice is not proof. Act only when the complete check exposes a direct contradiction or the current tool reveals an impossible result.
Phase 0 — The reason you take the job
| Chapter | New story information | Be ready for |
|---|---|---|
| Intro — Timmy and the graveyard shift | Choose your pet, learn that Timmy needs costly ongoing treatment, and accept the only available job despite its danger. | Notice the treatment motive and pet choice; they explain the money deadlines and ending stakes. |
The Intro contains no normal customer queue. Finish it before Night 1 if you want the medical-bill story and later decisions to make sense.
Phase 1 — Learn the investigation system
Night 1 — First shift and the verified database
- New rule: the computer record is trusted; the person at the counter must match it.
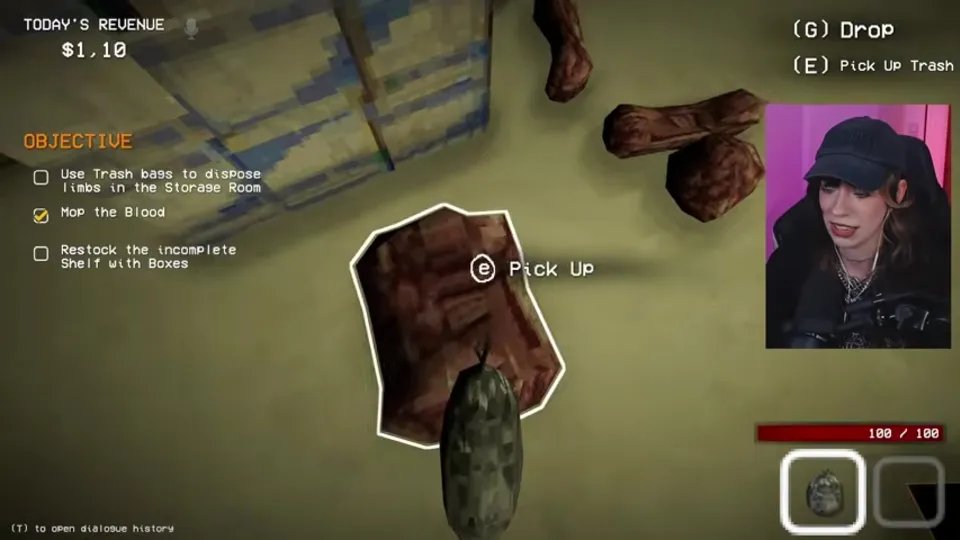
- Prepare before opening: mop the blood, bag the limbs, refill incomplete shelves, and read the interrogation protocol.
- Clear condition: complete the tutorial transaction, resolve customers by evidence, clean the store, and take the bus.
Night 2 — Nightly news becomes evidence
- New rule: a believable profile can still fail when a customer's travel story contradicts tonight's closure notice.
- Prepare before opening: memorize the West Bridge shutdown, keep the generator route clear, and stage the first defenses.
- Clear condition: reset the sabotaged generator, finish the queue, and survive the hunt only if the red alert is triggered.
Night 3 — Missing portraits, the Dentist, and rats
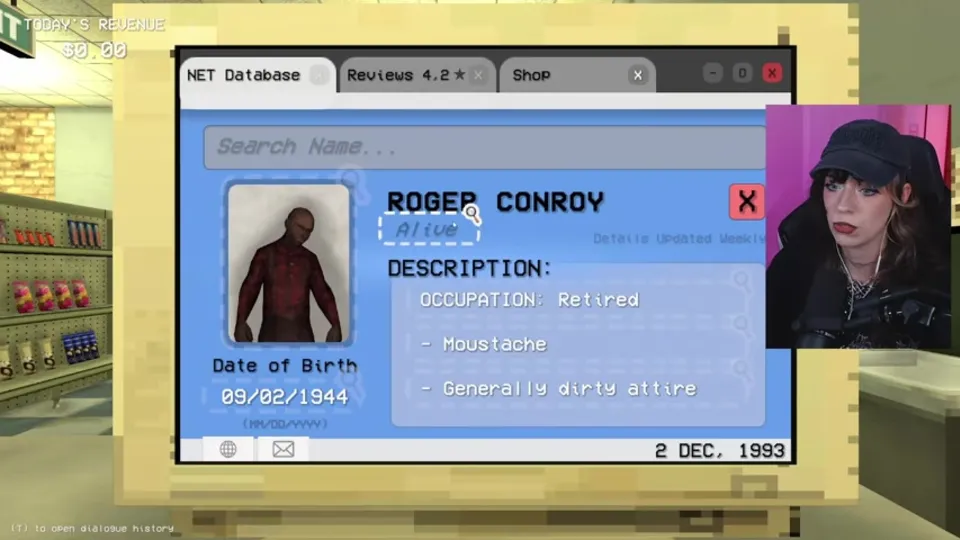
- New rule: one unavailable field does not end the check; use the remaining verified fields, named relatives, and nightly facts.
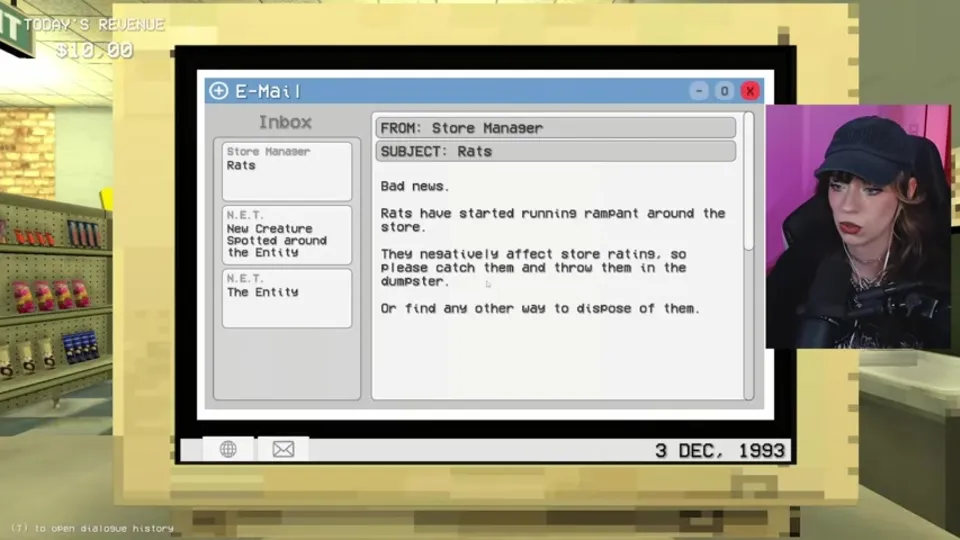
- Prepare before opening: read the Dentist warning and rat message, keep cleanup tools ready, and preserve funds for Timmy's medicine choice.
- Clear condition: catch the rats, complete every identity check, clean the store, review the report, and make the $40 treatment decision.
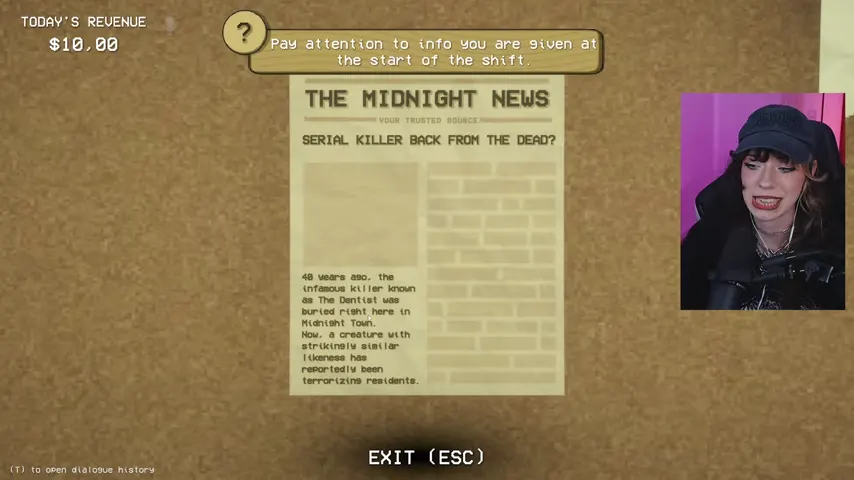
Opening notices are working evidence. Read them before the first ID reaches the scanner.
Phase 2 — Add vehicles, attacks, and special tools
Night 4 — Driver and vehicle are separate checks
- New rule: a fuel sale requires two evidence sets: the person and the vehicle.
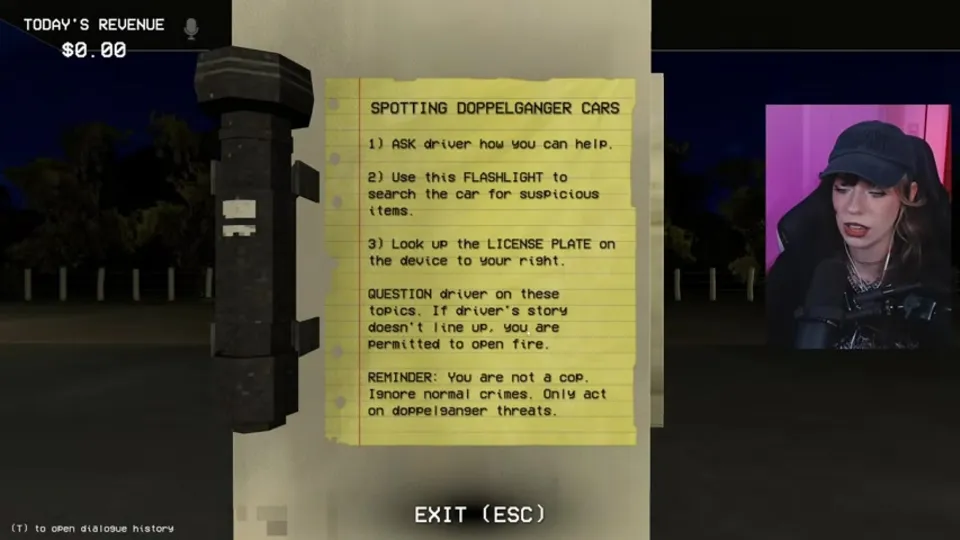
- Prepare before opening: take the flashlight outside, inspect highlighted vehicle areas, and enter the exact plate at the terminal.
- Clear condition: match the plate, make, color, damage, registration, and driver story before pumping fuel; resolve the conditional entity alert if it appears.
Night 5 — First Blood Moon
- New rule: the Blood Moon notice is a guaranteed combat warning, not background flavor.
- Prepare before opening: buy and stage barricades, traps, ammunition, fire, healing, and a clear retreat route before the countdown.
- Clear condition: keep evidence quality through the customer queue, collect the delayed arsenal, survive the complete wave, then clean and leave.
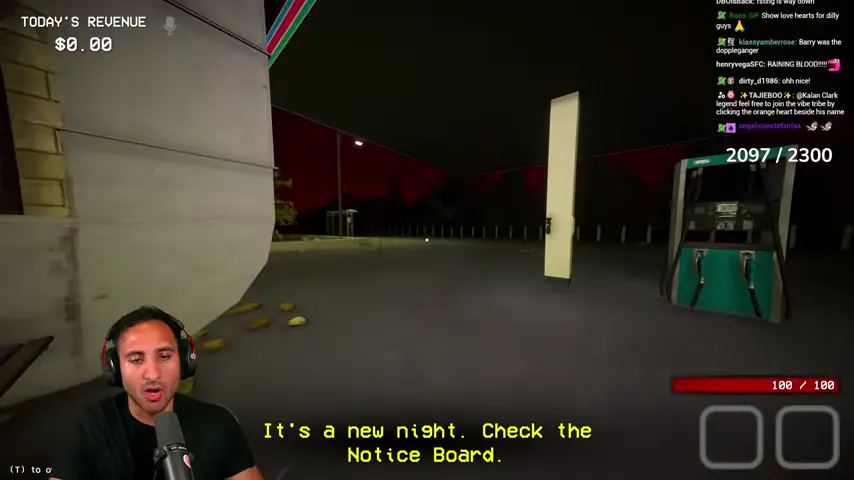
Attack-night success is decided before the shutters open: place equipment early and preserve one safe lane.
Night 6 — Emote Scope and the tall shadow
- New rule: the Emote Scope is supporting evidence, and the tall shadow has a specific sight-and-damage rule.
- Prepare before opening: read the Scope instructions, buy the defense kit early, and remember when watching the entity freezes it.
- Clear condition: finish the forest cleanup, verify the queue, and apply the tall-shadow counter exactly instead of treating it like an ordinary target.
Night 7 — Theft is not identity evidence
- New rule: shoplifting, disruptive behavior, scars, and unusual traits must stay separate from verified doppelganger evidence.
- Prepare before opening: read the Calendar Killer and theft warnings, buy useful upgrades, and stage defenses before the late queue.
- Clear condition: remove trouble without shooting an unproven human, finish the edge-case checks, and survive the conditional raid.
Phase 3 — Manage overlapping rules under pressure
Night 8 — Calendar Killer, roaches, and information load
- New rule: several notices can apply at once; turn them into a short fact sheet before serving anyone.
- Prepare before opening: record the road notice, obituary, warning call, and roach instructions; keep pest work from blocking the counter.
- Clear condition: process familiar faces with the same full evidence chain, control the roaches, and resolve the conditional attack.
Night 9 — Anomaly Lens and the music box
- New rule: compare the same subject through direct sight and the Lens; neither view is useful without the other.
- Prepare before opening: learn the music-box three-song limit, identify its interaction route, and leave time for the optional roach objective.
- Clear condition: catch the relationship contradiction, unwind the box before escalation, survive the raid, and verify the report.
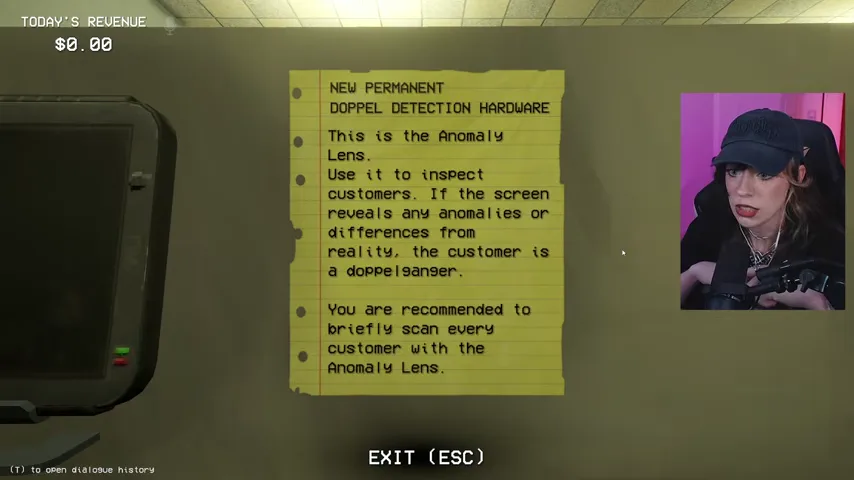
Special tools answer one narrow question. They do not replace the ID, database, interview, or nightly facts.
Night 10 — Missing dog and second Blood Moon
- New rule: named relationships and exact records can expose an otherwise convincing story while the attack deadline keeps moving.
- Prepare before opening: record the missing-dog clue, buy the full Blood Moon kit, and learn the forest-summons objective before the final queue.
- Clear condition: complete the vehicle and customer checks, fill the ritual basin, survive the second Blood Moon, then clean and take the bus.
Night 11 — East District blackout and troublemakers
- New rule: tonight's blackout is a location fact; disruptive customers still need nonlethal handling unless identity evidence proves more.
- Prepare before opening: memorize the affected district, read the troublemaker instructions, and keep toilet paper or the specified response accessible.
- Clear condition: reject claims that conflict with the blackout, preserve verified humans, resolve the conditional raid, and audit the result report.
Phase 4 — Lock the ending route
Night 12 — Walter Davila, the final defense, and Clyde's call
- New rule: exact names, dates, and the opening missing-person portrait become decisive counter evidence.
- Prepare before opening: read the missing-resident notice and anonymous surgery offer; buy planks, traps, a loaded firearm, healing, and fire damage before the queue.
- Clear condition: connect Maya's date claim to missing Walter, compare Yasmin with and without the Lens, survive the Jack-in-the-Box assault, and clean the store.
- Decision after the report: calling Sheriff Clyde makes him visit on Night 13 and accepts the anonymous offer to cover Timmy's surgery; refusing keeps the alternative branch and its funding pressure.
Night 13 — Patience pressure and the final visitor
- New rule: customers can leave if service takes too long; store rating affects patience, but speed never makes an incomplete identity check safe.
- Prepare before opening: read Mayor Dawson's anniversary notice, restock before the queue, stage the final-night equipment, and protect Timmy's remaining funds.
- Clear condition: keep the line moving with the fixed evidence order, resolve the sheriff visit created by the Night 12 choice, and be ready when the store sequence becomes a chase.
Ending — Chase, outcome, and post-story mode
- New rule: the counter routine is over; follow the visual route through the chase and complete the final interaction.
- Prepare before entering: remember the Night 12 sheriff choice and your treatment funds because they determine how the closing scenes are interpreted.
- Clear condition: finish the chase, read the named ending and Timmy outcome, then confirm the save has changed to post-story mode before continuing endless shifts.
The ending can reflect the bargain you accepted and the medical outcome you funded. Do not use another player's final scene to infer your own branch; read the ending name and result text on your save.
Progress finder
| What is on your screen? | Resume here | The next thing that matters |
|---|---|---|
| Pet choice or Timmy's treatment setup | Intro | Finish the story setup and enter the store. |
| First cleaning list and scanner tutorial | Night 1 | Learn the verified-record workflow. |
| West Bridge headline or generator sabotage | Night 2 | Use the closure as interview evidence. |
| Dentist report, rats, or a missing portrait | Night 3 | Keep checking every available field. |
| Fuel request, flashlight, or plate terminal | Night 4 | Verify the vehicle separately. |
| Red rain or Blood Moon warning | Night 5 or Night 10 | Stop shopping late and stage defenses now. |
| Emote Scope or tall shadow | Night 6 | Apply the entity's sight rule. |
| Theft warning or Louisa | Night 7 | Separate crime from identity evidence. |
| Calendar Killer and roach instructions | Night 8 | Build a fact sheet before the queue. |
| Anomaly Lens or music-box countdown | Night 9 | Compare both views and unwind the box. |
| Missing dog or forest basin | Night 10 | Finish the summons before the attack. |
| East District blackout | Night 11 | Test travel and location claims. |
| Walter Davila notice or anonymous offer | Night 12 | Solve the missing-person contradiction and choose whether to call Clyde. |
| Mayor Dawson anniversary or impatient queue | Night 13 | Protect speed without skipping evidence. |
| Store chase or named final result | Ending | Follow visual checkpoints and read your branch result. |
Between-shift save checklist
Before selecting Next Shift, confirm these five items:
- Read the customer report and write down why every miss was wrong. The report teaches transferable rules; the exact customer order is not transferable.
- Note Timmy's remaining bill, deadline, and personal funds before buying store upgrades.
- Keep attack supplies ahead of cosmetics when the next chapter warns about a guaranteed event.
- Record the next night's exact names, dates, locations, vehicle details, and entity counter in a short fact sheet.
- Open only the next linked chapter if you want to avoid later story and ending spoilers.
If your current problem is not tied to one story night—such as controls, co-op roles, PC performance, or a crash—return to All Guides. This page intentionally stays focused on the complete story route.
Keep going